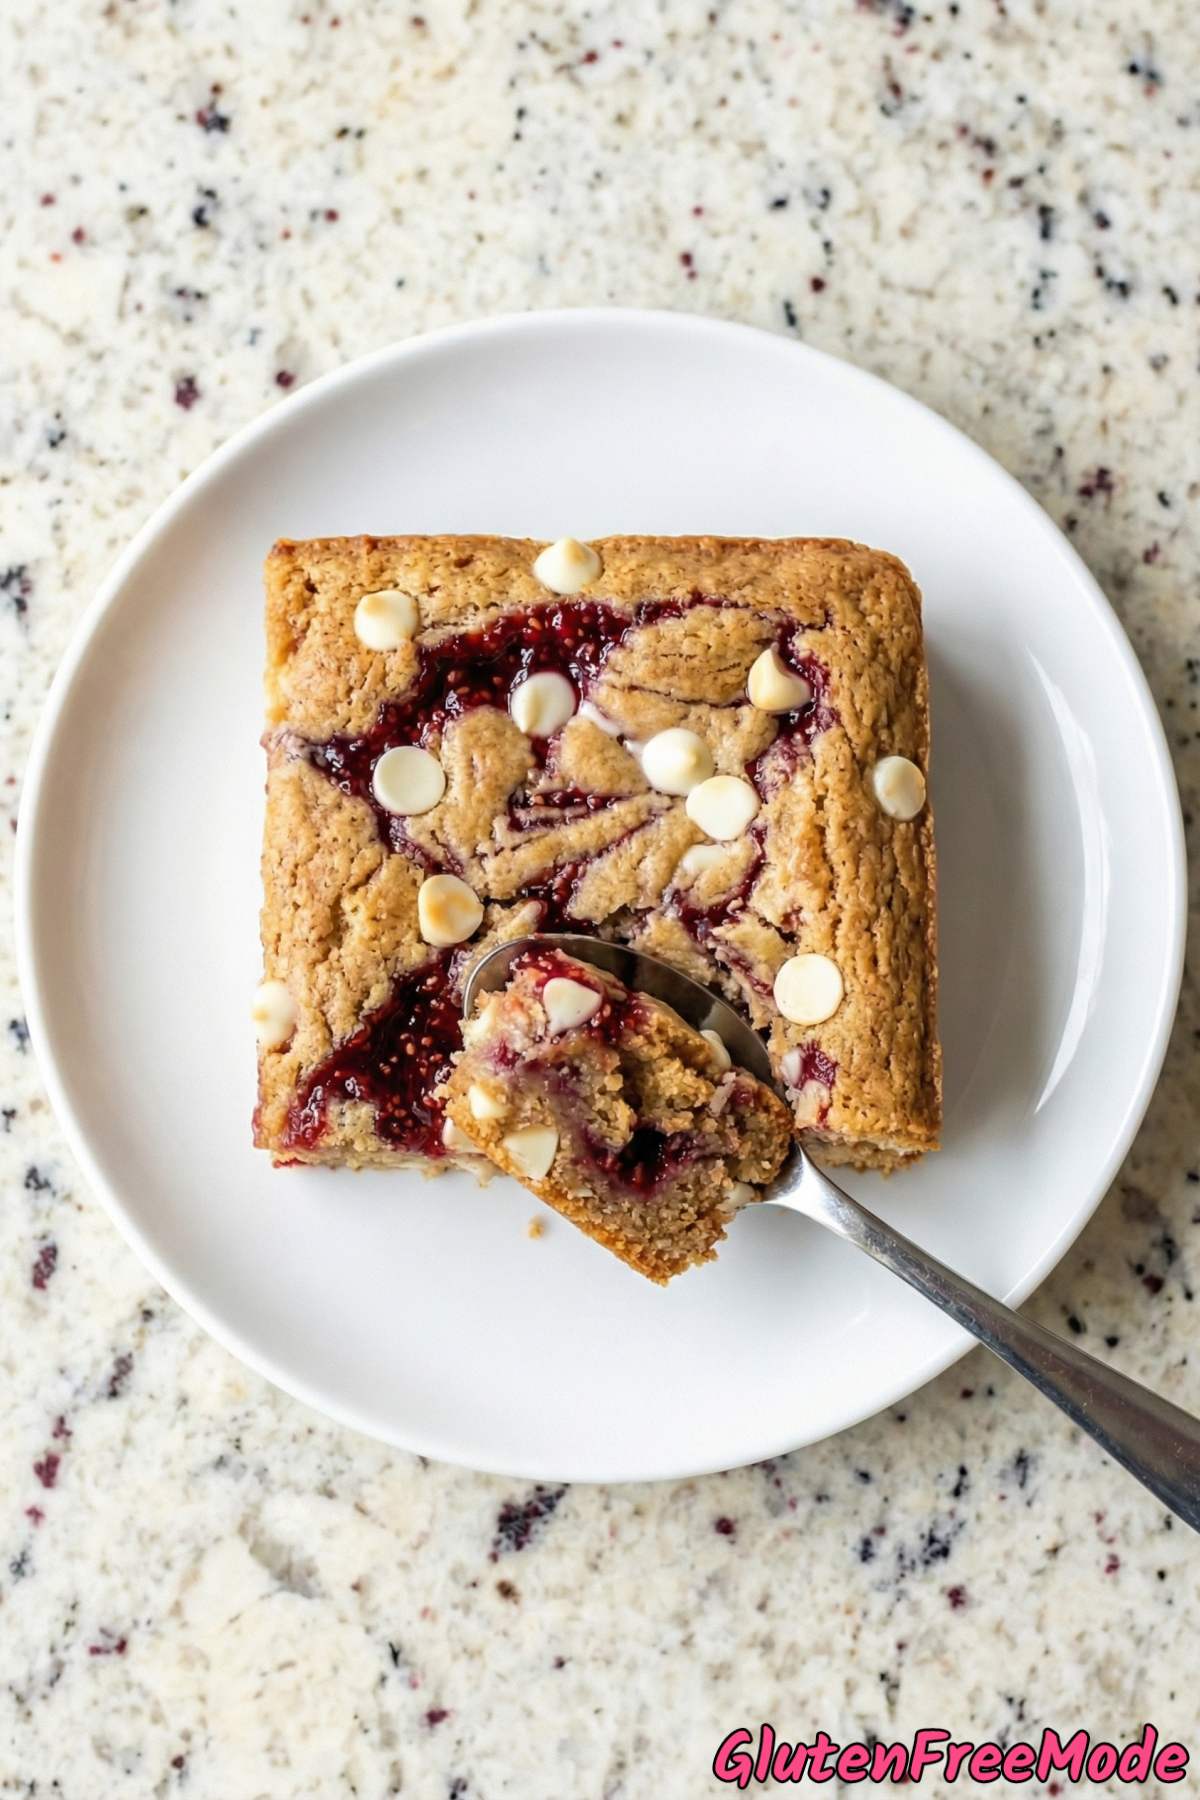
These gluten free raspberry swirl blondies are one of my favorite treats to make when I want something sweet but don’t want to spend a lot of time in the kitchen. They’re chewy, buttery, and the raspberry swirl on top makes them look like they came from a fancy bakery.
If you’ve never made blondies before, think of them as the vanilla cousin of brownies. Same dense, chewy texture but with a rich brown sugar flavor instead of chocolate. Add a ribbon of raspberry jam and some white chocolate chips, and you’ve got something really special.
The best part is that this recipe is completely gluten free. You just need a good gluten free all-purpose flour and you’re set. No one will be able to tell the difference, I promise.
The whole thing comes together in one bowl, which means less mess and less stress. You can have these ready to go in the oven in about 10 minutes.
Whether you’re baking for yourself or bringing something to share, these blondies are always a hit. Let me walk you through how to make them.
Why You’ll Love This Recipe
Super Easy to Make – These gluten free raspberry swirl blondies come together in one bowl with just a few simple steps. You don’t need any fancy equipment or baking experience to nail these on your first try.
Sweet and Tangy Flavor Combo – The brown sugar and white chocolate make these blondies rich and sweet, while the raspberry jam adds a nice fruity tang that balances everything out. Every bite has that perfect sweet-tart thing going on.

Perfectly Gluten Free – These blondies are made with gluten free all-purpose flour, so anyone avoiding gluten can enjoy them without worry. They taste just as good as traditional blondies, and nobody will ever know the difference.
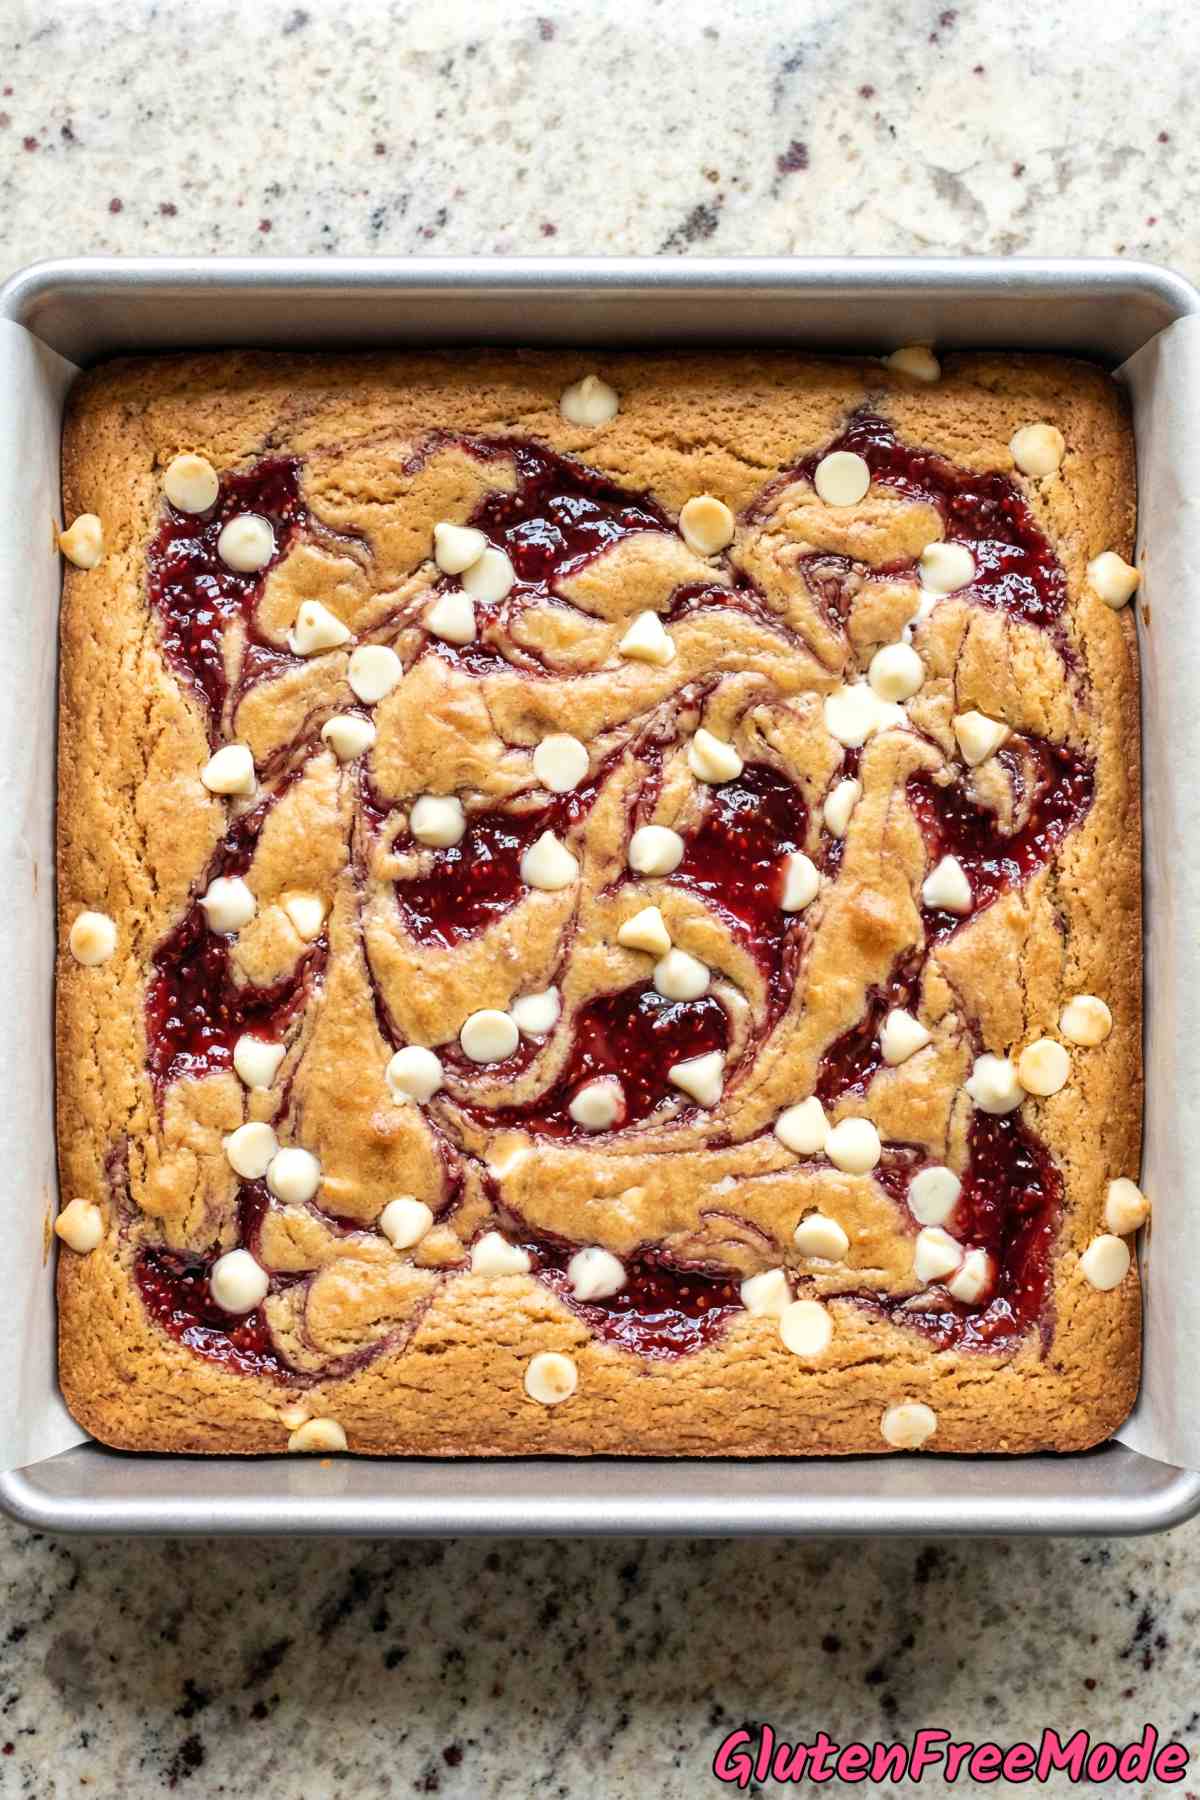
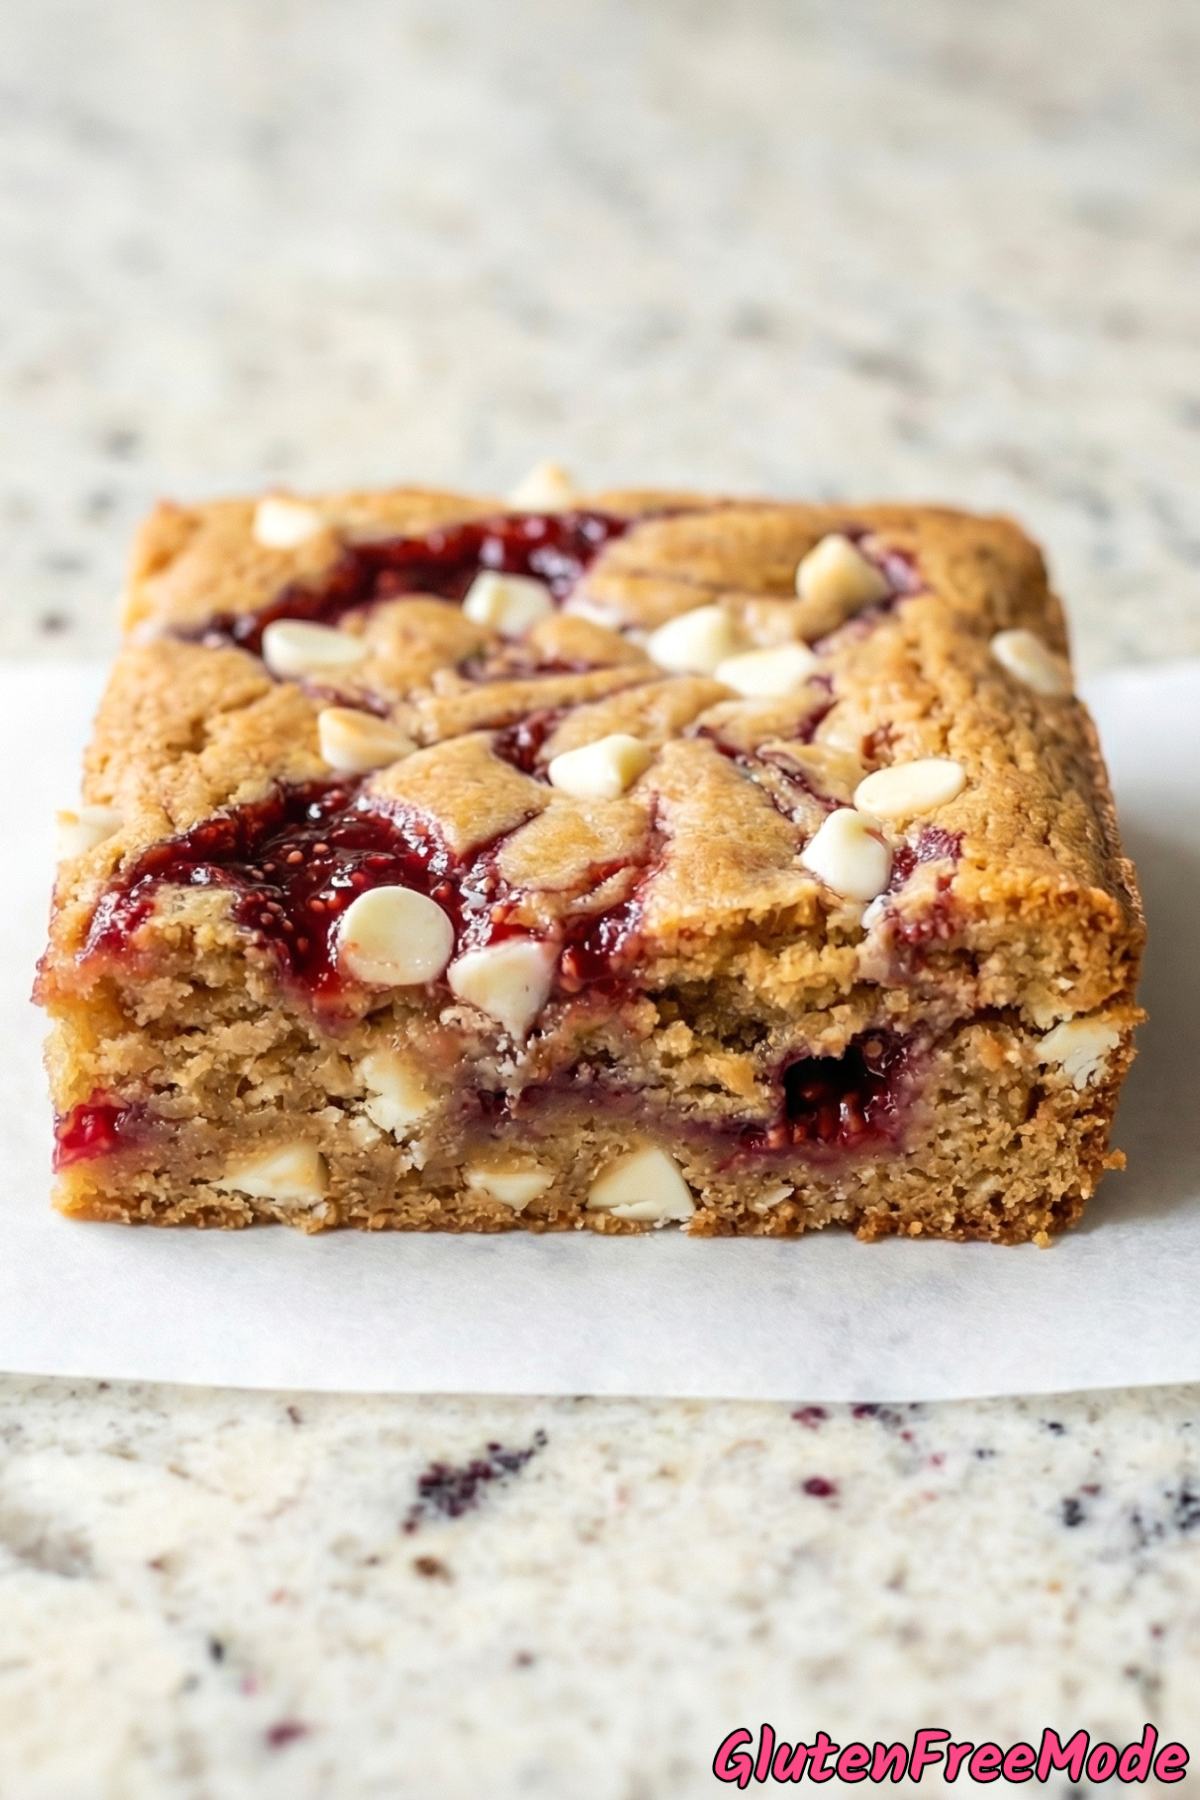
The Raspberry Swirl Is Beautiful – That gorgeous raspberry swirl on top makes these blondies look like they came from a fancy bakery. They are seriously impressive to serve at parties or give as gifts, and all it takes is a simple drag of a toothpick through some jam.
Ingredients
- 1/2 cup Melted Butter
- 1 cup Brown Sugar
- 1 large Egg
- 1 tsp Vanilla Extract
- 1 cup Gluten Free All-Purpose Flour
- 1/2 tsp Baking Powder
- 1/4 tsp Salt
- 1/3 cup Seedless Raspberry Jam
- 1/2 cup White Chocolate Chips
How to Make
Step 1
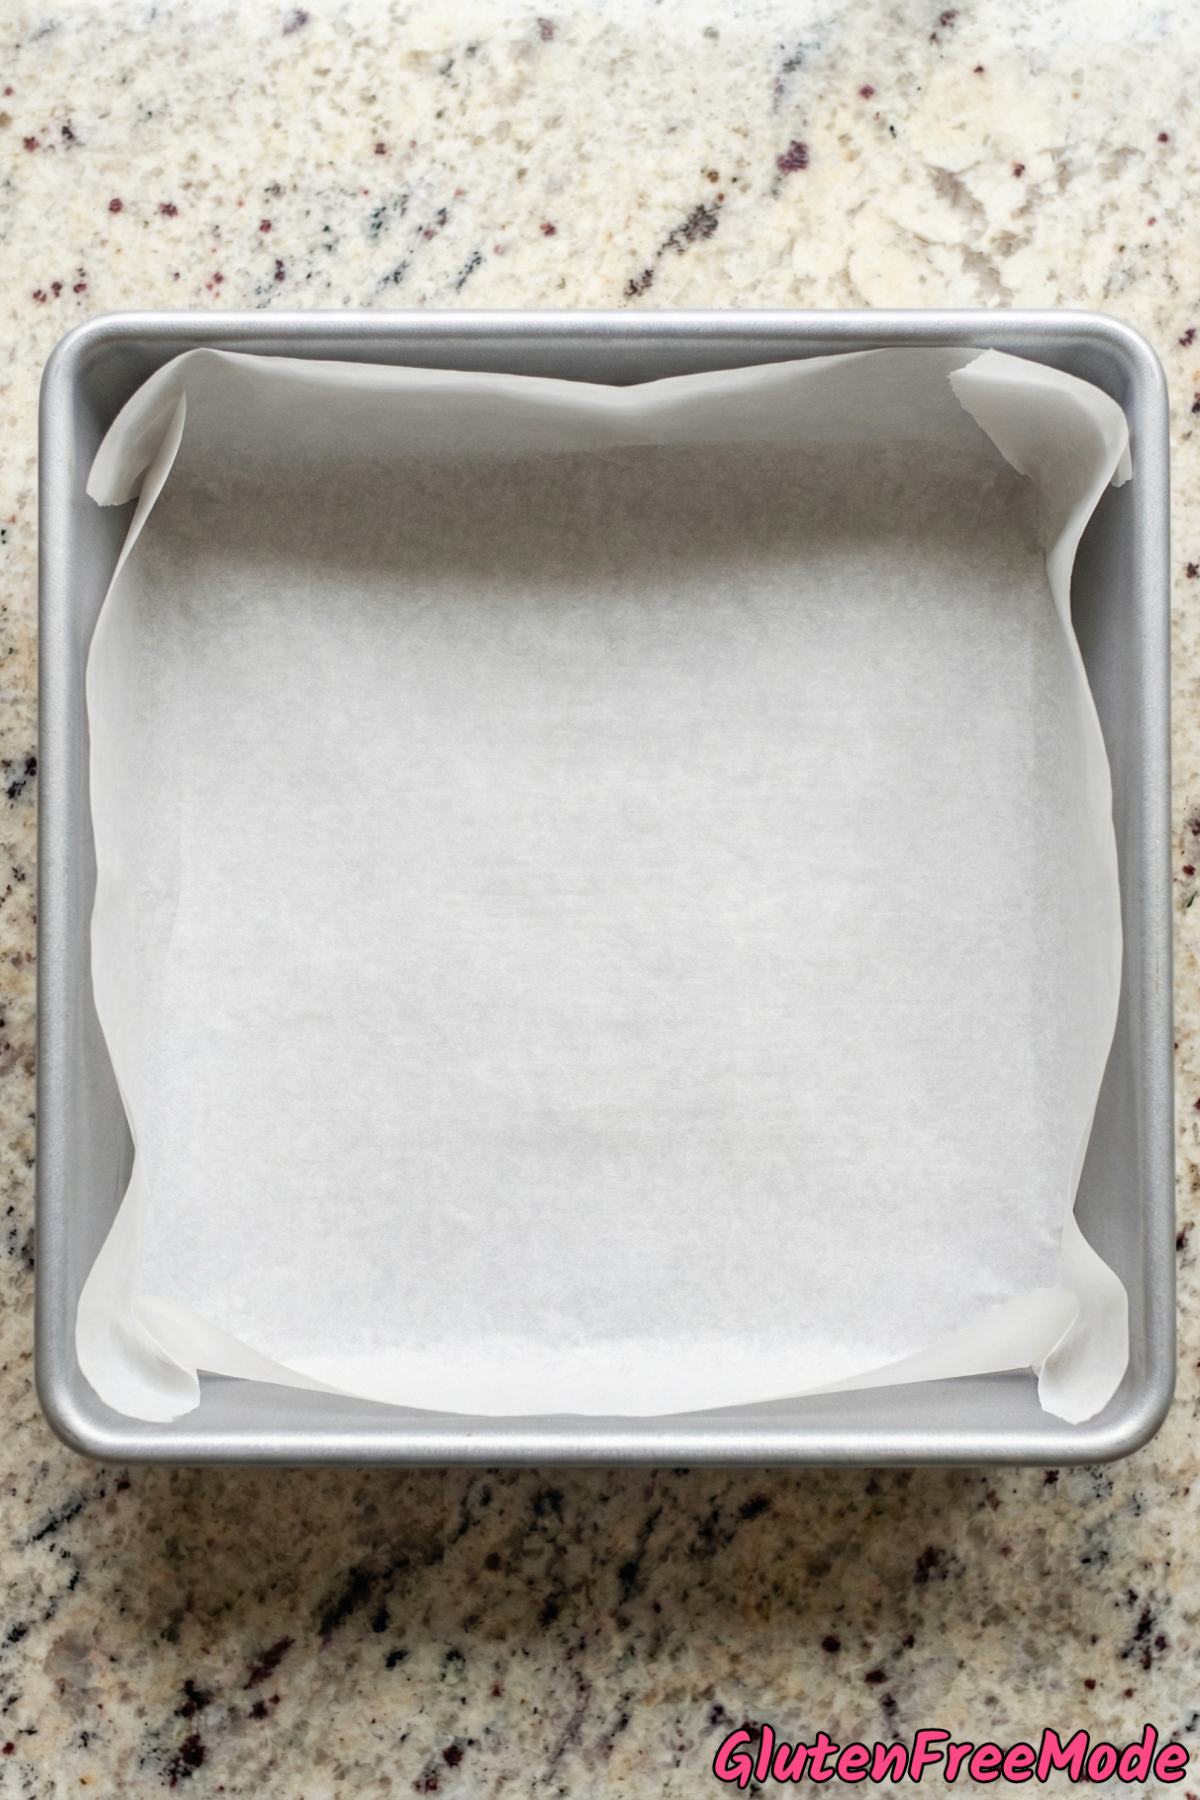
Preheat the oven to 350F and line an 8×8 inch baking pan with parchment paper.
Step 2
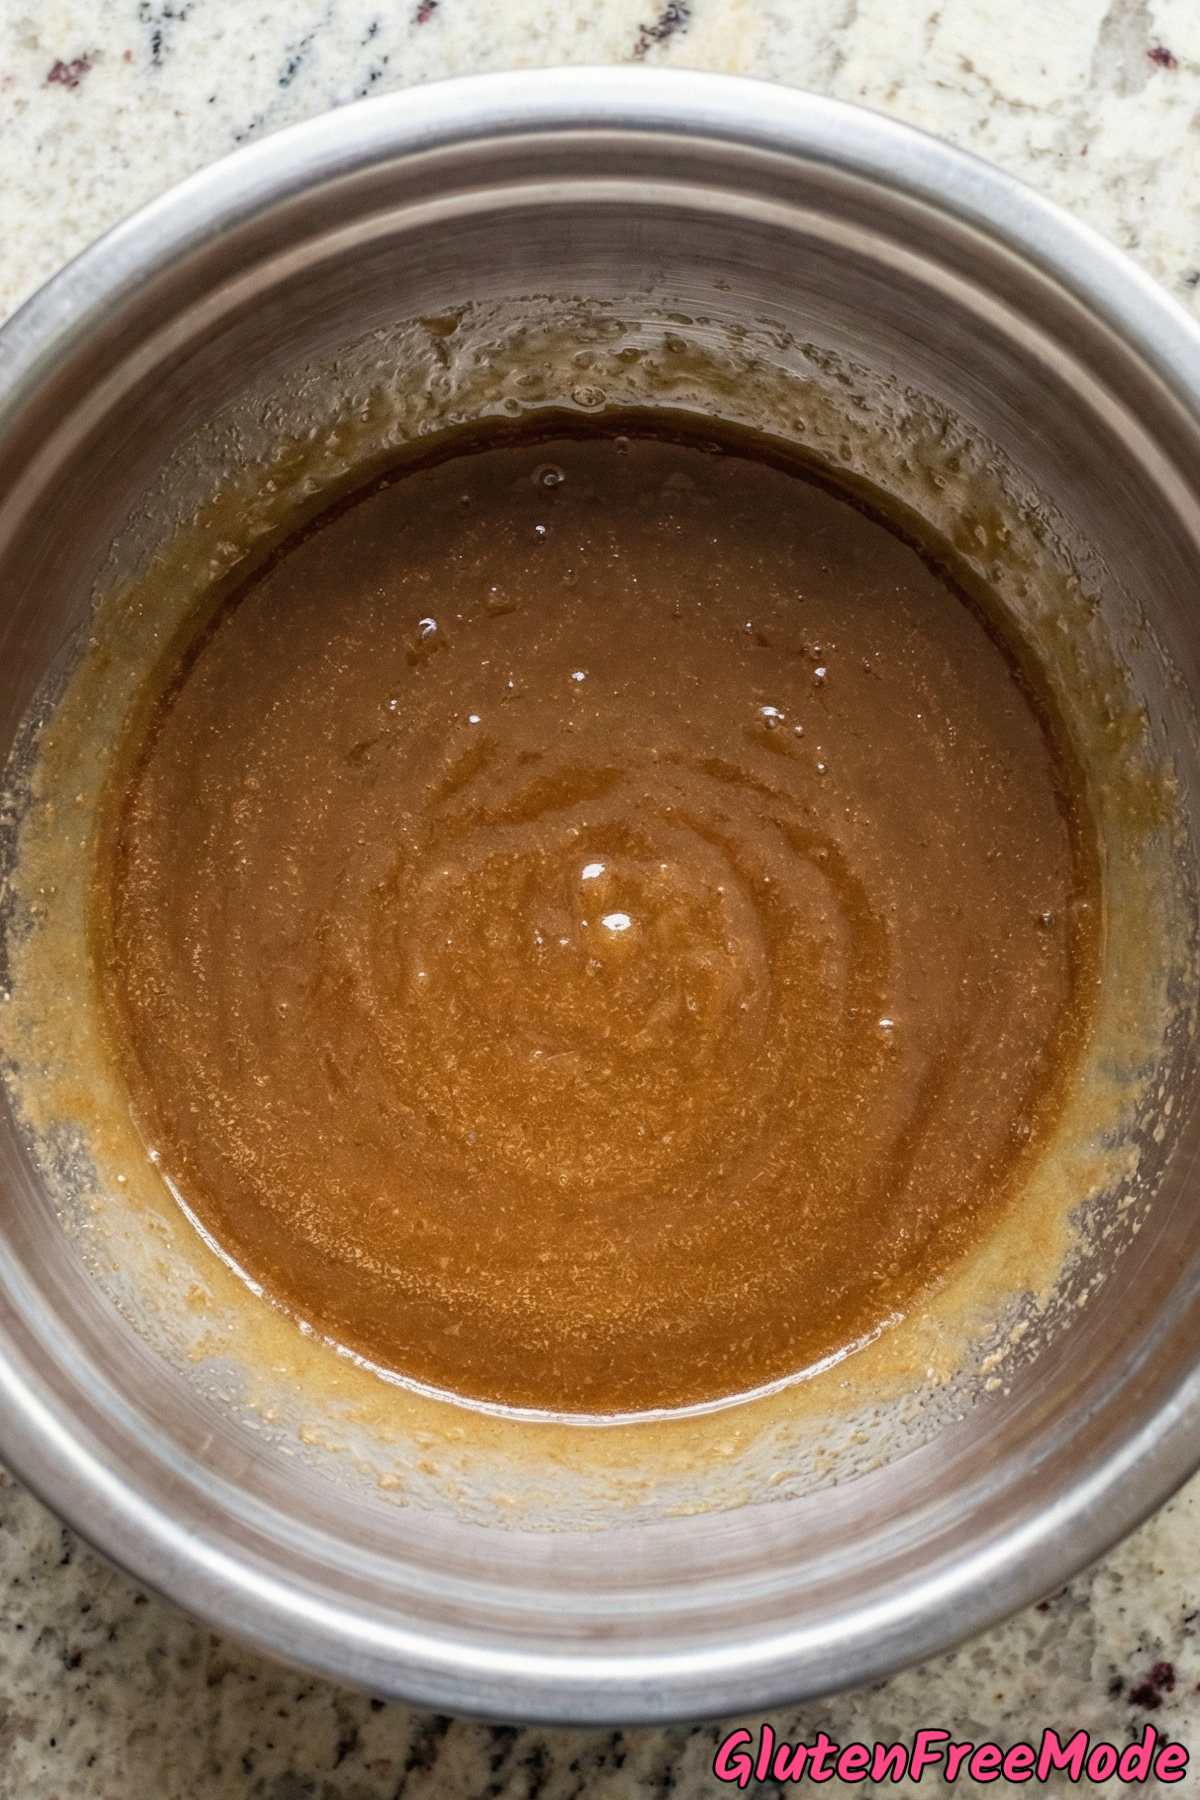
In a medium bowl, whisk the melted butter and brown sugar together until completely smooth and well combined.
Step 3
Whisk the egg and vanilla extract into the sugar mixture until glossy.
Step 4
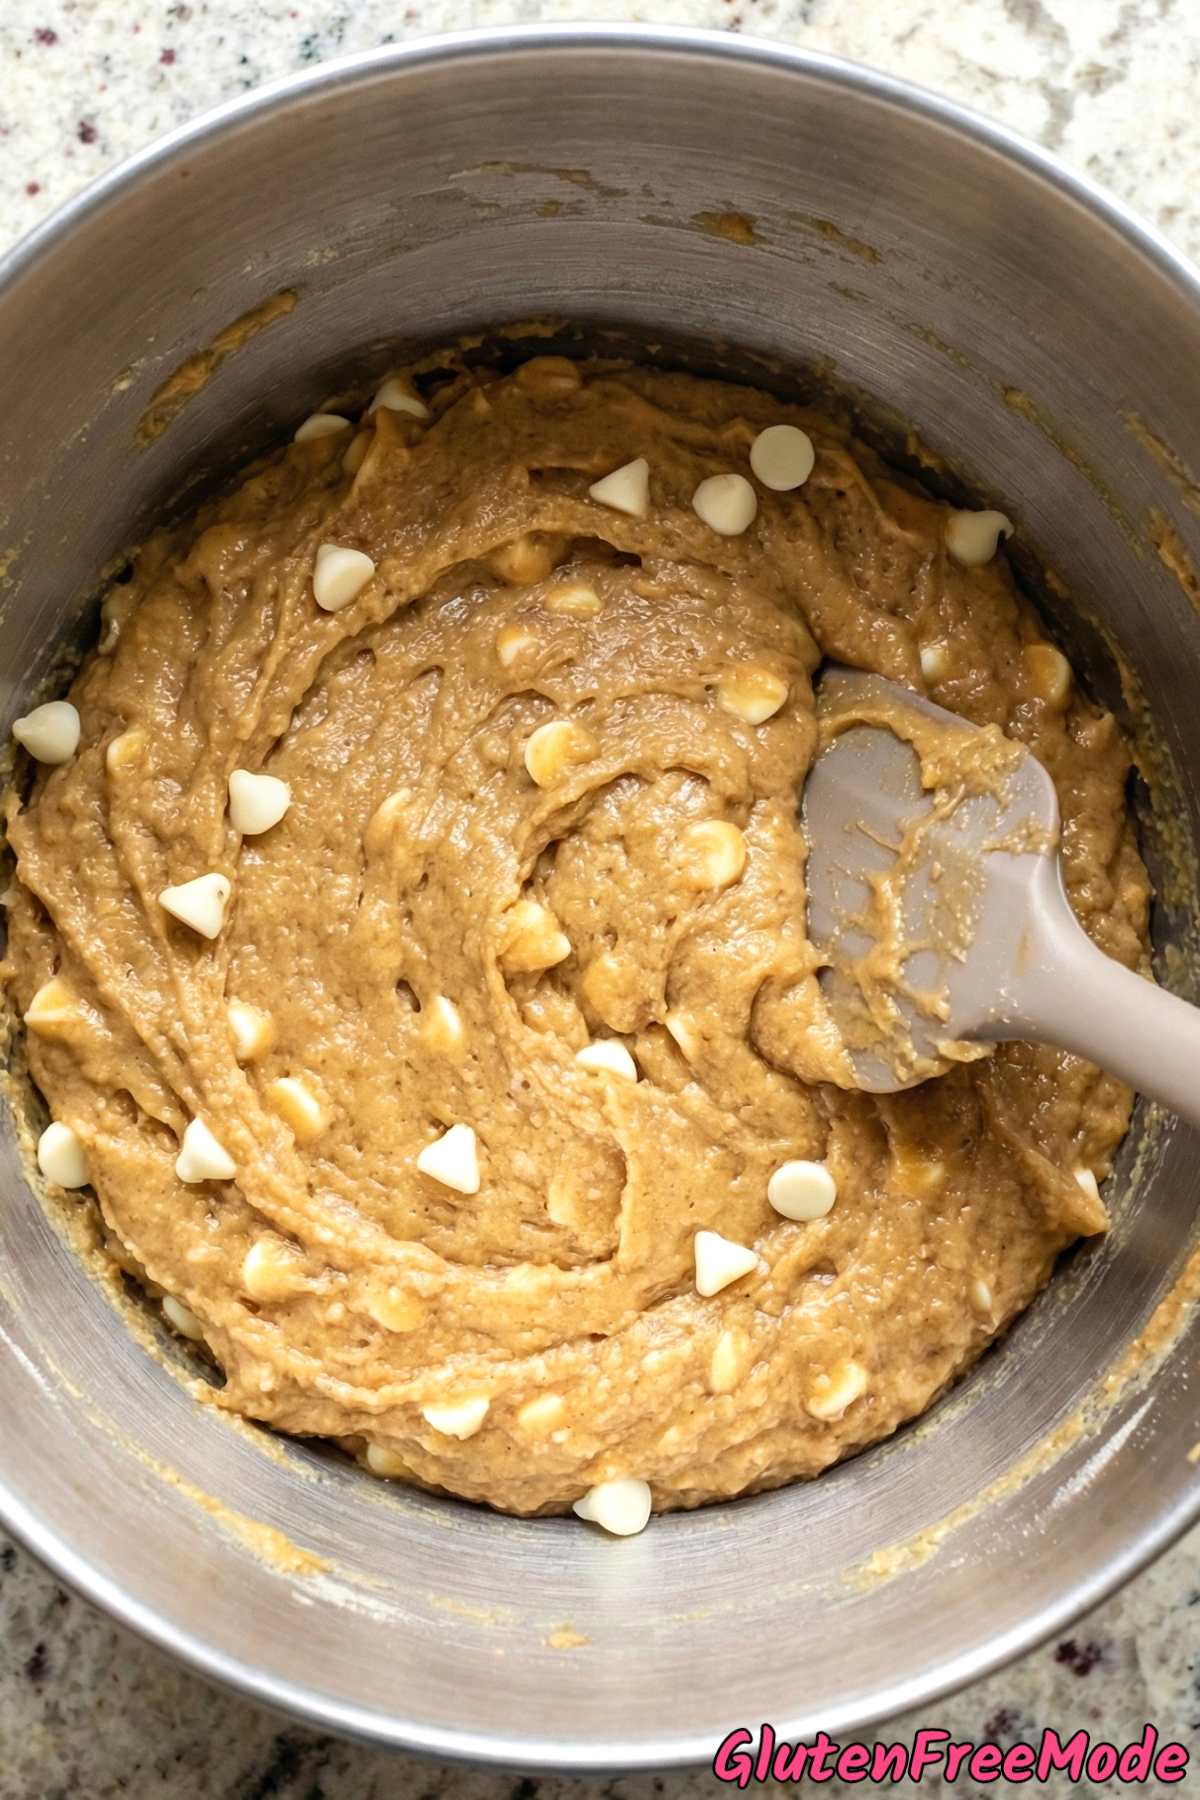
Stir in the gluten free all-purpose flour, baking powder, and salt until just combined to form a thick blondie batter, then fold in the white chocolate chips.
Step 5
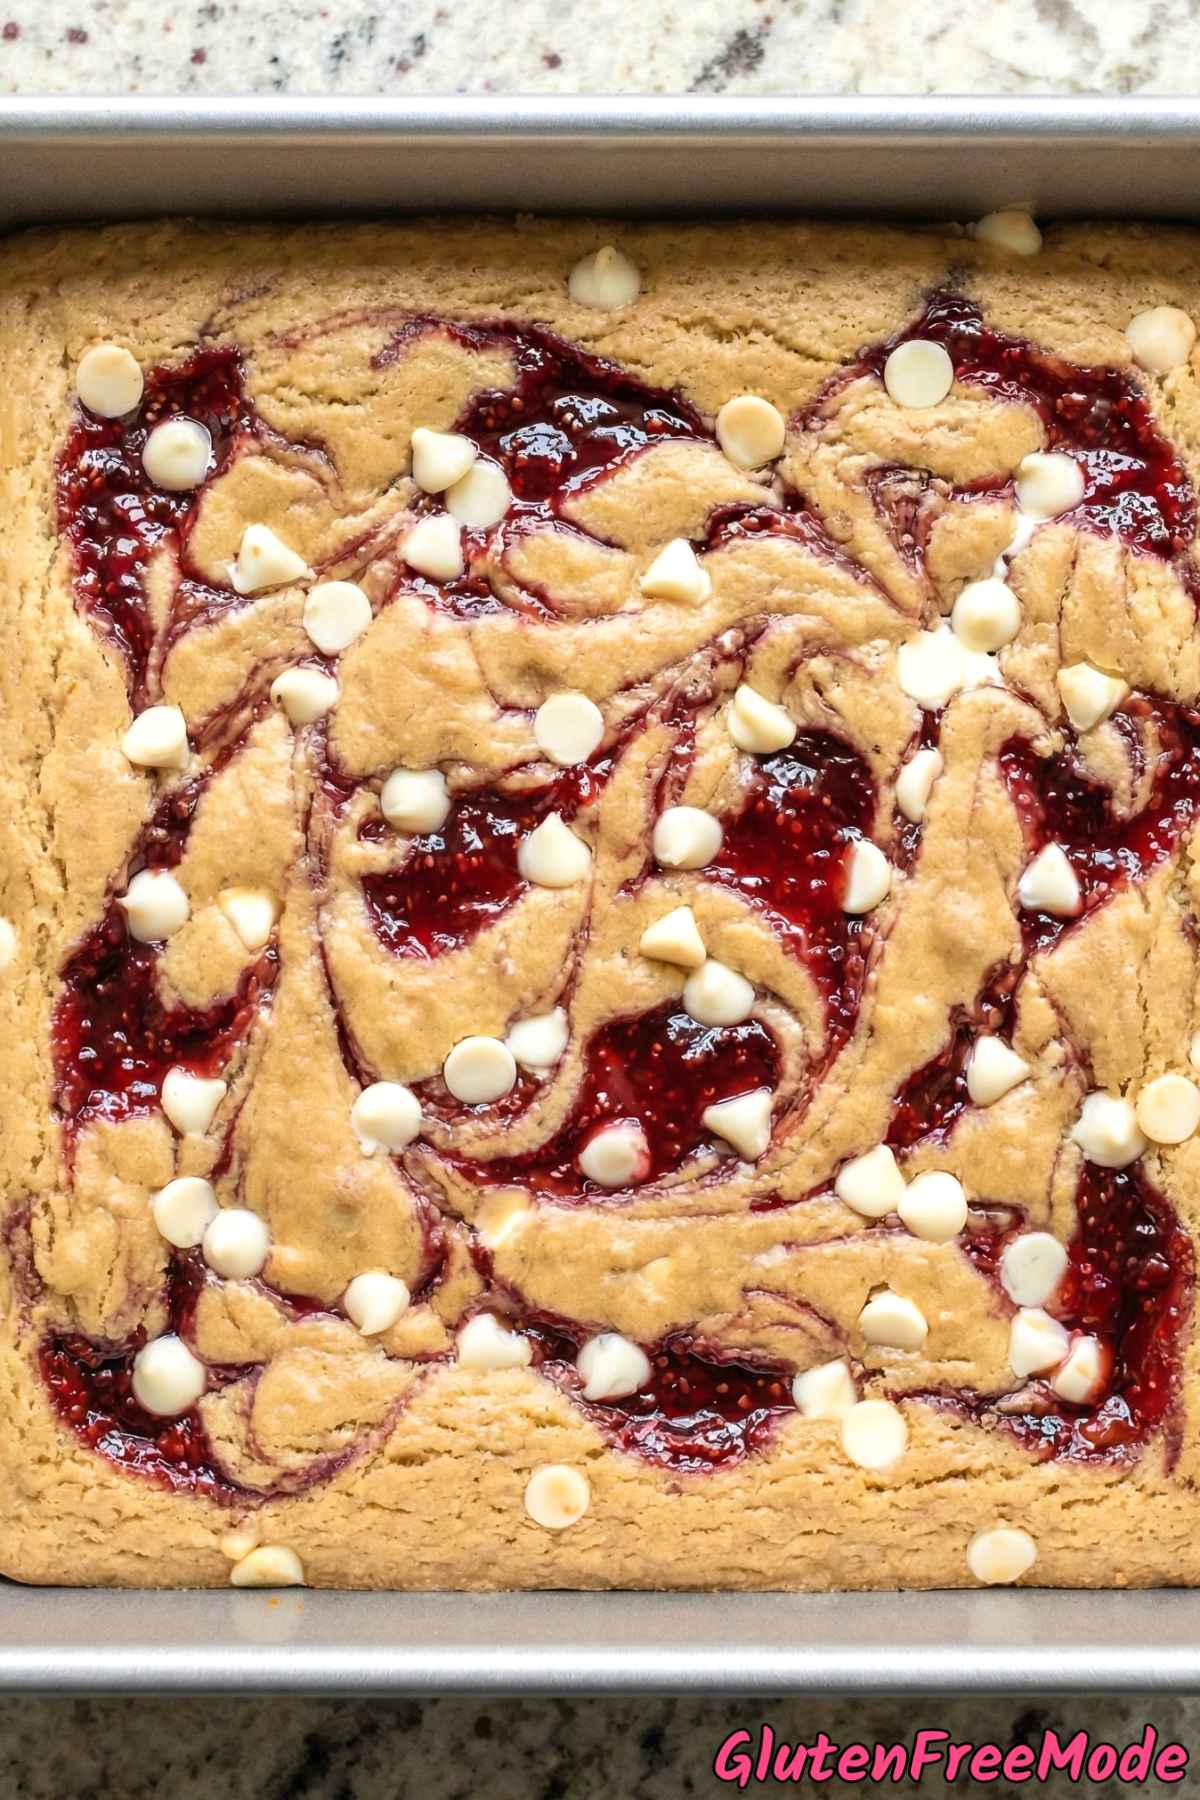
Spread the batter evenly into the prepared baking pan.
Step 6
Drop small dollops of the seedless raspberry jam all over the top of the batter, then use a butter knife or toothpick to swirl the jam through the blondies.
Step 7
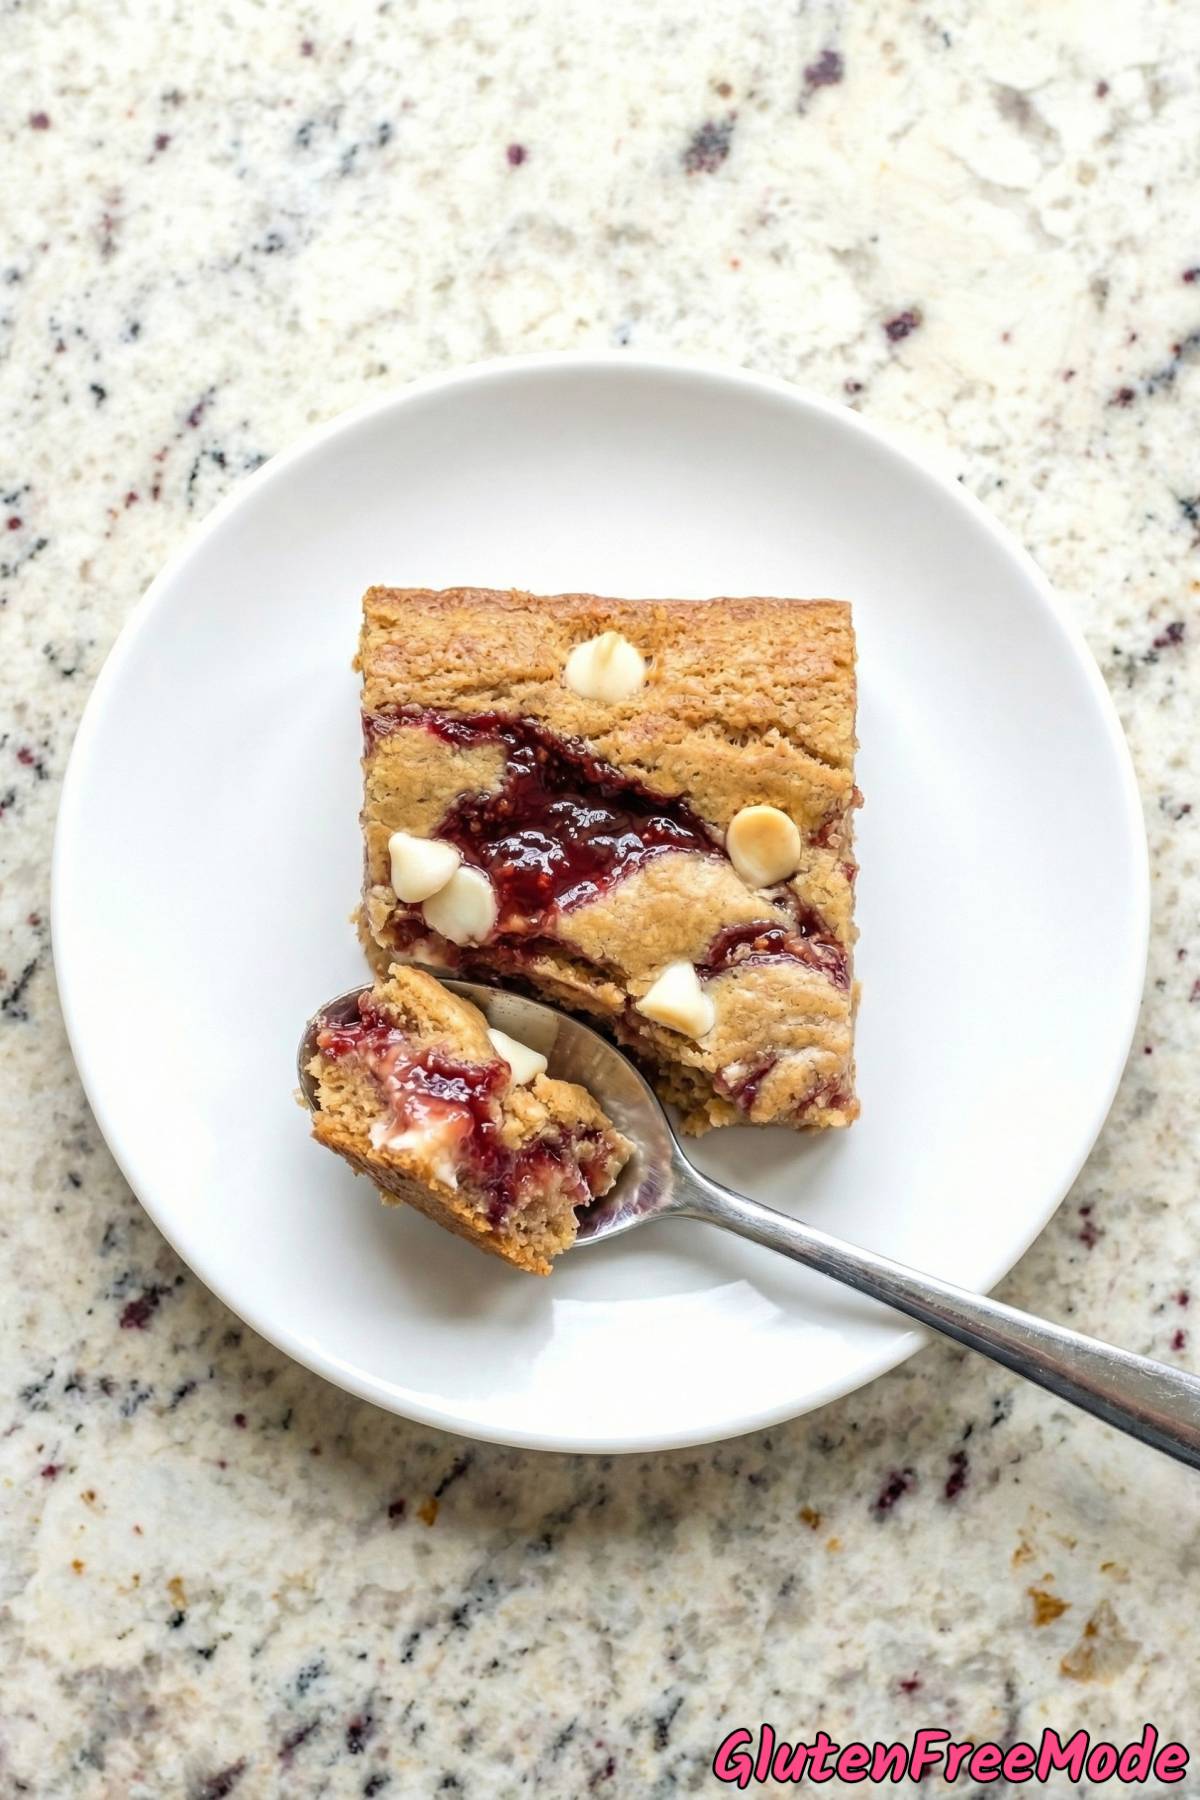
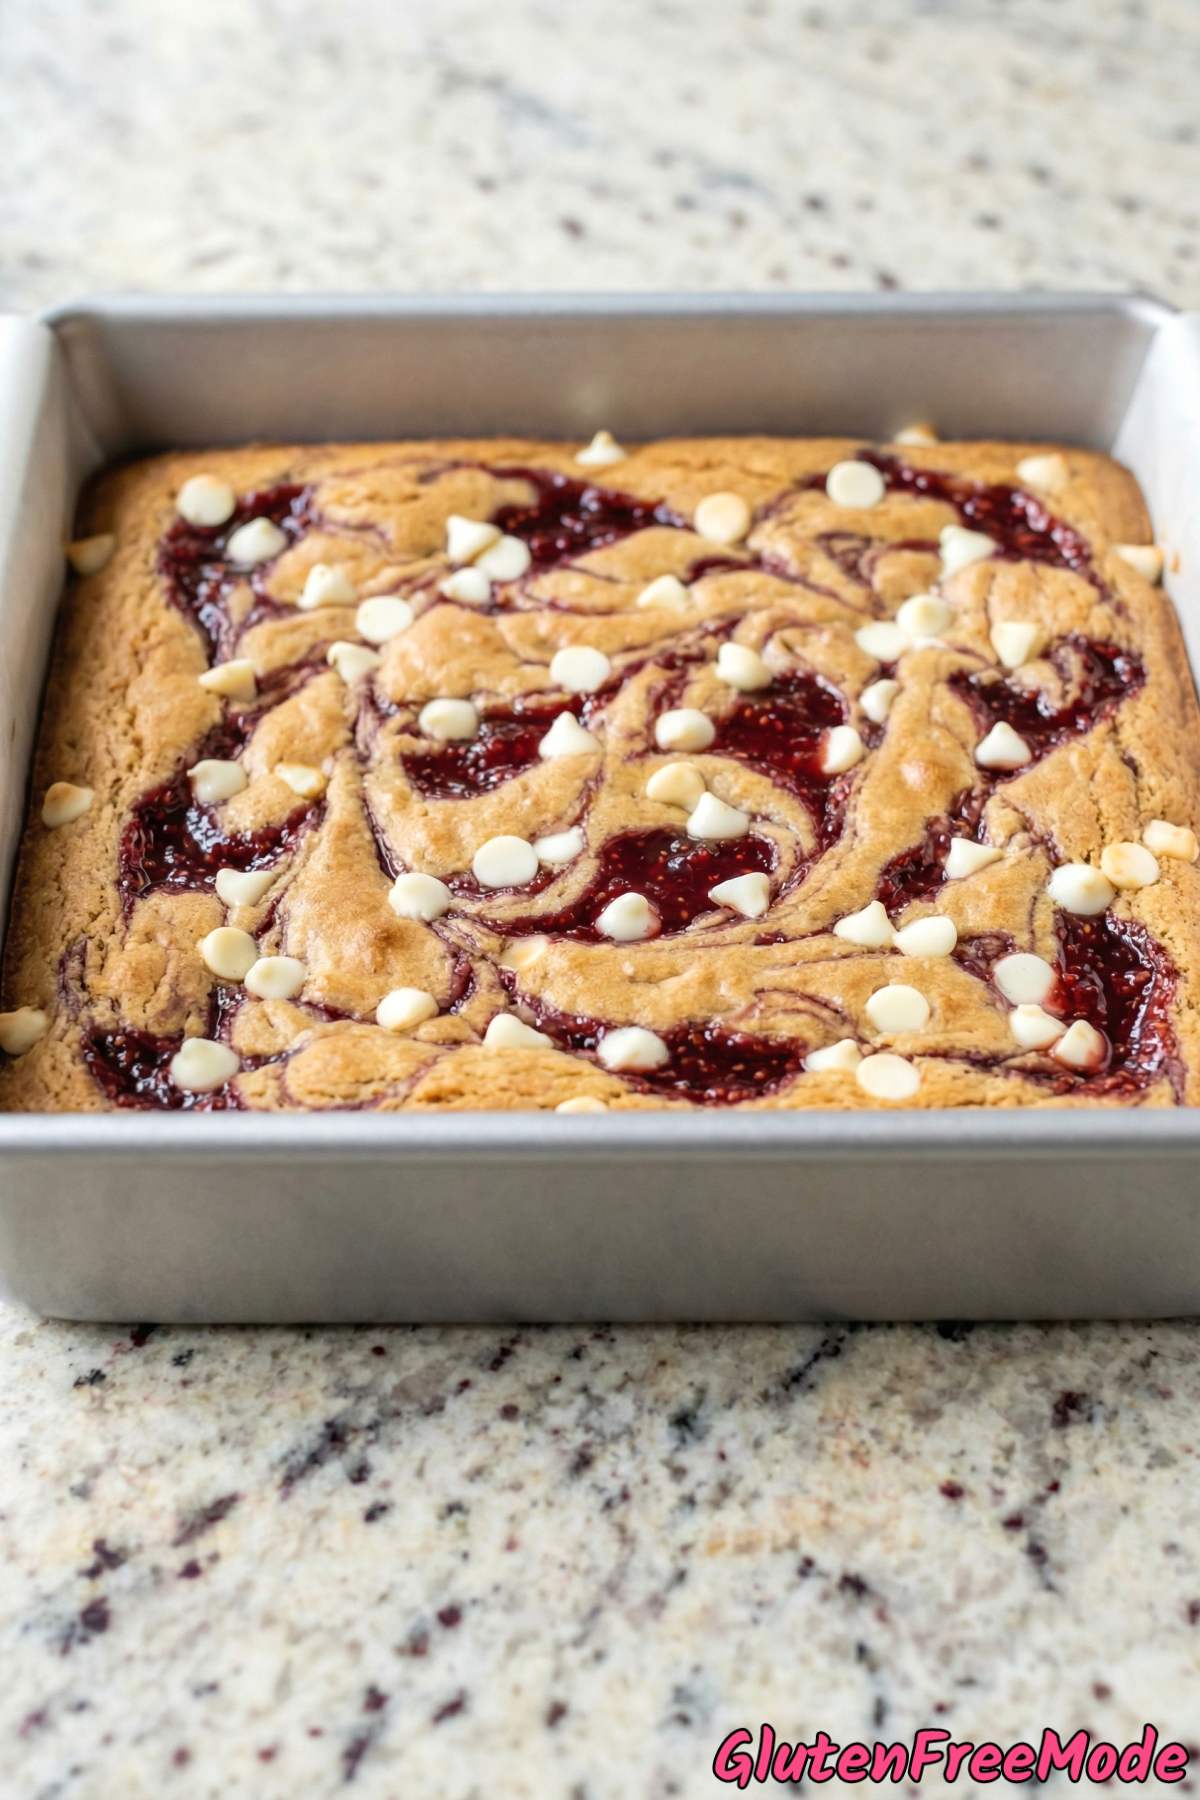
Bake for 25-30 minutes until the edges are golden and the center is set. Let cool completely before cutting into squares.
Helpful Tips
Cool the Butter Slightly After Melting
You want the butter melted but not super hot. If it’s too hot when you add the egg, it can partially cook the egg and leave you with little scrambled bits in your batter.
After you melt the butter, just let it sit for about 5 minutes before mixing it with the brown sugar. It should be warm but comfortable to touch on the outside of the bowl.
This also helps the brown sugar dissolve more evenly without clumping up.
Pack Your Brown Sugar
When measuring the brown sugar, press it firmly into the measuring cup. Loosely scooped brown sugar will give you less than you actually need, and your blondies will turn out less chewy and less sweet than they should be.
Fill the cup, press it down with the back of a spoon, add more, and press again until you hit the 1 cup line. When you flip the cup over, the sugar should hold its shape for a second before crumbling.
Don’t Overmix Once the Flour Goes In
Once you add the gluten free flour, baking powder, and salt, stir just until everything comes together into a thick batter. You should stop as soon as you don’t see any dry flour pockets left.
Overmixing at this stage makes the blondies dense and tough instead of soft and chewy. A few small lumps are totally fine.
Fold in the white chocolate chips at the very end with just a couple of gentle stirs so they’re spread throughout the batter without overworking anything.
You Might Also Like
- Gluten Free Lemon Blueberry Blondies
- Gluten Free Maple Pecan Blondies
- Gluten Free Peanut Butter Swirl Brownies
- Gluten Free Strawberry Cheesecake Bars
- Gluten Free Brownie Cheesecake Swirl
Frequently Asked Questions
What brand of gluten free flour works best for these blondies?
A gluten free all-purpose flour blend that contains xanthan gum works best here. Popular options like Bob’s Red Mill 1-to-1 Baking Flour or King Arthur Measure for Measure are both great choices and give a soft, chewy texture.
If your flour blend doesn’t already include xanthan gum, you may want to add about 1/4 teaspoon to help bind everything together and prevent a crumbly result.
Gluten Free Raspberry Swirl Blondies

Ingredients
- 1/2 cup Melted Butter
- 1 cup Brown Sugar
- 1 large Egg
- 1 tsp Vanilla Extract
- 1 cup Gluten Free All-Purpose Flour
- 1/2 tsp Baking Powder
- 1/4 tsp Salt
- 1/3 cup Seedless Raspberry Jam
- 1/2 cup White Chocolate Chips
Instructions
- Preheat the oven to 350F and line an 8x8 inch baking pan with parchment paper.
- In a medium bowl, whisk the melted butter and brown sugar together until completely smooth and well combined.
- Whisk the egg and vanilla extract into the sugar mixture until glossy.
- Stir in the gluten free all-purpose flour, baking powder, and salt until just combined to form a thick blondie batter, then fold in the white chocolate chips.
- Spread the batter evenly into the prepared baking pan.
- Drop small dollops of the seedless raspberry jam all over the top of the batter, then use a butter knife or toothpick to swirl the jam through the blondies.
- Bake for 25-30 minutes until the edges are golden and the center is set. Let cool completely before cutting into squares.