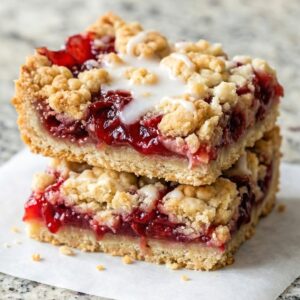
If you love cherry pie but don’t always want to deal with making a full pie from scratch, these gluten free cherry pie bars are a really good shortcut. All the flavor, way less effort.
The base is a simple buttery crust that you press right into the pan. No rolling, no shaping, no stress. Then you spread cherry pie filling on top and bake it until everything is golden and bubbly.
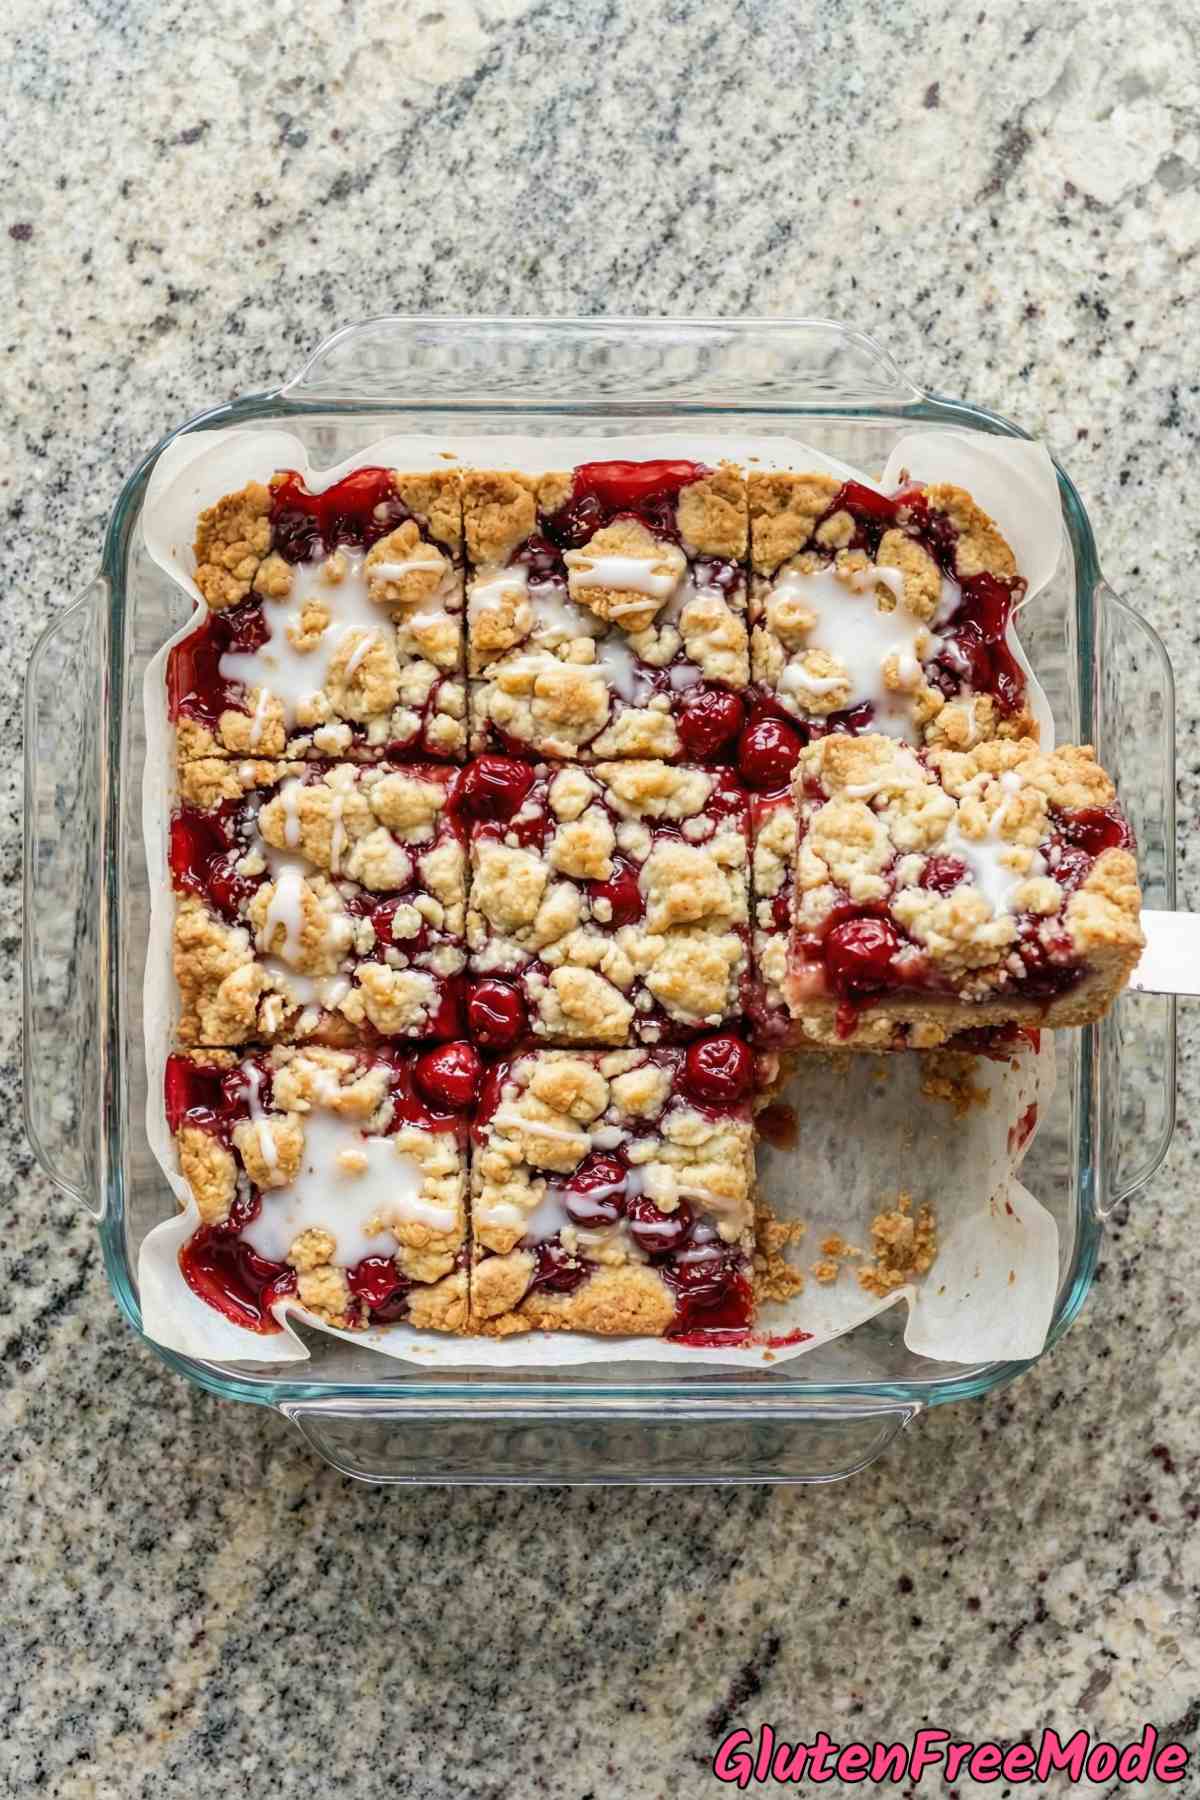
Once they cool down, you drizzle a quick powdered sugar glaze over the top. It adds a nice finishing touch and makes them look a little extra special without any extra work.
Everything in this recipe is gluten free, so if you or someone you’re baking for can’t have gluten, you’re covered. And trust me, nobody will be able to tell these aren’t made with regular flour.
They’re great for potlucks, weeknight desserts, or anytime you just want something sweet waiting for you on the counter. Let’s get into the recipe.
Why You’ll Love This Recipe
Super Easy to Make – These cherry pie bars are way simpler than baking an actual pie. There’s no rolling out pie crust or worrying about a soggy bottom, so even beginners can nail this one on the first try.
No One Will Know It’s Gluten Free – The buttery shortbread-style crust tastes so good that people won’t even realize these bars are gluten free. It’s the kind of recipe that surprises everyone at the table.
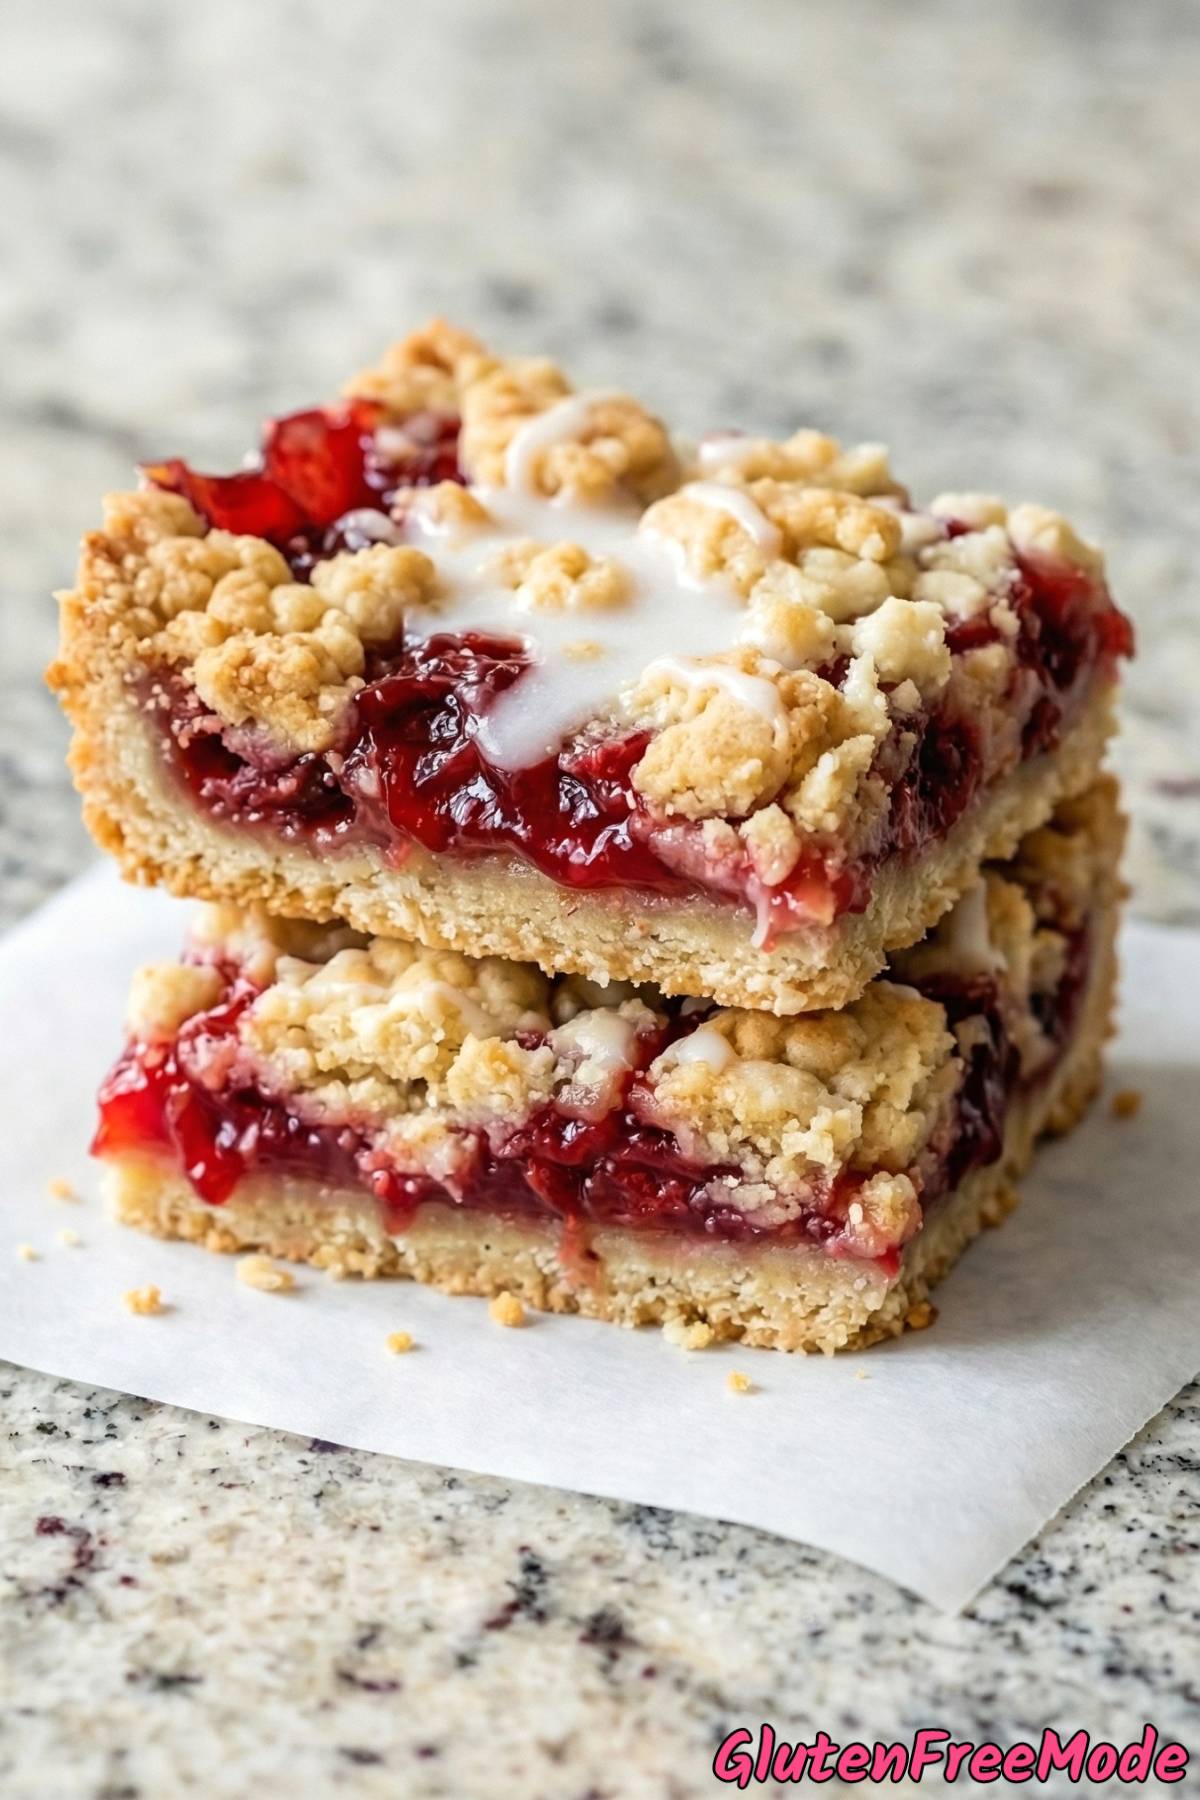
Tastes Like Real Cherry Pie – You get all that classic cherry pie flavor but in a handy bar form. The buttery crust and sweet cherry filling combo is honestly just as good as a traditional slice of pie.
Perfect for Sharing – Since these are bars, you can cut them into as many pieces as you need for a party, potluck, or family gathering. They’re way easier to serve than slicing up a round pie.
Ingredients
- 1.5 cups Gluten Free All-Purpose Flour
- 1/2 cup Granulated Sugar
- 1/2 tsp Baking Powder
- 1/2 cup Cold Unsalted Butter
- 1 large Egg
- 1 tsp Vanilla Extract
- 2 cups Cherry Pie Filling
- 1/2 cup Powdered Sugar
- 1 tbsp Milk
How to Make
Step 1
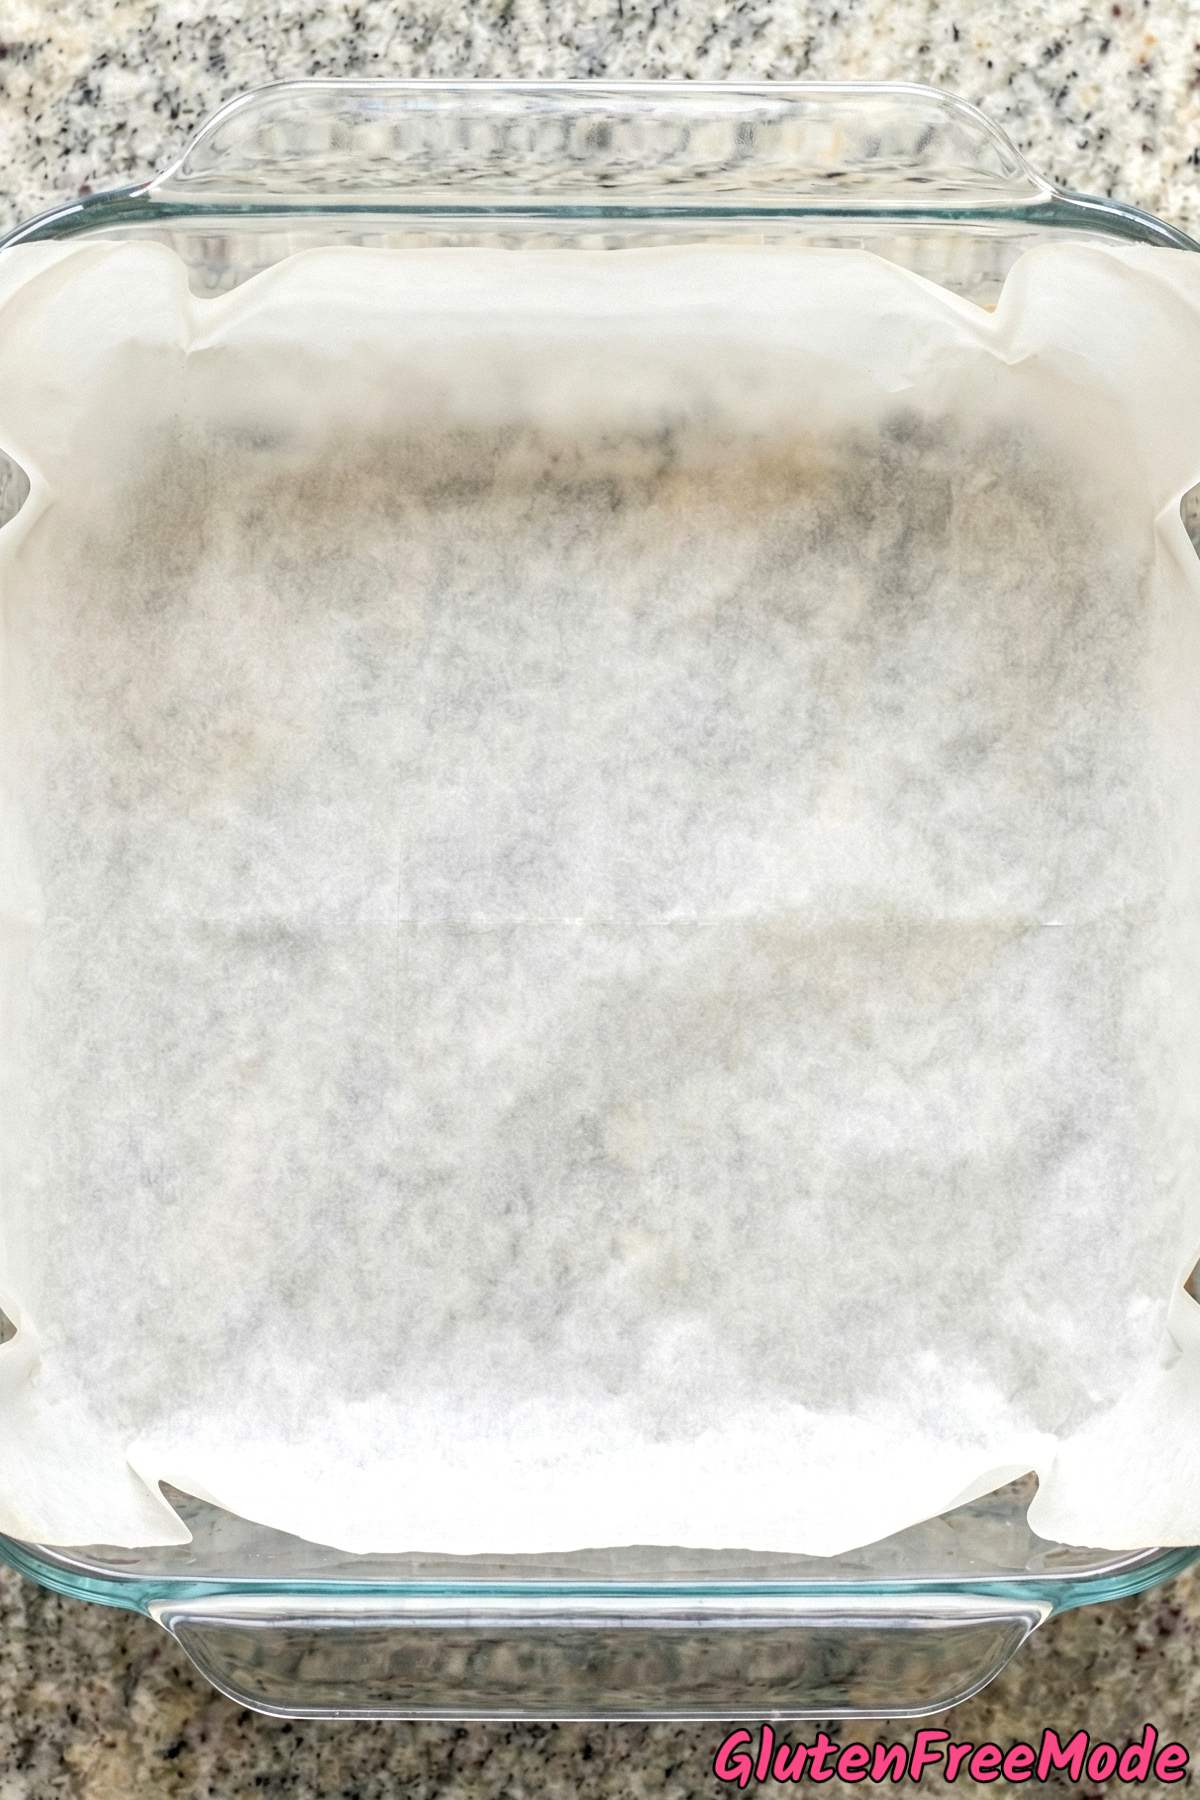
Preheat oven to 350F and line an 8×8 inch baking dish with parchment paper.
Step 2
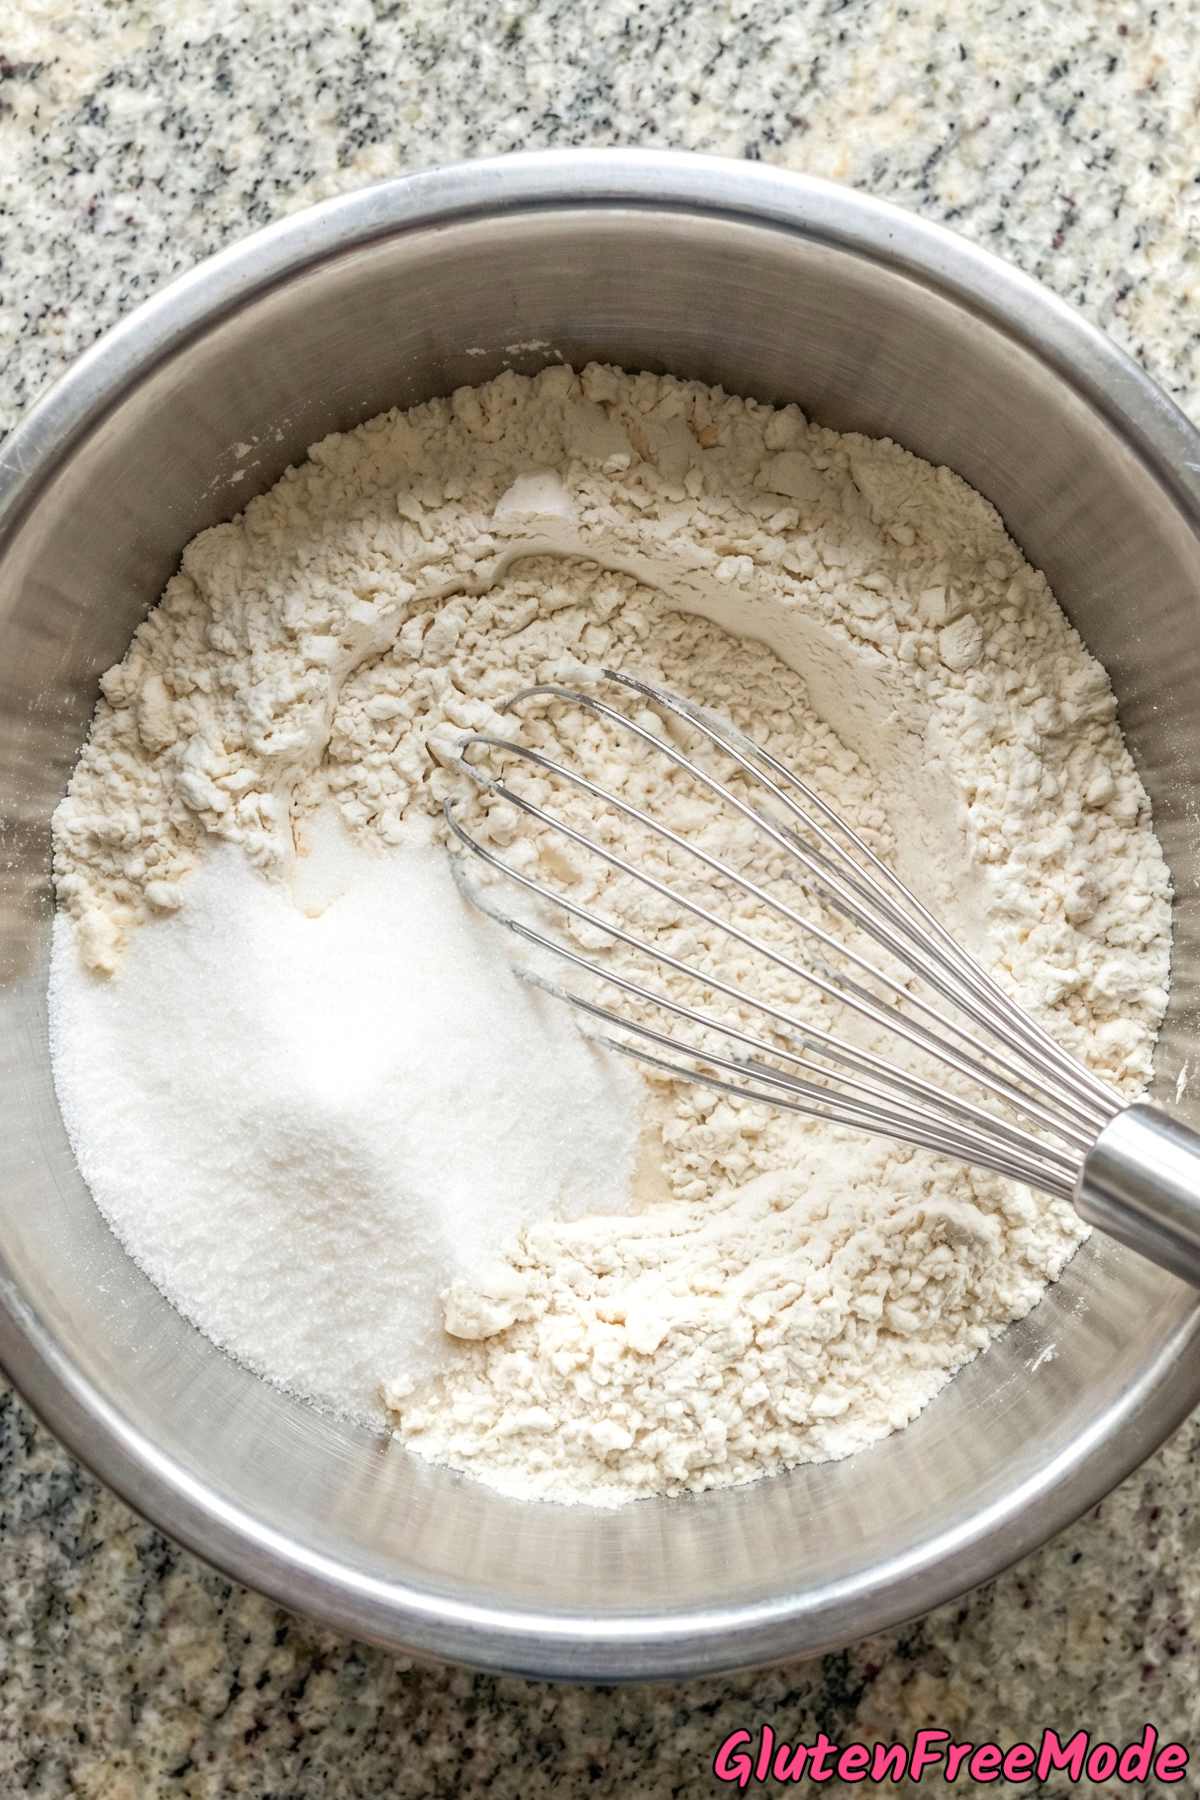
In a mixing bowl, combine the gluten free all-purpose flour, granulated sugar, and baking powder.
Step 3
Cut the cold unsalted butter into pieces and blend into the dry ingredients using a pastry blender. Stir in the egg and vanilla extract until a crumbly dough forms.
Step 4
Press two-thirds of the dough firmly into the bottom of the prepared baking dish to form a crust.
Step 5
Spread the cherry pie filling evenly over the bottom crust.
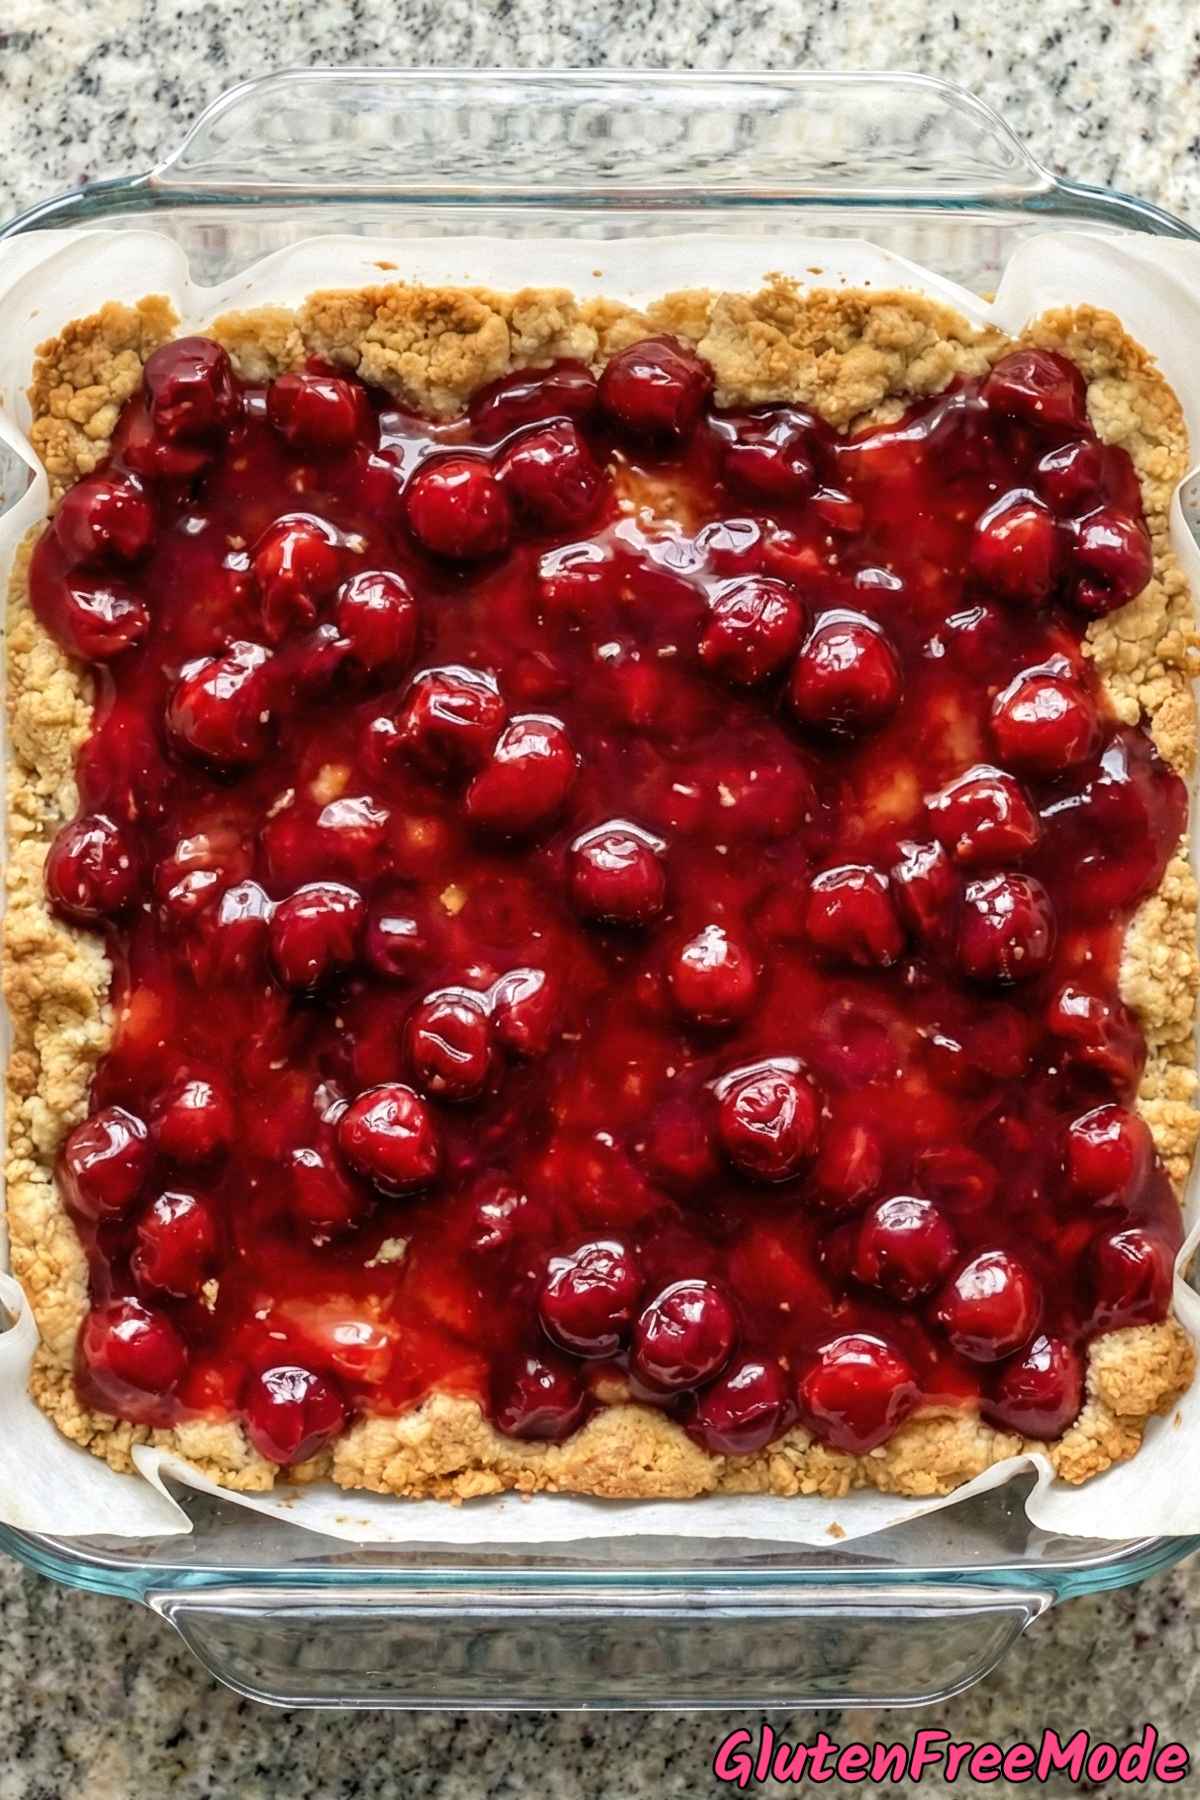
Step 6
Crumble the remaining dough over the top of the cherry layer. Bake for 35-40 minutes until the top is lightly golden brown.
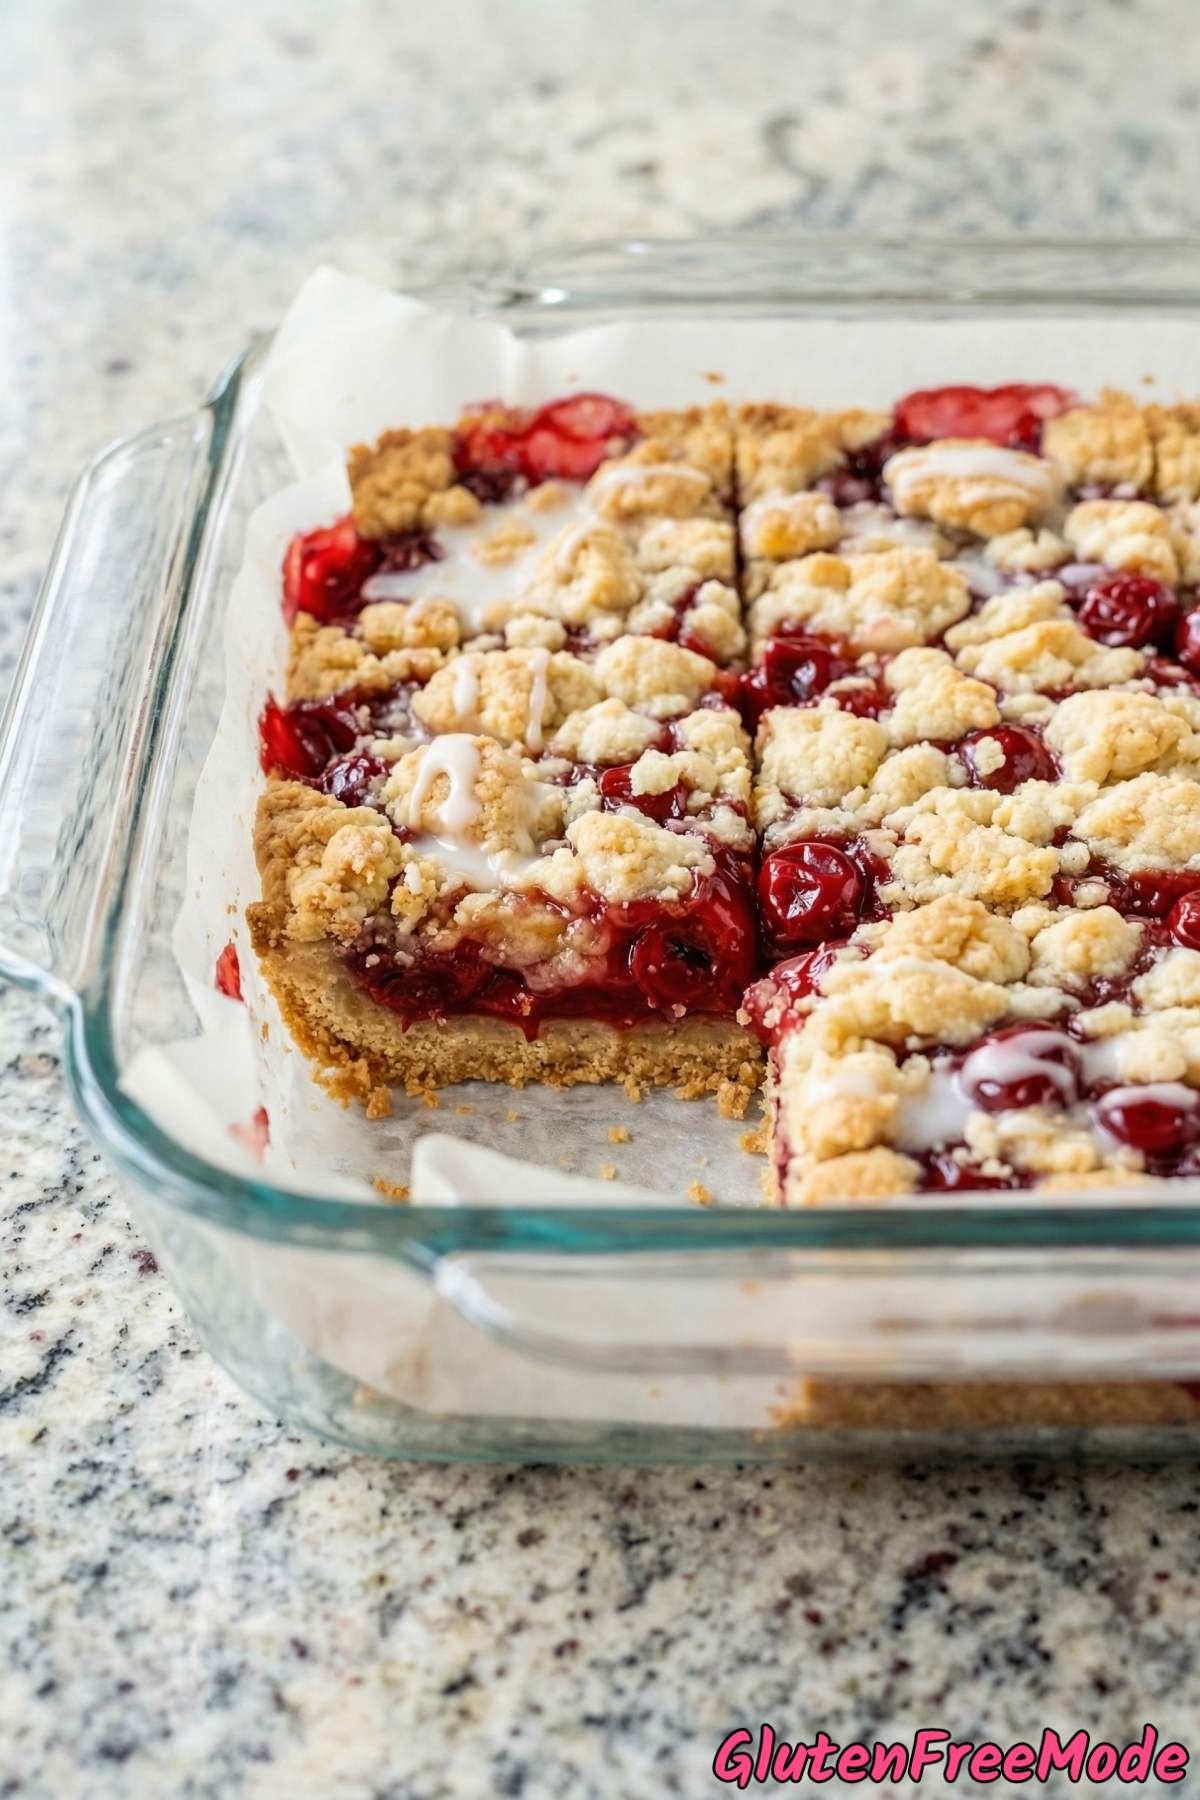
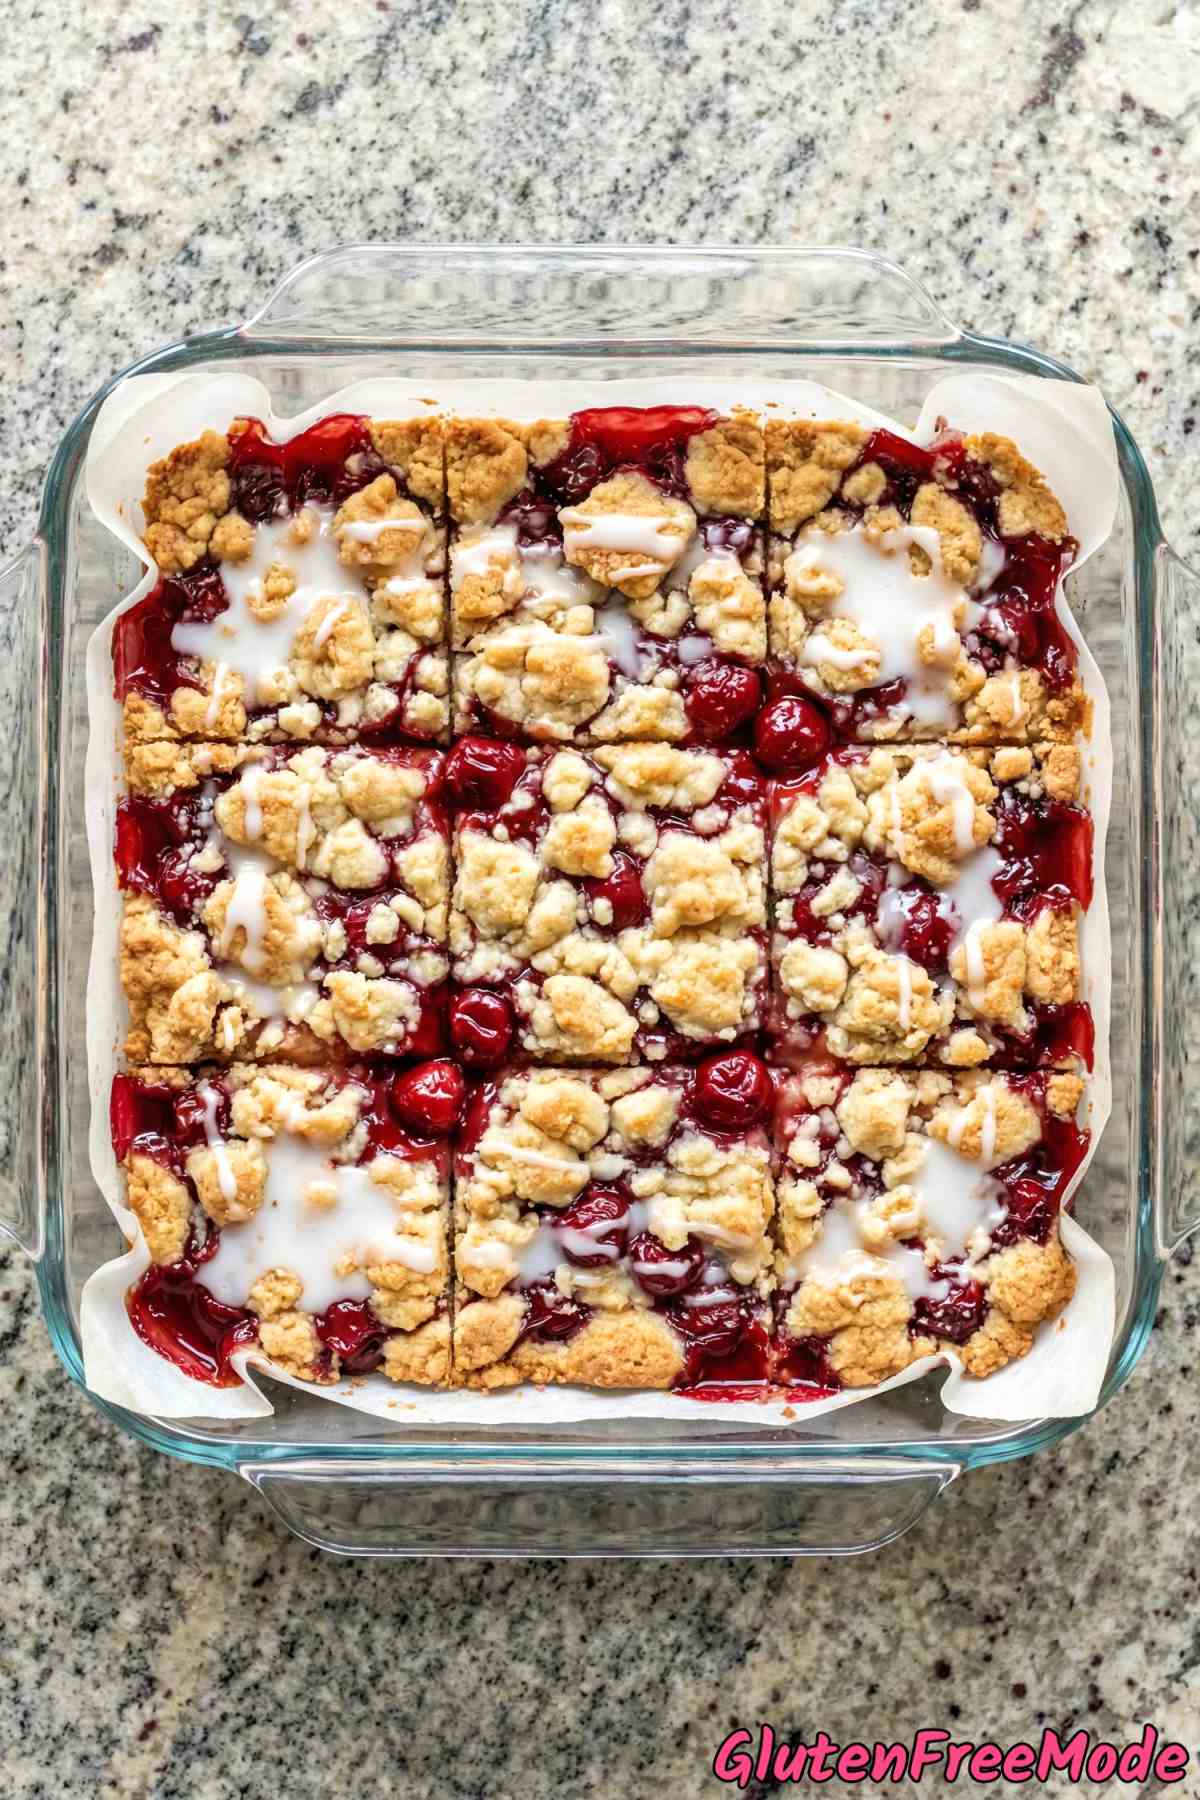
Step 7
Let the bars cool. Whisk the powdered sugar and milk together to create a simple glaze, drizzle over the top, and cut into squares.
Helpful Tips
Keep Your Butter Really Cold
The butter needs to be cold when you cut it into the dry ingredients. If it’s soft or room temperature, the dough will turn into a sticky mess instead of forming those nice crumbly pieces you need.

A good trick is to cut the butter into small cubes and toss them back in the fridge for about 10 minutes before you start blending them into the flour mixture.
When you use a pastry blender, you want the mixture to look like coarse crumbs with some pea-sized bits of butter still visible. That’s how you know it’s right.
Use the Right Gluten Free Flour
Not all gluten free all-purpose flours are the same. Some brands include xanthan gum and some don’t, and that makes a big difference in how the dough holds together.
If your flour blend doesn’t have xanthan gum listed in the ingredients, add about half a teaspoon to the dry mix. Without it, the bars can crumble apart when you try to cut them.
Bob’s Red Mill 1-to-1 and King Arthur Measure for Measure both work well here since they already have xanthan gum built in.
Press the Crust Down Firmly
When you press that two-thirds portion of dough into the bottom of the pan, really push it down tight. If the crust is loose or uneven, the cherry filling will seep through and make the bottom soggy.
Use the flat bottom of a measuring cup or a glass to press the dough down evenly across the whole pan. Make sure you get into the corners too, so every bar has a solid base.
You Might Also Like
- Gluten Free Gooey Lemon Bars
- Gluten Free Lemon Blueberry Blondies
- Gluten Free Millionaire Shortbread Bars
- Gluten Free Peach Cobbler
- Gluten Free Strawberry Cheesecake Bars
Frequently Asked Questions
Can I use fresh or frozen cherries instead of cherry pie filling?
You can, but you will need to cook them down first with some sugar and a bit of cornstarch to thicken everything up. Without thickening, fresh or frozen cherries will release too much juice and make the bars soggy.
That said, canned cherry pie filling is the easiest option here and gives you perfectly thick, saucy results every time with zero extra work.
Gluten Free Cherry Pie Bars
Equipment
- pastry blender
- 8x8 baking dish
Ingredients
- 1.5 cups Gluten Free All-Purpose Flour
- 1/2 cup Granulated Sugar
- 1/2 tsp Baking Powder
- 1/2 cup Cold Unsalted Butter
- 1 large Egg
- 1 tsp Vanilla Extract
- 2 cups Cherry Pie Filling
- 1/2 cup Powdered Sugar
- 1 tbsp Milk
Instructions
- Preheat oven to 350F and line an 8x8 inch baking dish with parchment paper.
- In a mixing bowl, combine the gluten free all-purpose flour, granulated sugar, and baking powder.
- Cut the cold unsalted butter into pieces and blend into the dry ingredients using a pastry blender. Stir in the egg and vanilla extract until a crumbly dough forms.
- Press two-thirds of the dough firmly into the bottom of the prepared baking dish to form a crust.
- Spread the cherry pie filling evenly over the bottom crust.
- Crumble the remaining dough over the top of the cherry layer. Bake for 35-40 minutes until the top is lightly golden brown.
- Let the bars cool. Whisk the powdered sugar and milk together to create a simple glaze, drizzle over the top, and cut into squares.