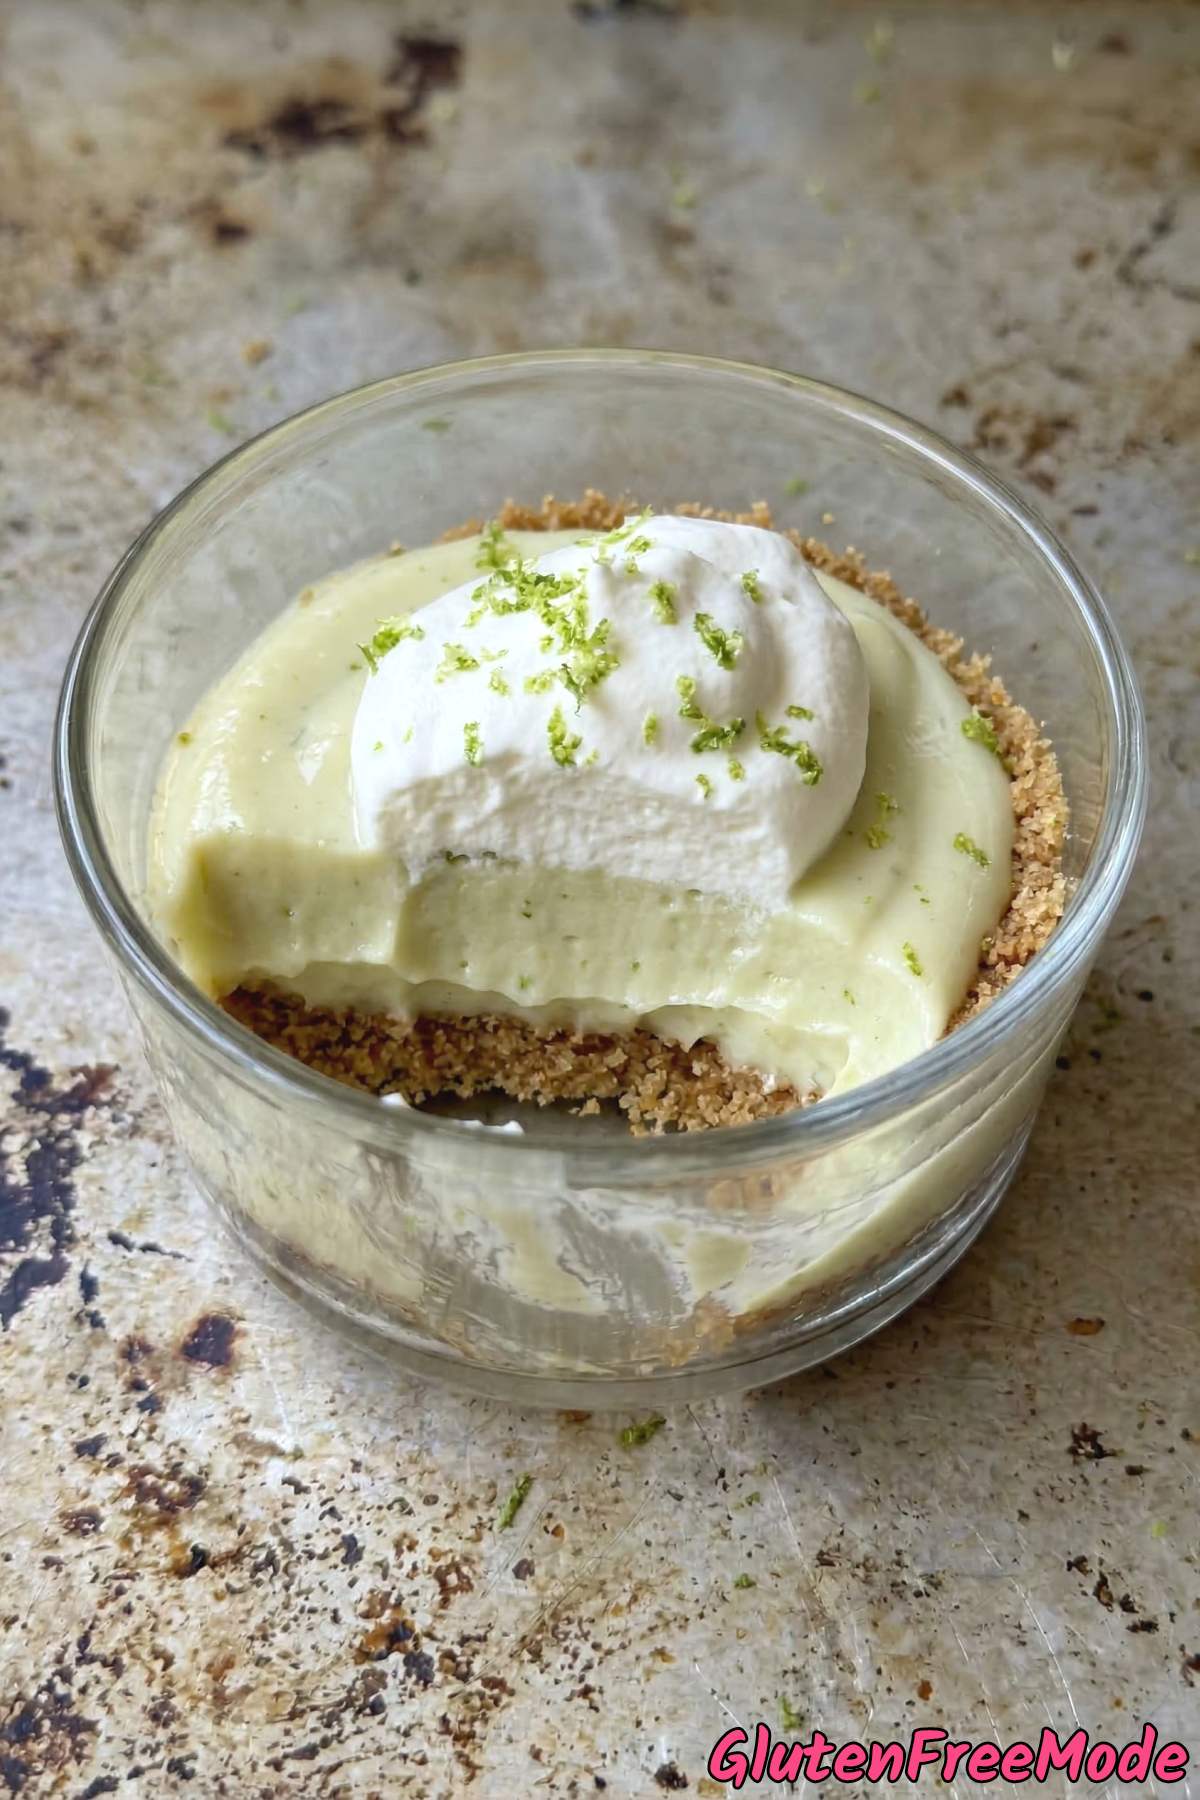
If you love key lime pie but need a gluten free version, these little cups are going to make your day. They have all the creamy, tangy flavor of a classic key lime pie, just in a fun individual portion.
The crust is made with gluten free graham cracker crumbs, melted butter, and a little sugar. It comes together in minutes and tastes just as good as the original.
For the filling, you only need a handful of ingredients. Cream cheese, sweetened condensed milk, fresh key lime juice, zest, and some whipped topping. Simple stuff that creates something really delicious.
The best part about making these gluten free key lime pie cups is that nobody will even guess they are gluten free. They are rich, smooth, and perfectly tart.
Whether you are making them for a party or just because you want a nice treat after dinner, these are a solid choice. Let me walk you through how to make them.
Why You’ll Love This Recipe
No Baking Required – These key lime pie cups don’t need any oven time at all. Just layer the crust and filling, chill them, and you’ve got a gorgeous dessert ready to serve.
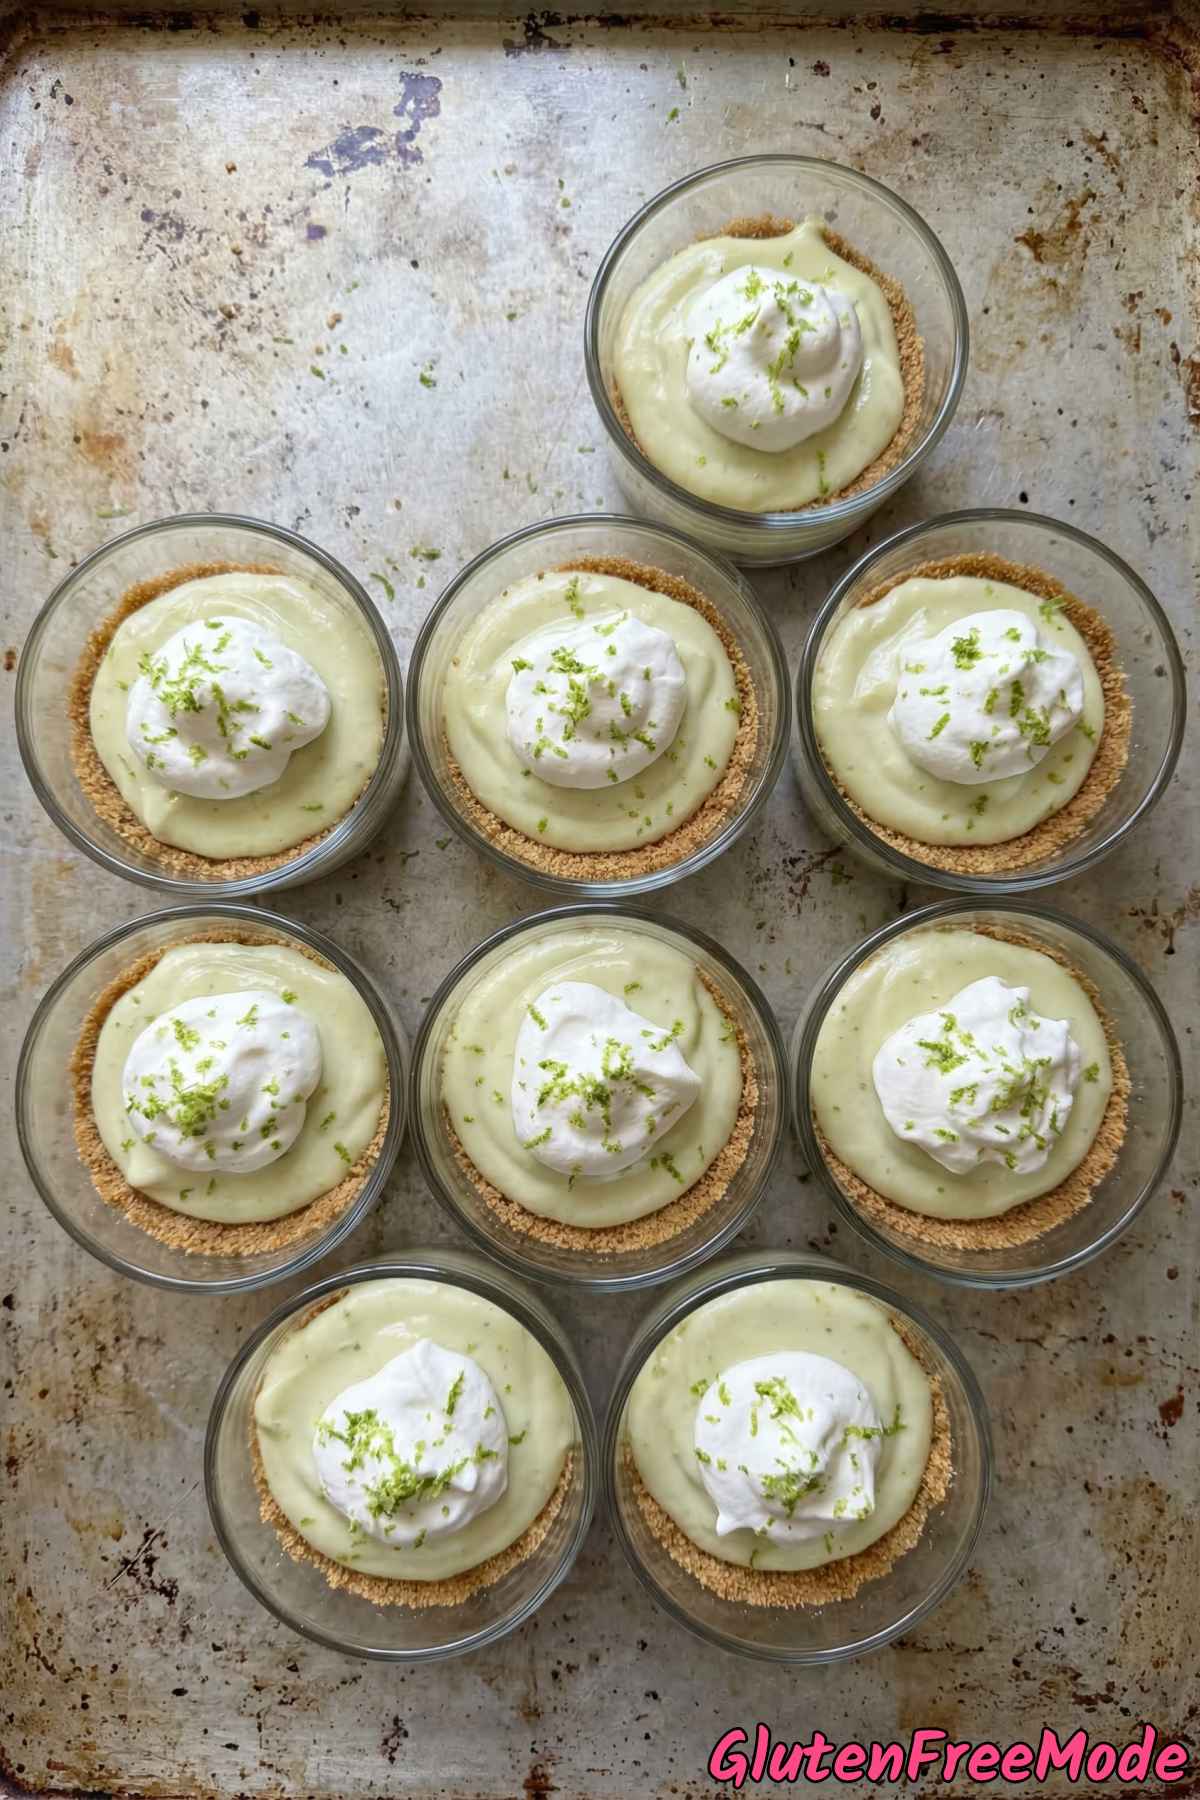
Perfectly Portioned – Individual cups mean no messy slicing or uneven pieces. Everyone gets their own perfectly layered little dessert, which also makes serving at parties so much easier.
Gluten Free and Delicious – Nobody will ever guess these are gluten free. The graham cracker crust tastes just like the classic version, so everyone at the table can enjoy them without feeling like they’re missing out.
Only a Few Ingredients – The filling comes together with just five ingredients, and the crust only needs three. You won’t be running around the store with a mile-long shopping list for this one.
Ingredients
For the Crust
- 1 1/2 cups Gluten Free Graham Cracker Crumbs
- 5 tbsp Melted Butter
- 2 tbsp Sugar
For the Filling
- 14 oz Sweetened Condensed Milk
- 1/2 cup Fresh Key Lime Juice
- 2 tsp Key Lime Zest
- 8 oz Cream Cheese, softened
- 1 cup Whipped Topping
How to Make
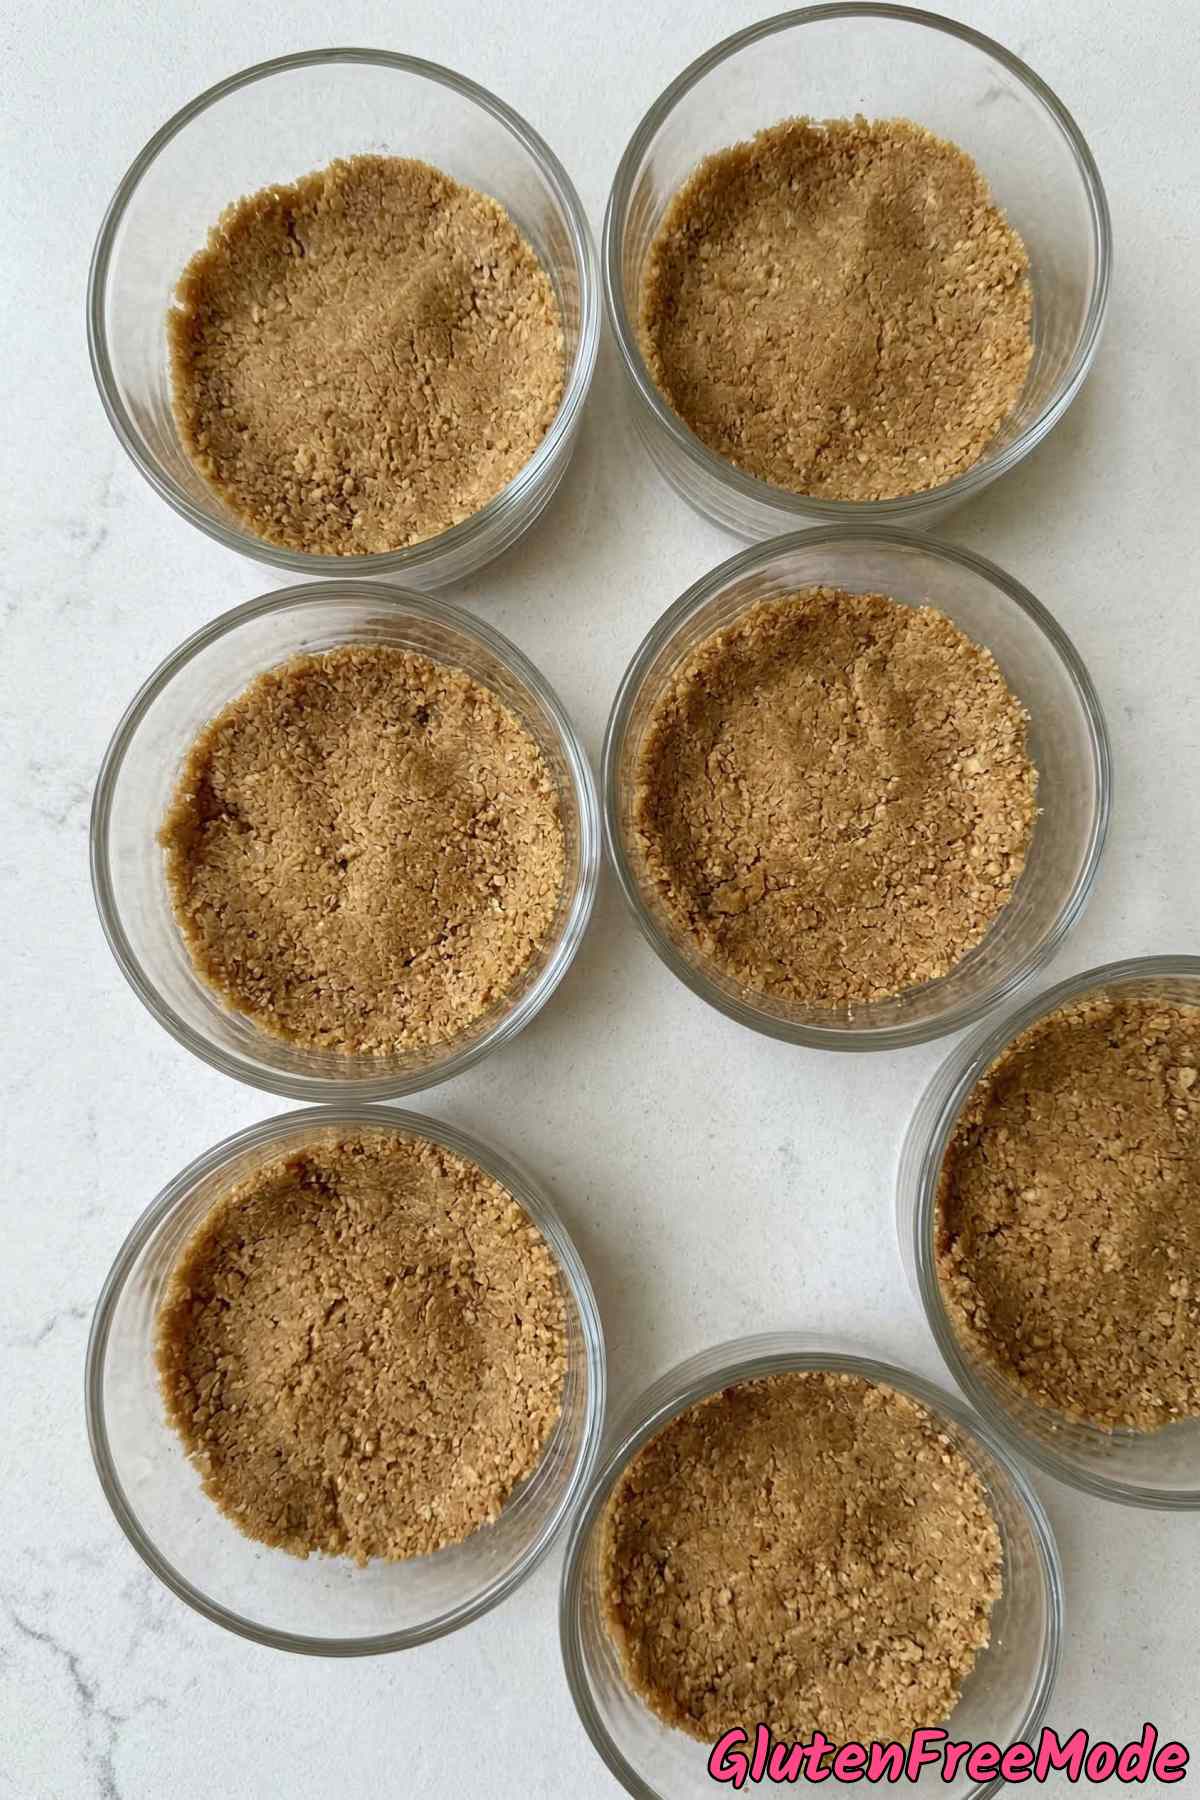
Step 1
Mix gluten free graham cracker crumbs, melted butter, and sugar until combined, then divide among 8 small cups and press down firmly.
Step 2
Beat cream cheese until smooth, then add sweetened condensed milk and beat until creamy.
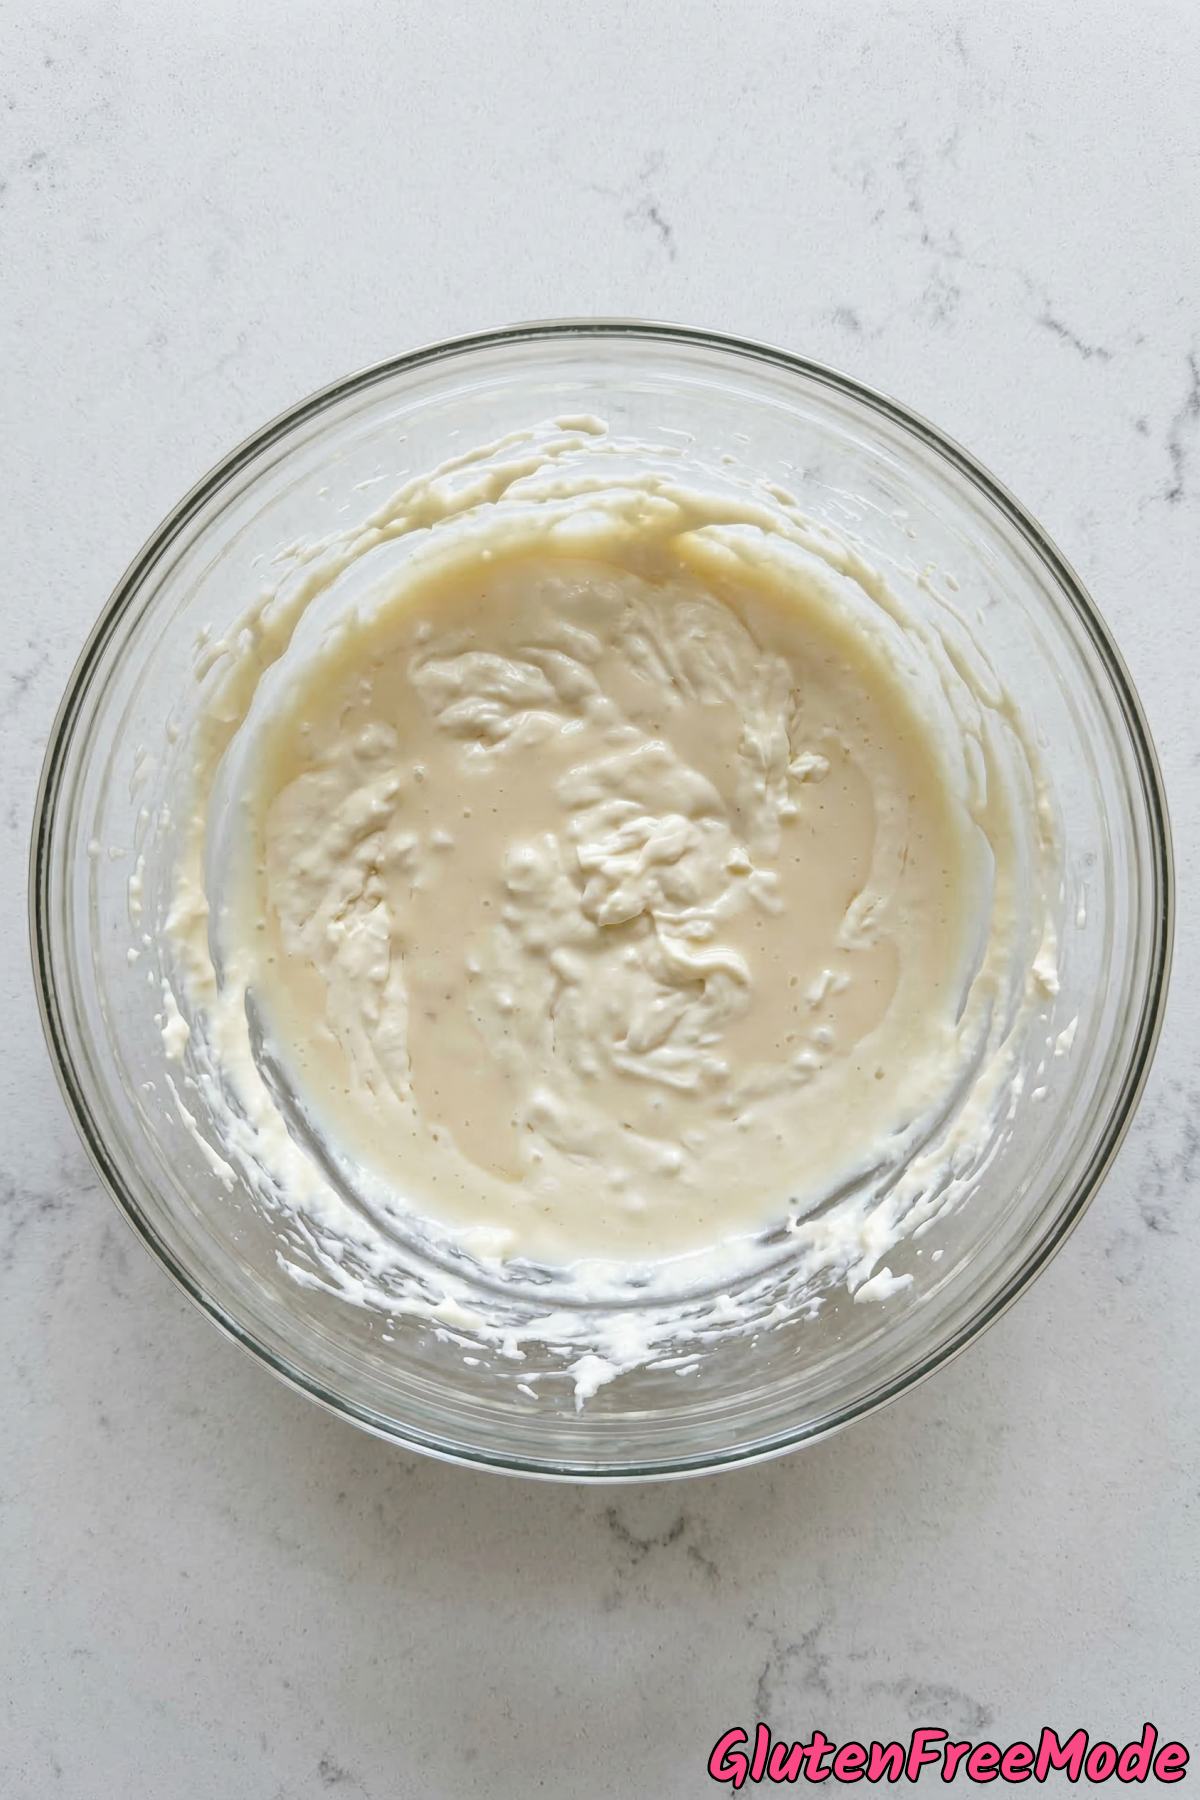
Step 3
Stir in key lime juice and lime zest until the mixture thickens.
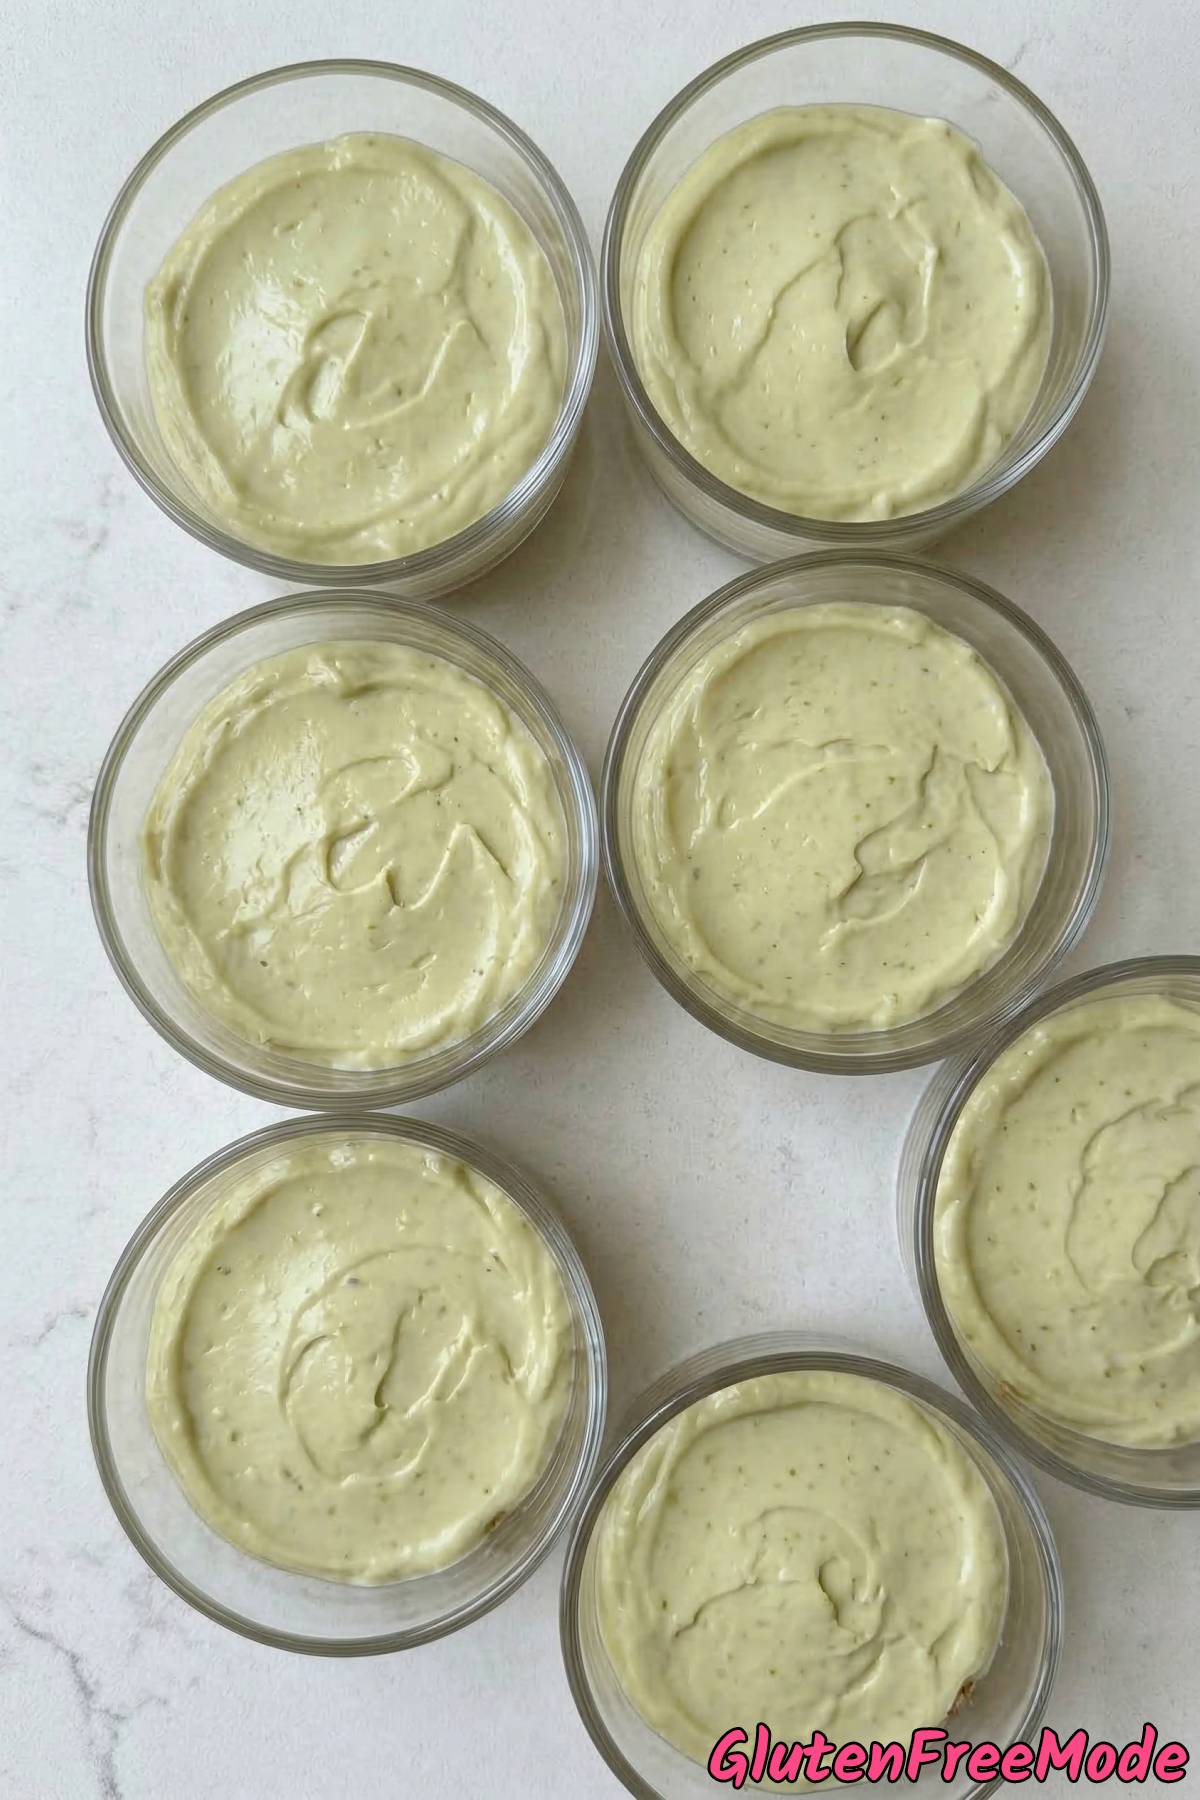
Step 4
Spoon the filling over the crusts in each cup, filling almost to the top.
Step 5
Refrigerate for at least 4 hours or overnight until completely set.
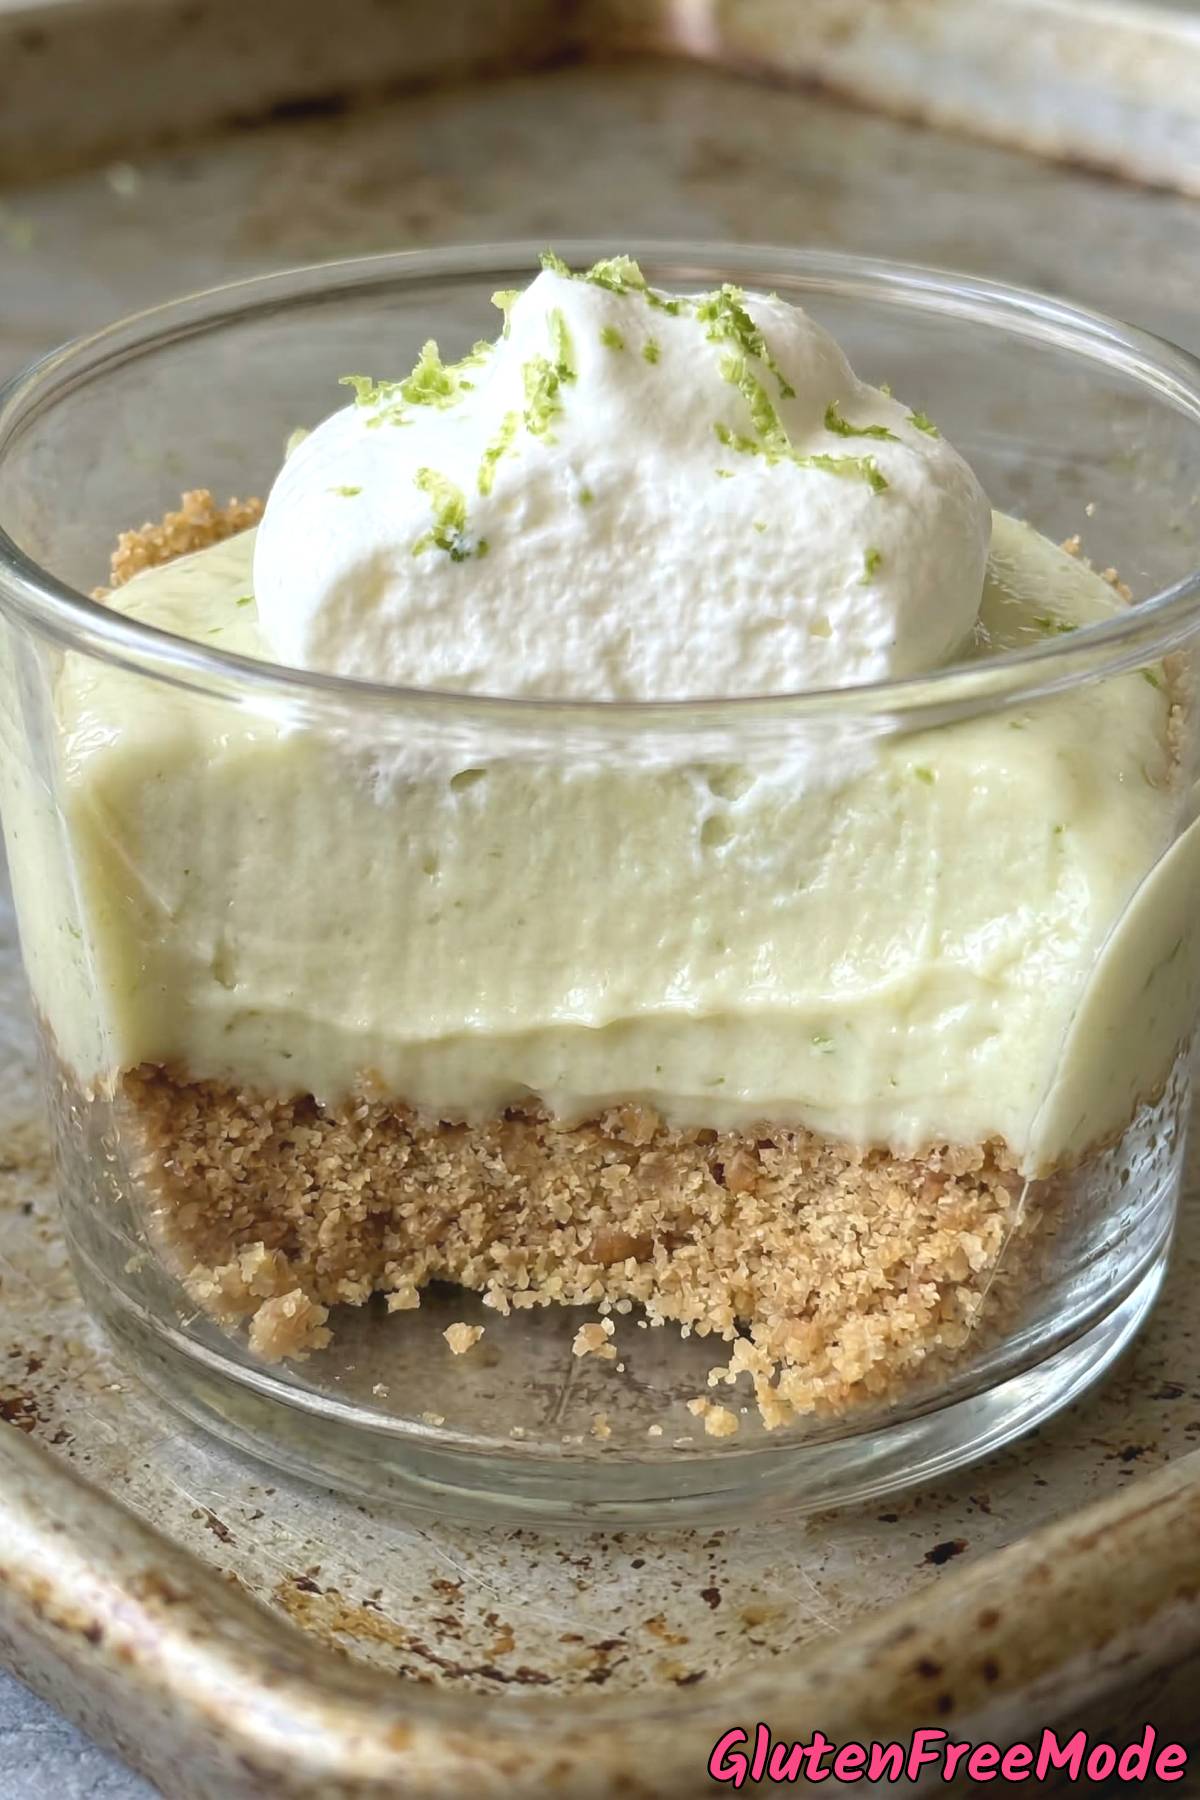
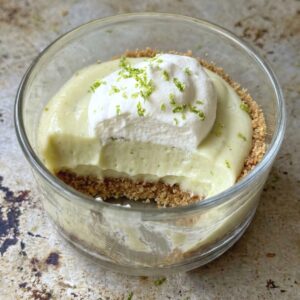
Step 6
Top each cup with a dollop of whipped topping just before serving.
Step 7
Garnish with extra lime zest for a beautiful presentation.

Helpful Tips
Use Real Key Limes
Regular limes and key limes taste different. Key limes are smaller, more tart, and have a floral flavor that regular limes just don’t have. If you use regular lime juice, your filling won’t taste the same.
You’ll need about 15-20 key limes to get 1/2 cup of juice since they’re tiny and don’t give you much per fruit. Cut them in half and use a small citrus press or just squeeze them by hand over a strainer to catch the seeds.
If you absolutely can’t find fresh key limes, bottled key lime juice from the store works in a pinch. Just make sure it says “key lime” on the label and not just regular lime juice.
Get Your Cream Cheese Fully Softened
This is probably the most important step for getting a smooth filling. If your cream cheese is still cold in the middle, you’ll end up with lumps no matter how long you beat it, and those lumps won’t go away once the other ingredients are mixed in.
Take the cream cheese out of the fridge at least an hour before you start. It should be soft enough that you can easily press your finger into it without any resistance.
If you forgot to take it out early, cut it into small cubes and let it sit on the counter for about 20 minutes. That speeds things up a lot because more surface area is exposed to the warm air.
Press the Crust Down Firmly
A loose, crumbly crust will fall apart the second you try to scoop out a bite. You want to press the crumb mixture down into each cup hard enough that it holds together on its own.
Use the flat bottom of a small glass or a measuring cup to pack it down tight and even. Press it straight down with real pressure so the butter binds everything together into a solid layer.
If your crust still feels loose after pressing, pop the cups in the freezer for about 15 minutes before adding the filling. That firms up the butter and locks the crumbs in place.
You Might Also Like
- Gluten Free Brownie Cheesecake Swirl
- Gluten Free Churro Bites
- Gluten Free Coconut Macaroons
- Gluten Free Cookie Dough Bites
- Gluten Free Strawberry Cheesecake Bars
Frequently Asked Questions
Which gluten free graham crackers work best for the crust?
Brands like Kinnikinnick and Schar make great gluten free graham crackers that crush up nicely for a crust. You can buy them as full crackers and crush them yourself, or look for boxes that already come as crumbs to save time.
Just make sure the texture is fine and even so the crust holds together well when you press it into the cups.
Gluten Free Key Lime Pie Cups
Ingredients
For the Crust
- 1 1/2 cups Gluten Free Graham Cracker Crumbs
- 5 tbsp Melted Butter
- 2 tbsp Sugar
For the Filling
- 14 oz Sweetened Condensed Milk
- 1/2 cup Fresh Key Lime Juice
- 2 tsp Key Lime Zest
- 8 oz Cream Cheese, softened
- 1 cup Whipped Topping
Instructions
- Mix gluten free graham cracker crumbs, melted butter, and sugar until combined, then divide among 8 small cups and press down firmly.
- Beat cream cheese until smooth, then add sweetened condensed milk and beat until creamy.
- Stir in key lime juice and lime zest until the mixture thickens.
- Spoon the filling over the crusts in each cup, filling almost to the top.
- Refrigerate for at least 4 hours or overnight until completely set.
- Top each cup with a dollop of whipped topping just before serving.
- Garnish with extra lime zest for a beautiful presentation.