Finding a good sandwich bread that’s gluten free is honestly one of the hardest things. Most store bought options are either dry, crumbly, or taste like cardboard.
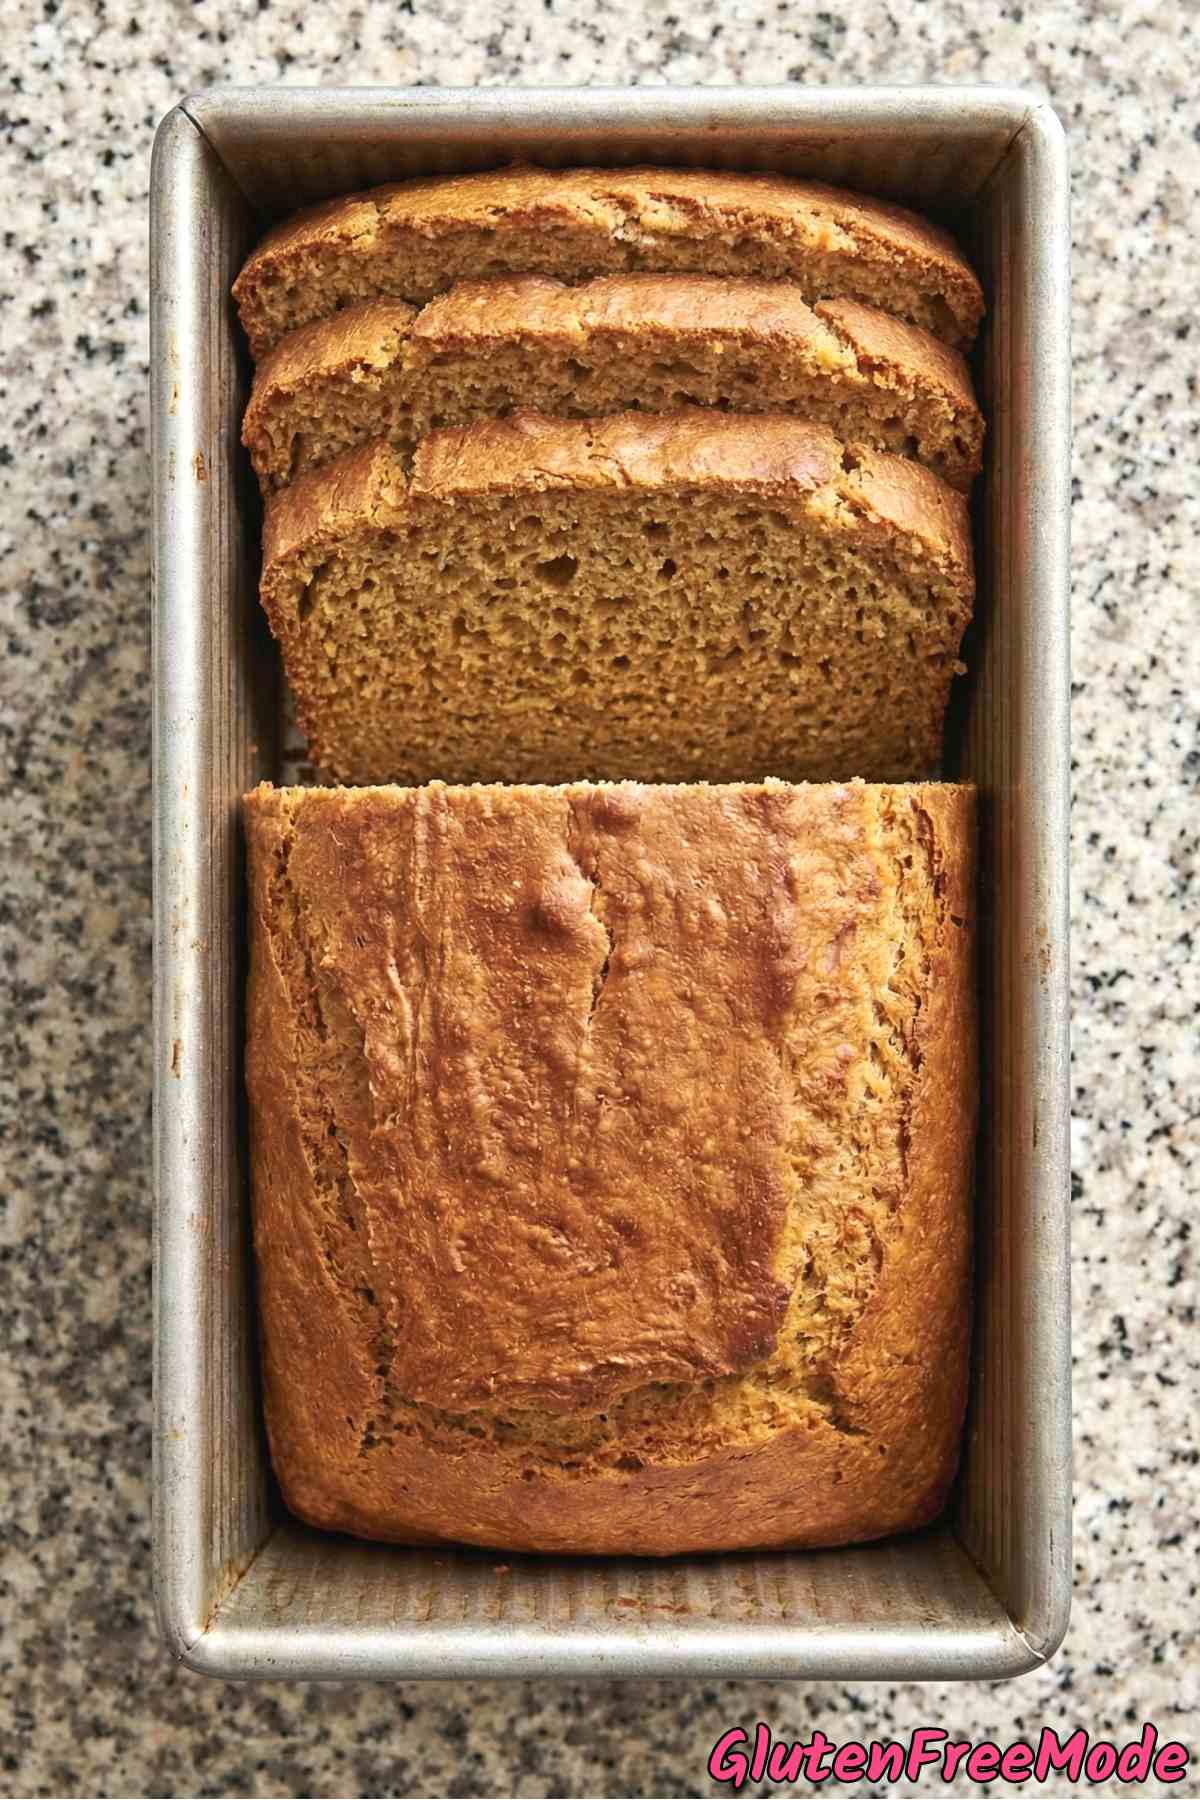
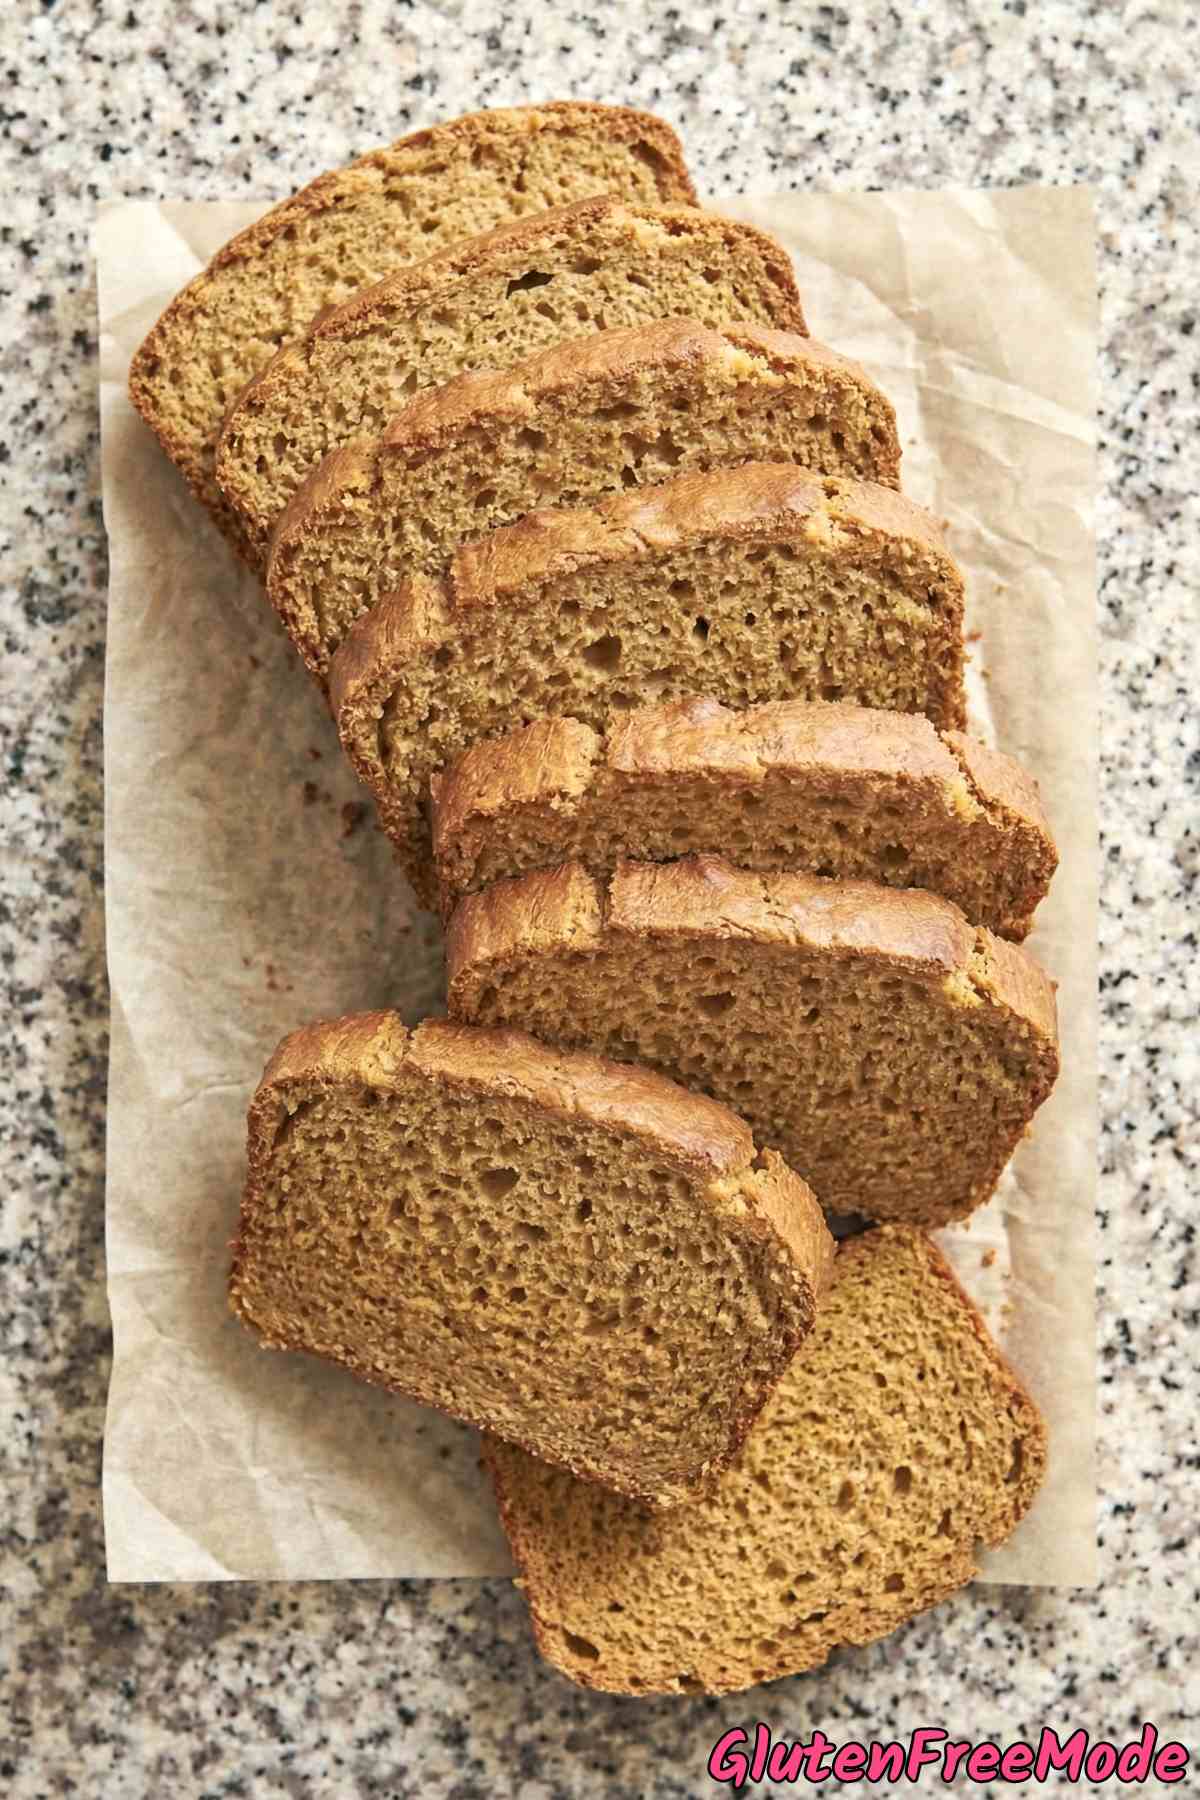
That’s exactly why I made this gluten free everyday sandwich loaf. It’s soft, holds together well, and actually tastes like real bread.
The recipe uses simple ingredients you probably already have at home. Things like eggs, olive oil, honey, and gluten free all purpose flour. Nothing fancy or hard to find.
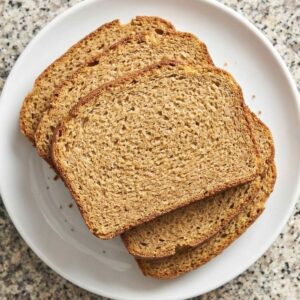
It works great for sandwiches, toast, or just a slice with some butter. This is the kind of bread you can make every week without it feeling like a big project.
The whole process is pretty straightforward too. If you can mix ingredients together and use an oven, you can make this loaf.
Why You’ll Love This Recipe
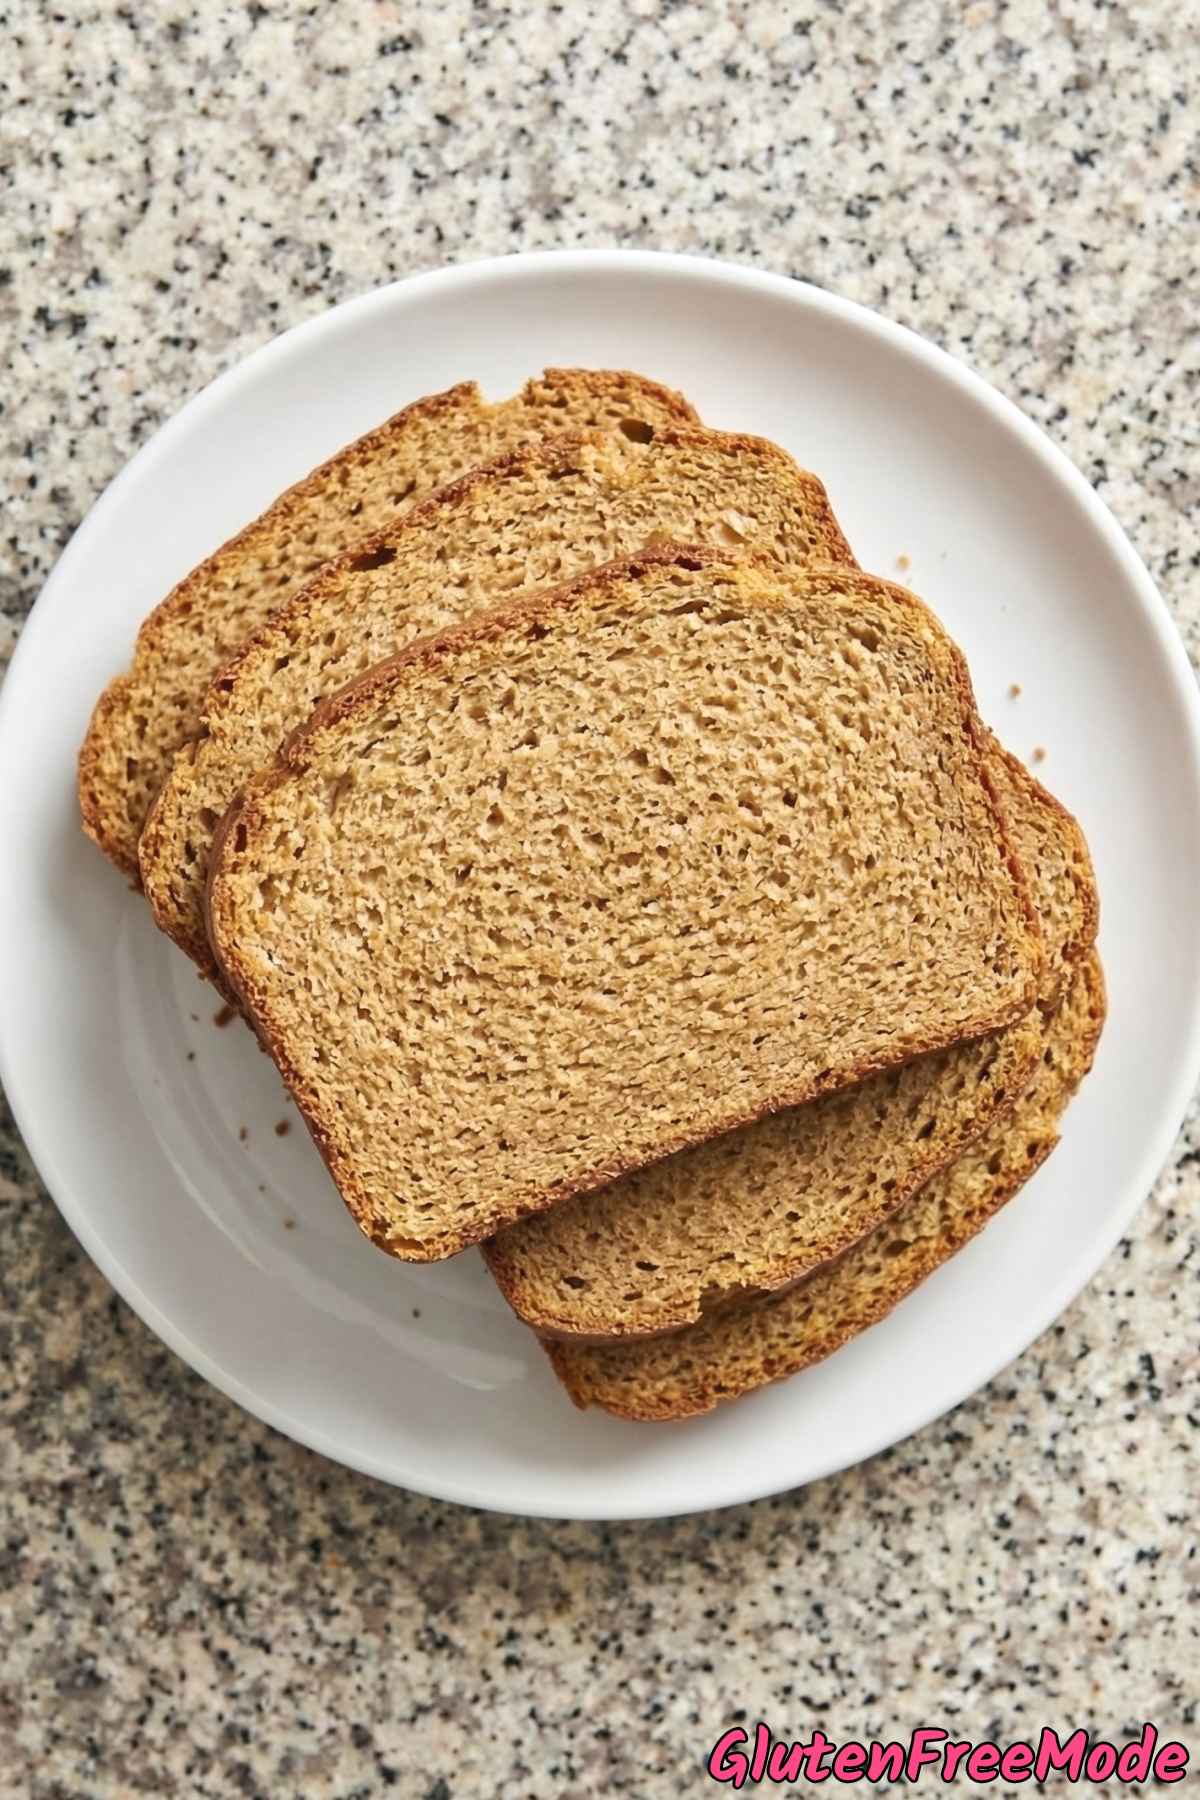
Soft and Fluffy Texture – Thanks to the combination of eggs, olive oil, and apple cider vinegar, this loaf comes out soft and fluffy on the inside with a nice light crust on the outside. It actually feels like real sandwich bread.
Perfect for Everyday Sandwiches – This bread is specifically designed to be your go-to sandwich loaf. It slices beautifully and holds up to all your favorite fillings without crumbling apart like so many gluten free breads tend to do.
No Fancy Equipment Needed – You don’t need a bread machine or a stand mixer to make this loaf. A regular loaf pan and a mixing bowl are really all you need to get started.
Way Better Than Store Bought – If you have ever been disappointed by the taste or texture of store bought gluten free bread, this recipe will change everything. Homemade just hits different, and you will actually enjoy eating your sandwiches again.
Ingredients
- 3 cups Gluten Free All-Purpose Flour
- 1.5 cups Warm Water
- 1 tbsp Active Dry Yeast
- 2 tbsp Honey
- 1/4 cup Olive Oil
- 3 large Eggs
- 1 tsp Salt
- 1 tbsp Apple Cider Vinegar
How to Make
Step 1
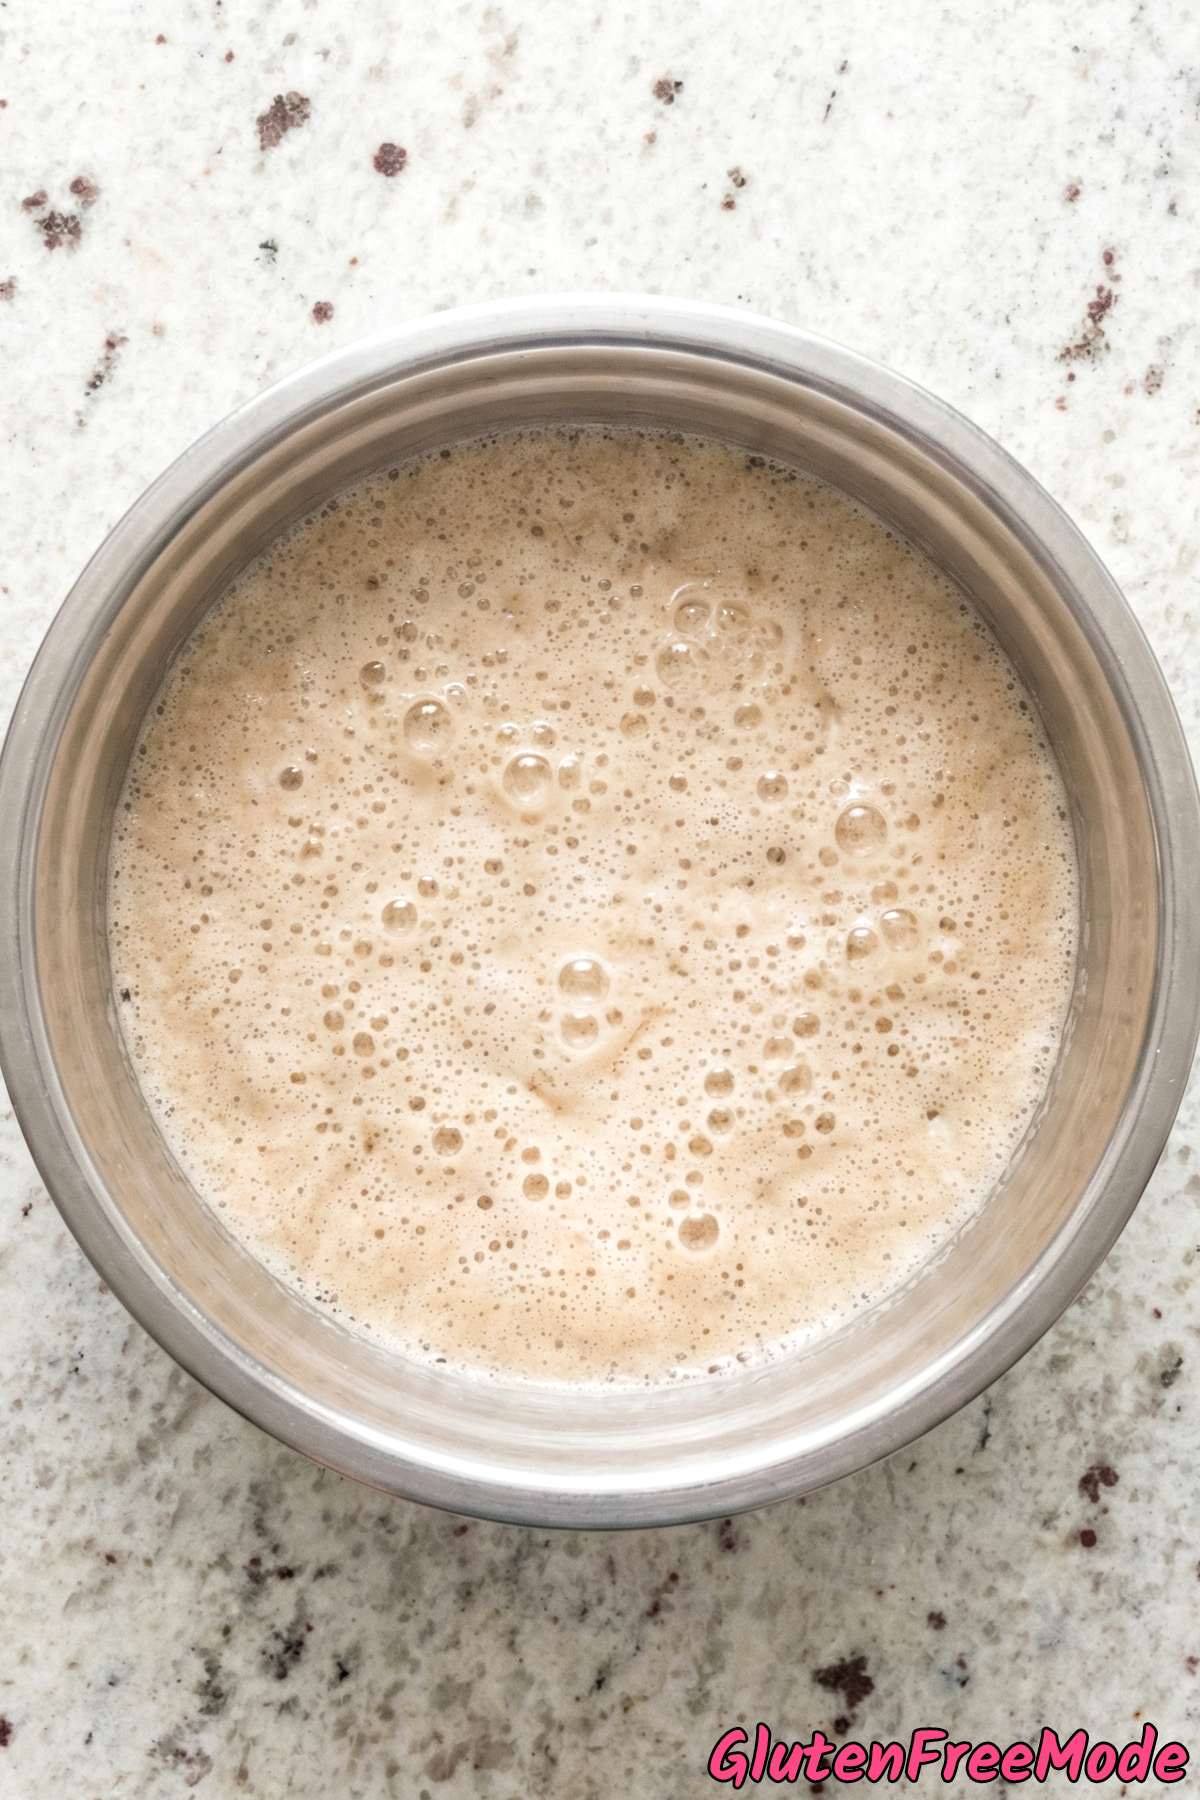
In a small bowl, mix the warm water, honey, and active dry yeast. Set aside for 5 minutes until frothy.
Step 2
In a stand mixer, combine the gluten free all-purpose flour, olive oil, eggs, salt, apple cider vinegar, and the activated yeast mixture.
Step 3
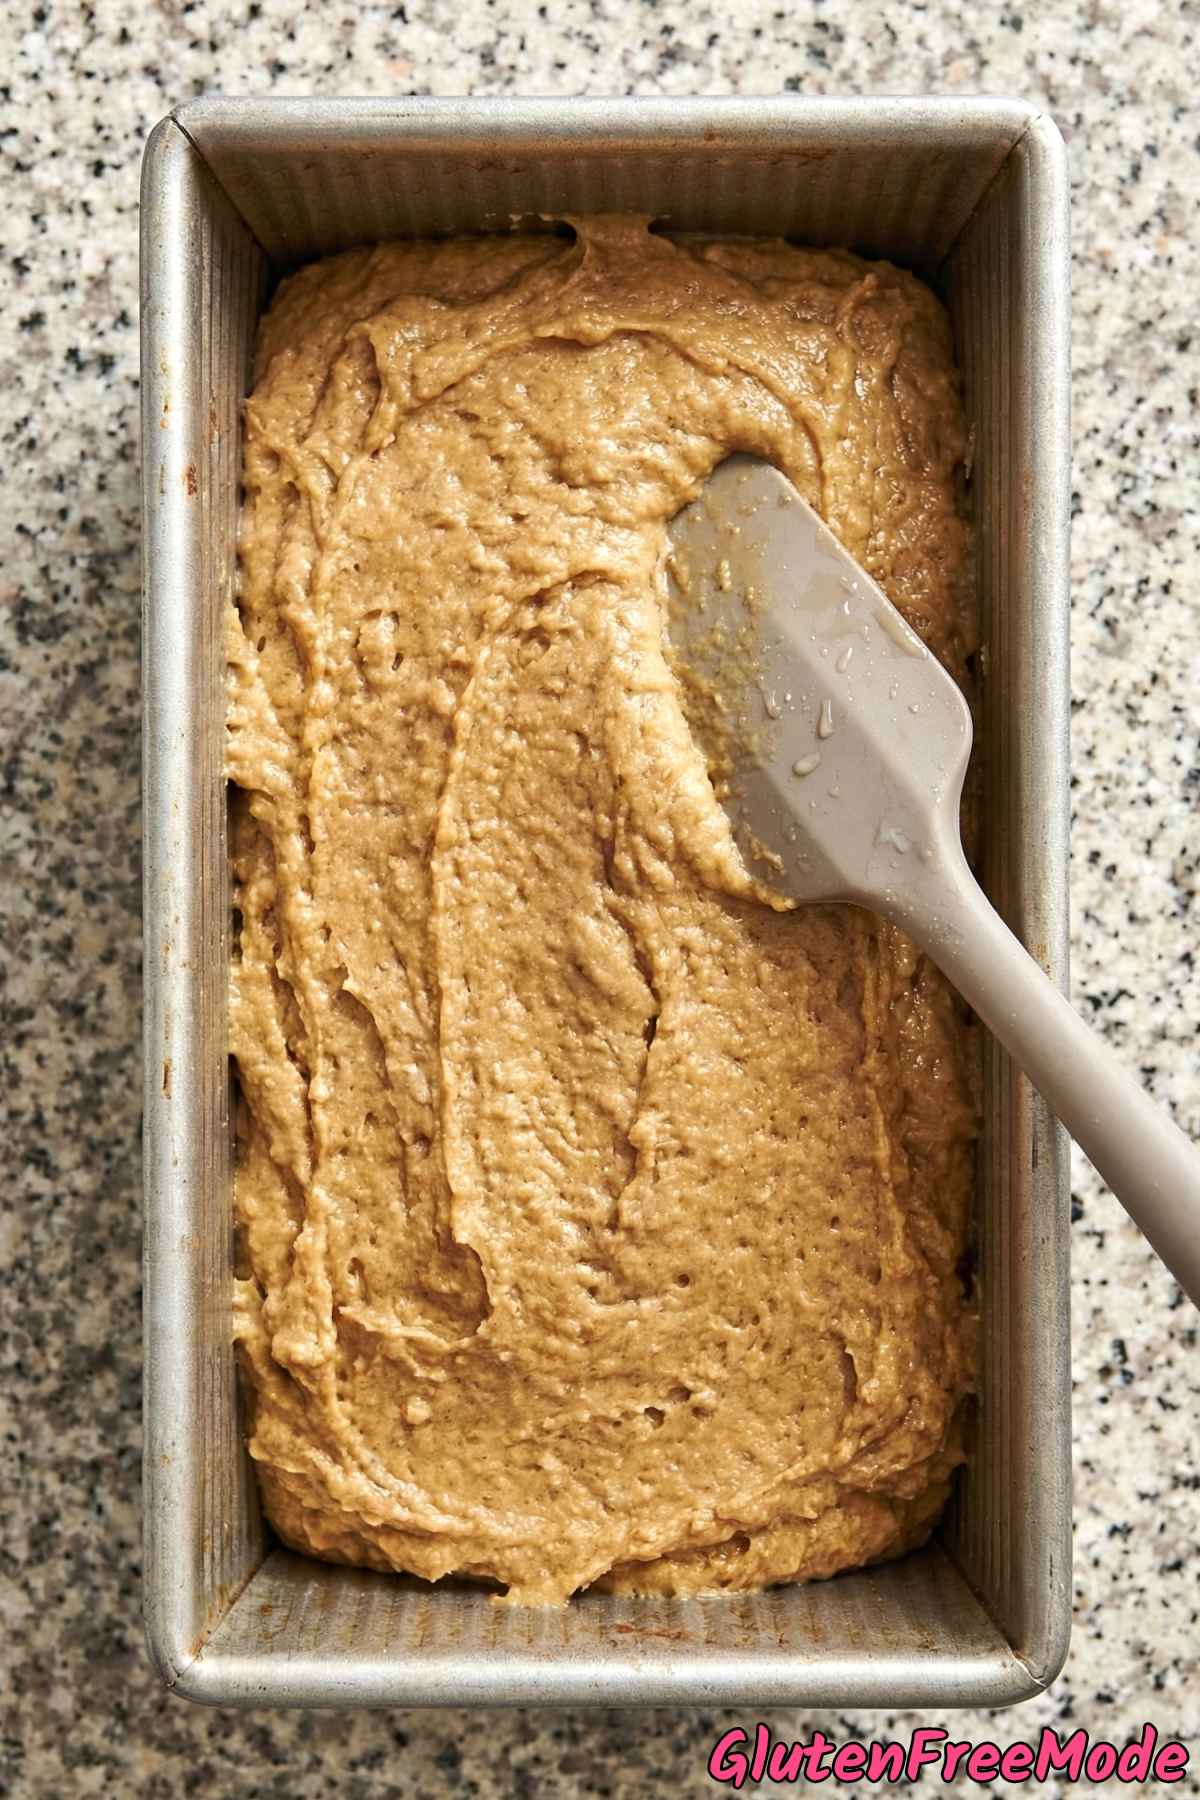
Beat on medium-high speed for 3 to 4 minutes. The batter should look like a very thick cake batter rather than traditional bread dough.
Step 4
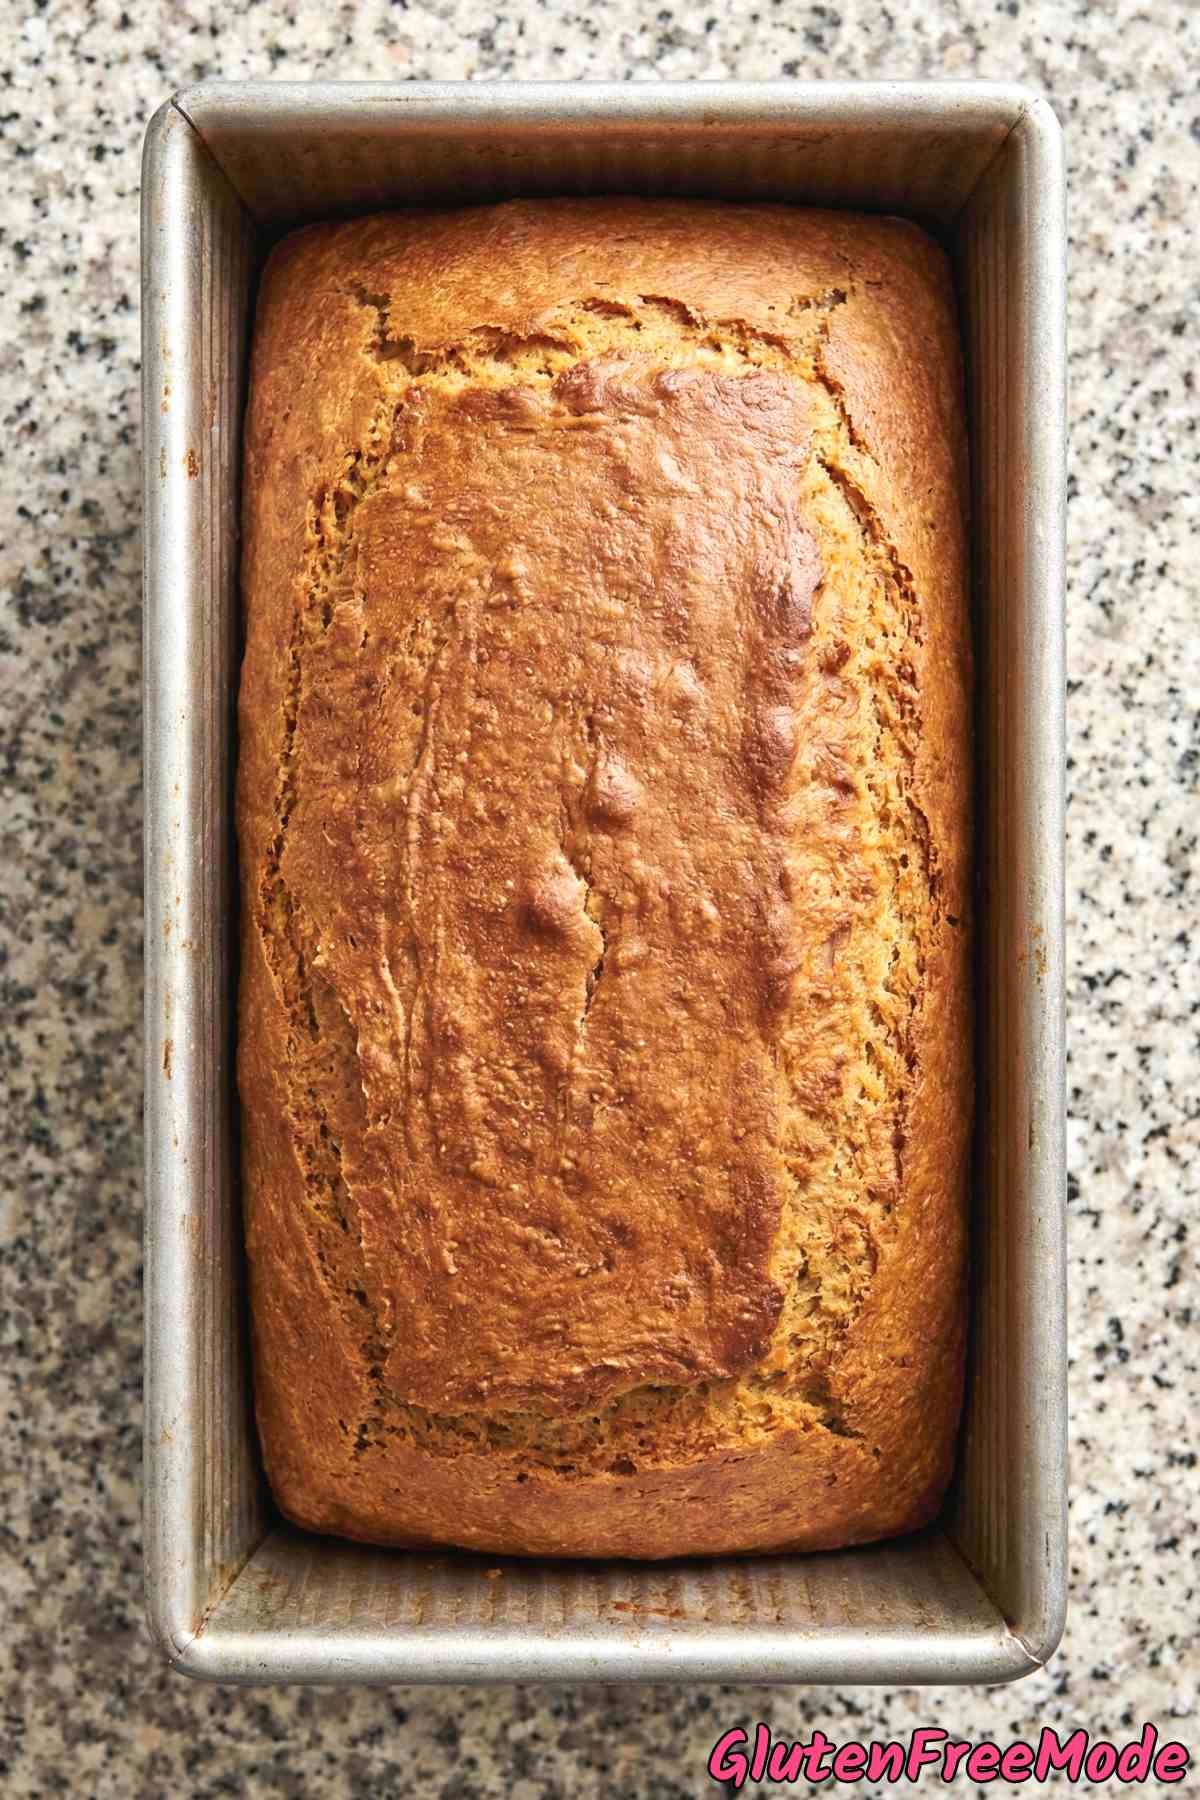
Pour the batter into a greased 9×5 inch loaf pan and smooth the top with a wet spatula.
Step 5
Cover the pan loosely with plastic wrap and let the batter rise in a warm area for 45 to 60 minutes, until it reaches the rim of the pan.
Step 6
Preheat your oven to 375F.
Step 7
Bake for 45 to 50 minutes until the top is deep golden brown and the internal temperature reaches 205F. Cool completely on a wire rack before slicing.
Helpful Tips
Get the Water Temperature Right
The warm water you use to activate the yeast should be around 105F to 110F. If you don’t have a thermometer, it should feel warm on the inside of your wrist but not hot.
Water that’s too hot will kill the yeast and your bread won’t rise at all. Water that’s too cool won’t wake the yeast up enough, and you’ll end up with a dense, flat loaf.
This step sets the tone for the whole recipe, so it’s worth getting right before you move on to anything else.
Make Sure Your Yeast Is Frothy
After you mix the warm water, honey, and yeast together, you should see a layer of foam on top within about 5 minutes. That foam tells you the yeast is alive and ready to do its job.
If nothing happens and the mixture just looks like cloudy water, your yeast is dead. This can happen if the yeast is expired or if the water was too hot. Toss it out and start this step over with fresh yeast.
Don’t skip ahead hoping it will work out. Dead yeast means a brick of bread, and there’s no fixing it once everything is mixed together.
The Batter Won’t Look Like Regular Bread Dough
If you’ve made wheat bread before, forget what that dough looks like. Gluten free bread batter is wet, sticky, and pourable. It’s more like a thick cake batter than anything you’d knead with your hands.
That’s completely normal. Without gluten, the dough doesn’t form that stretchy, elastic ball you might be used to. The eggs and the long mixing time are what give this bread its structure instead.
If your batter looks thick and pourable after 3 to 4 minutes of beating, you’re right on track.
You Might Also Like
- Gluten Free Honey Oat Sandwich Bread
- Gluten Free Cheddar Jalapeno Bread
- Gluten Free Cheesy Zucchini Bread
- Gluten Free Sun-Dried Tomato Basil Bread
- Gluten Free Sweet Potato Dinner Rolls
Frequently Asked Questions
Can I use a different gluten free flour blend?
You can, but keep in mind that not all gluten free flour blends are created equal. Some contain xanthan gum and some don’t, and that can really affect how the bread holds together and rises.
For the best results, stick with a blend that includes xanthan gum or add about 1 teaspoon on your own if your blend doesn’t have it. Avoid blends that are mostly rice flour, as they can make the loaf gritty.
Gluten Free Everyday Sandwich Loaf
Equipment
- stand mixer
- 9x5 inch loaf pan
- wire rack
Ingredients
- 3 cups Gluten Free All-Purpose Flour
- 1.5 cups Warm Water
- 1 tbsp Active Dry Yeast
- 2 tbsp Honey
- 1/4 cup Olive Oil
- 3 large Eggs
- 1 tsp Salt
- 1 tbsp Apple Cider Vinegar
Instructions
- In a small bowl, mix the warm water, honey, and active dry yeast. Set aside for 5 minutes until frothy.
- In a stand mixer, combine the gluten free all-purpose flour, olive oil, eggs, salt, apple cider vinegar, and the activated yeast mixture.
- Beat on medium-high speed for 3 to 4 minutes. The batter should look like a very thick cake batter rather than traditional bread dough.
- Pour the batter into a greased 9x5 inch loaf pan and smooth the top with a wet spatula.
- Cover the pan loosely with plastic wrap and let the batter rise in a warm area for 45 to 60 minutes, until it reaches the rim of the pan.
- Preheat your oven to 375F.
- Bake for 45 to 50 minutes until the top is deep golden brown and the internal temperature reaches 205F. Cool completely on a wire rack before slicing.