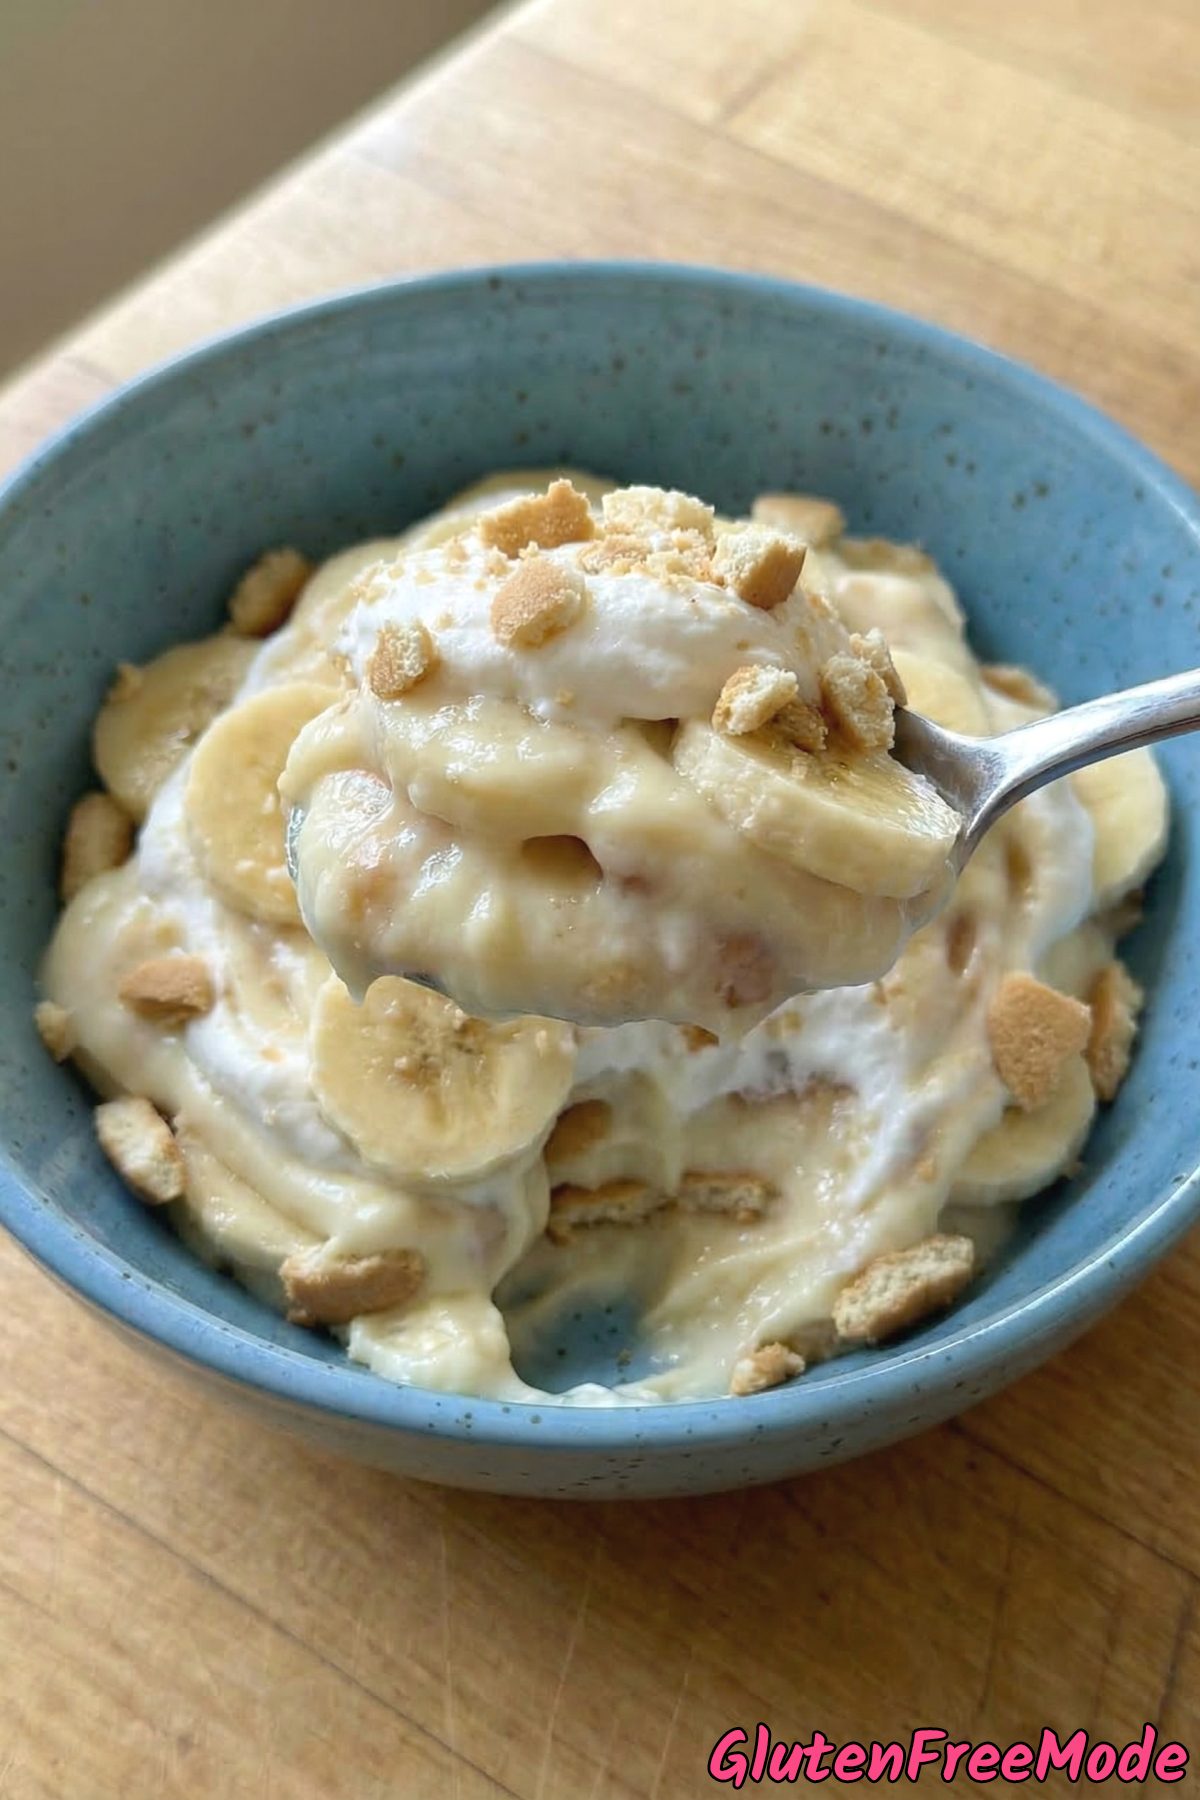
Banana pudding is one of those desserts that just hits different. It’s creamy, sweet, and honestly hard to stop eating once you start.
This version is made in individual cups, which makes serving so much easier. No scooping from a big dish – everyone gets their own perfectly layered portion.
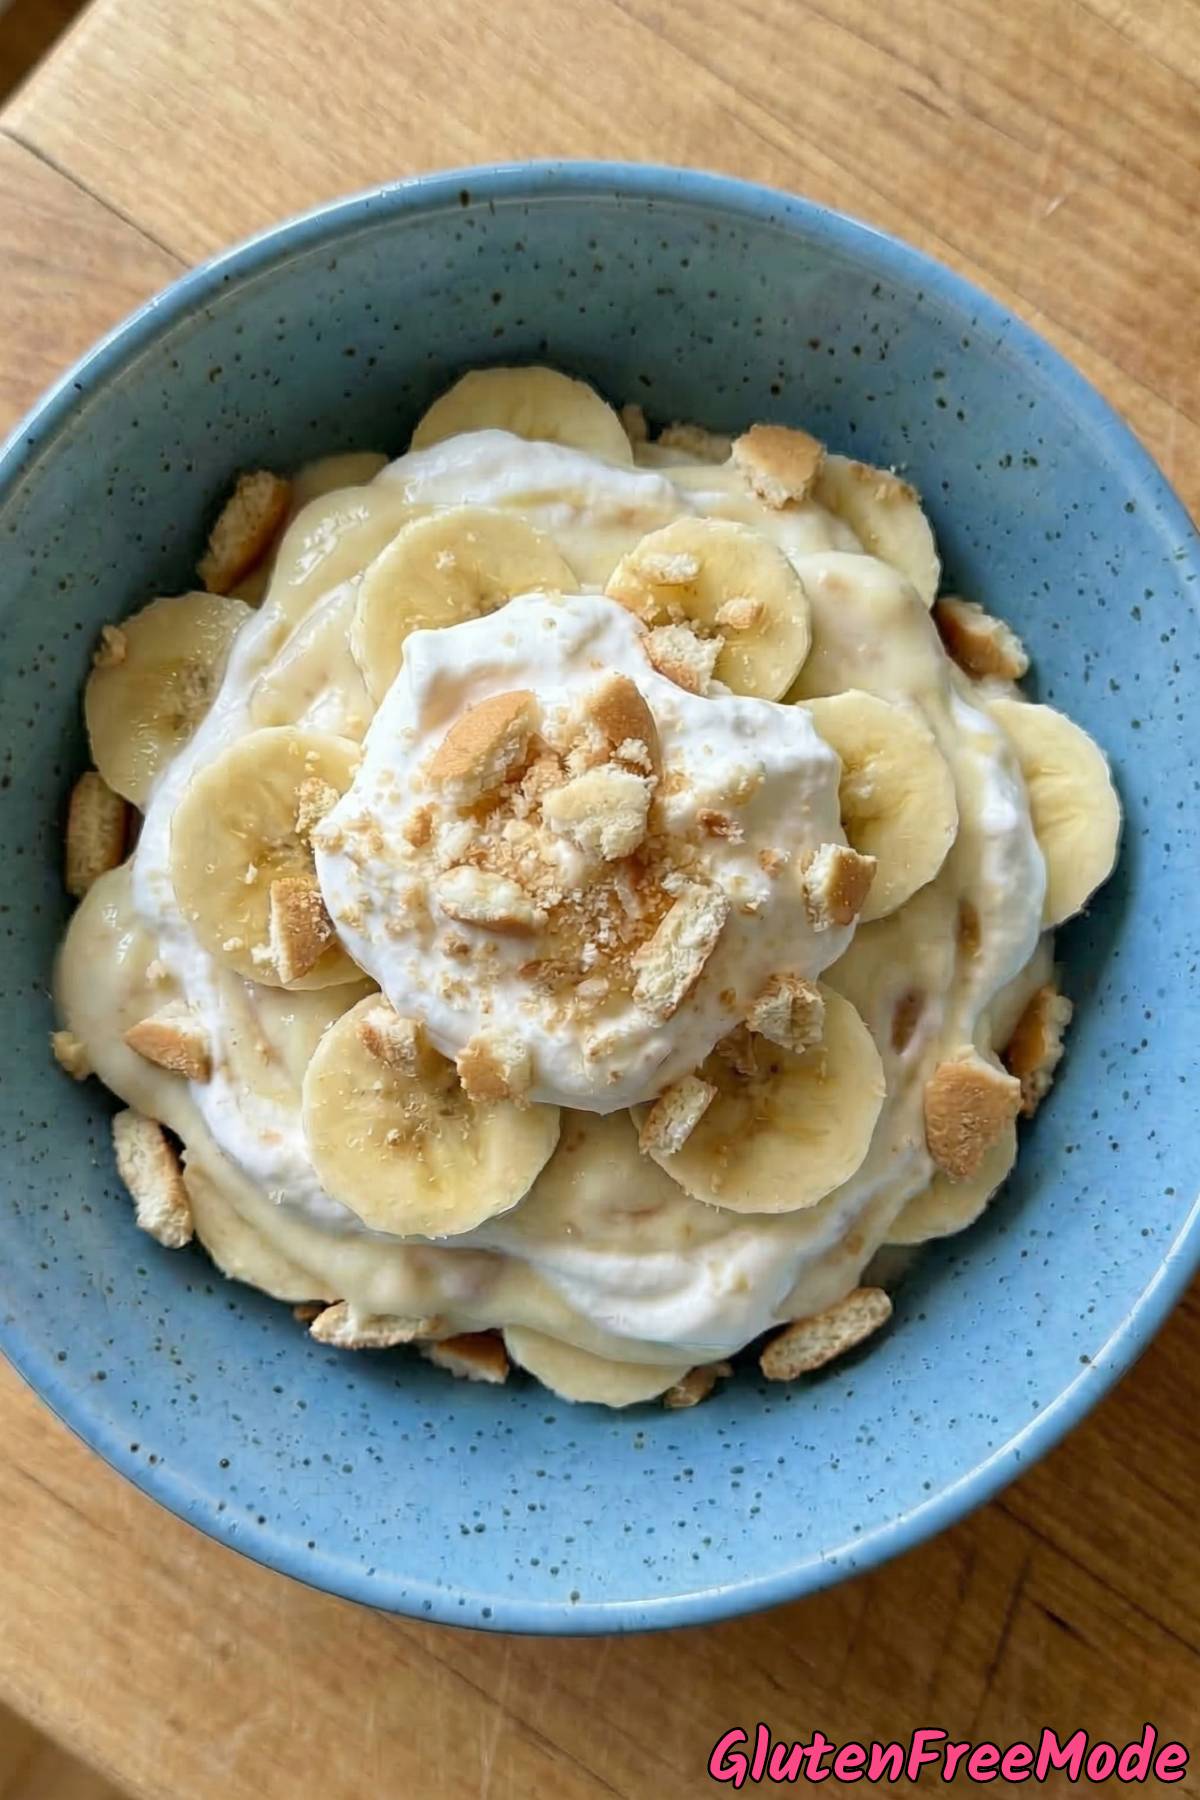
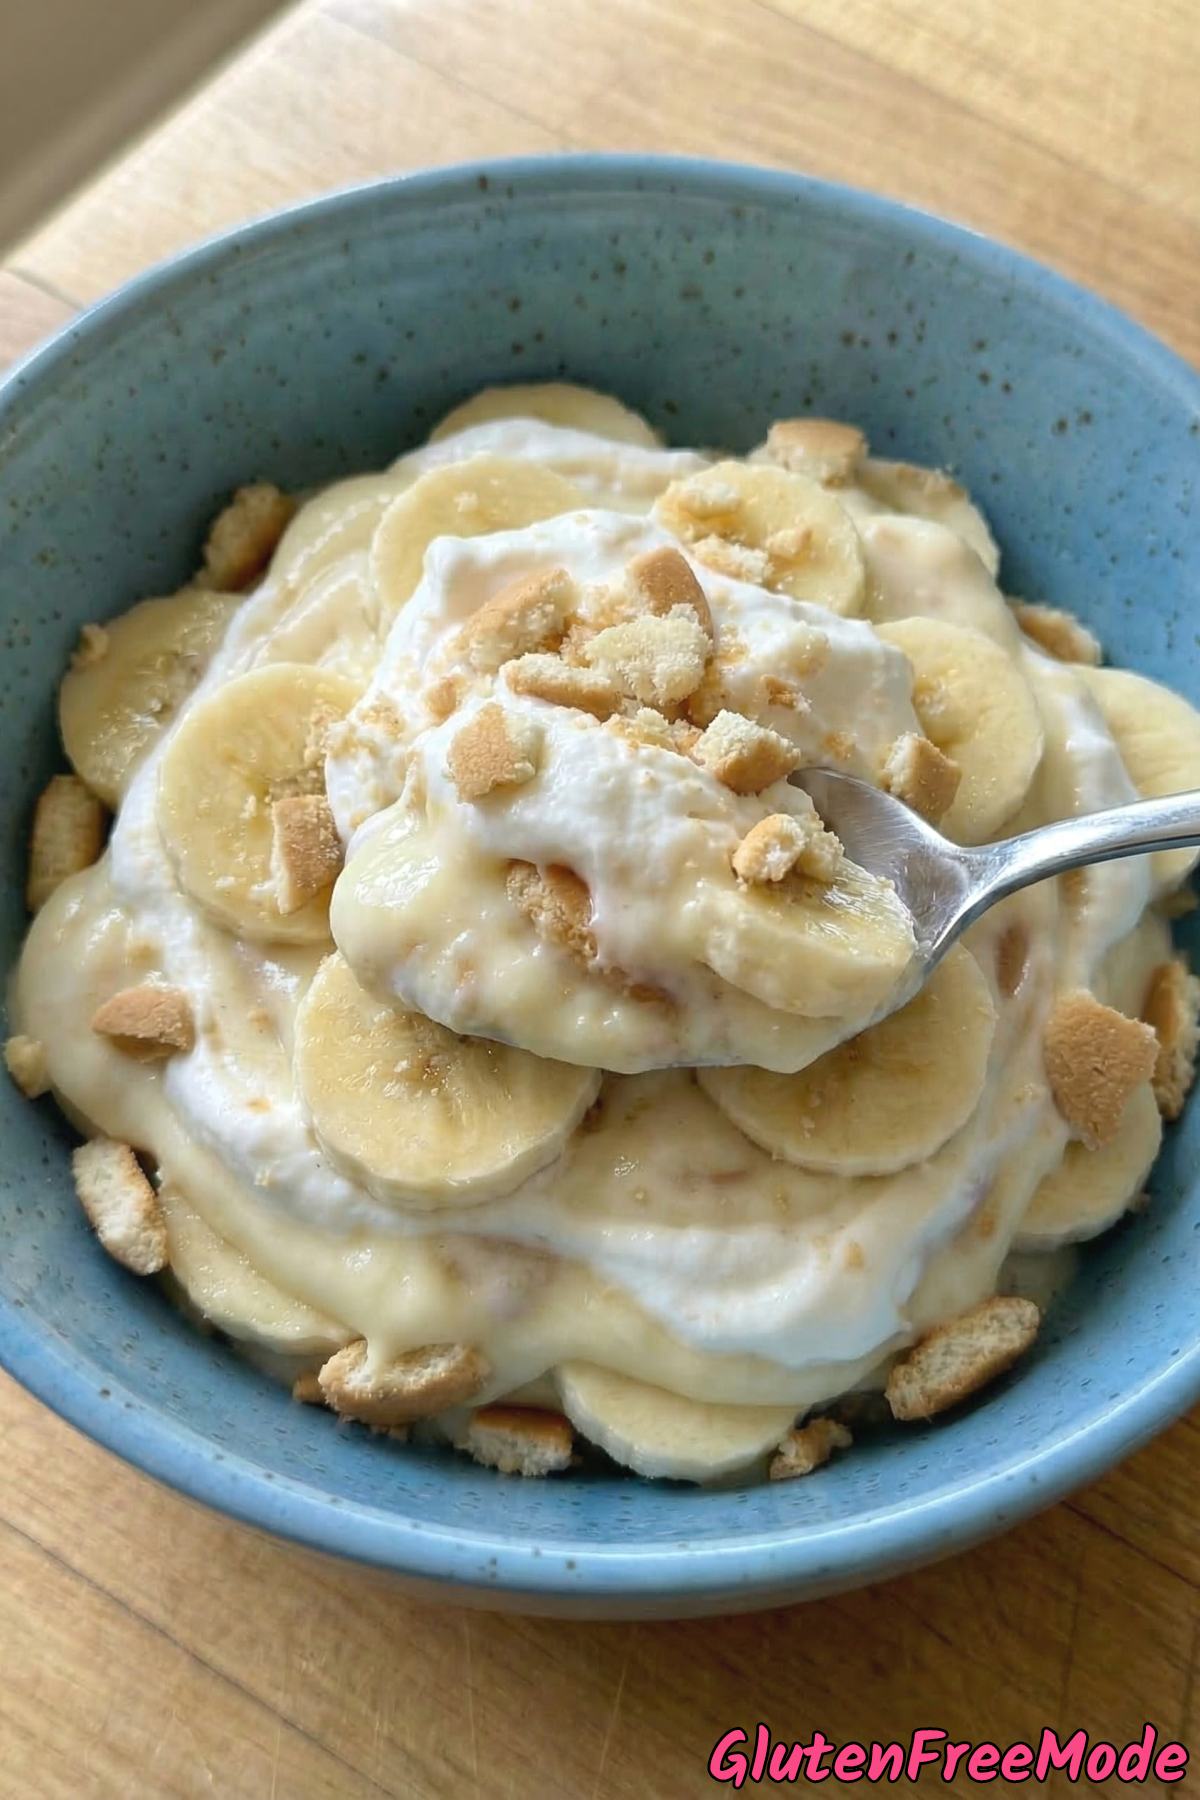
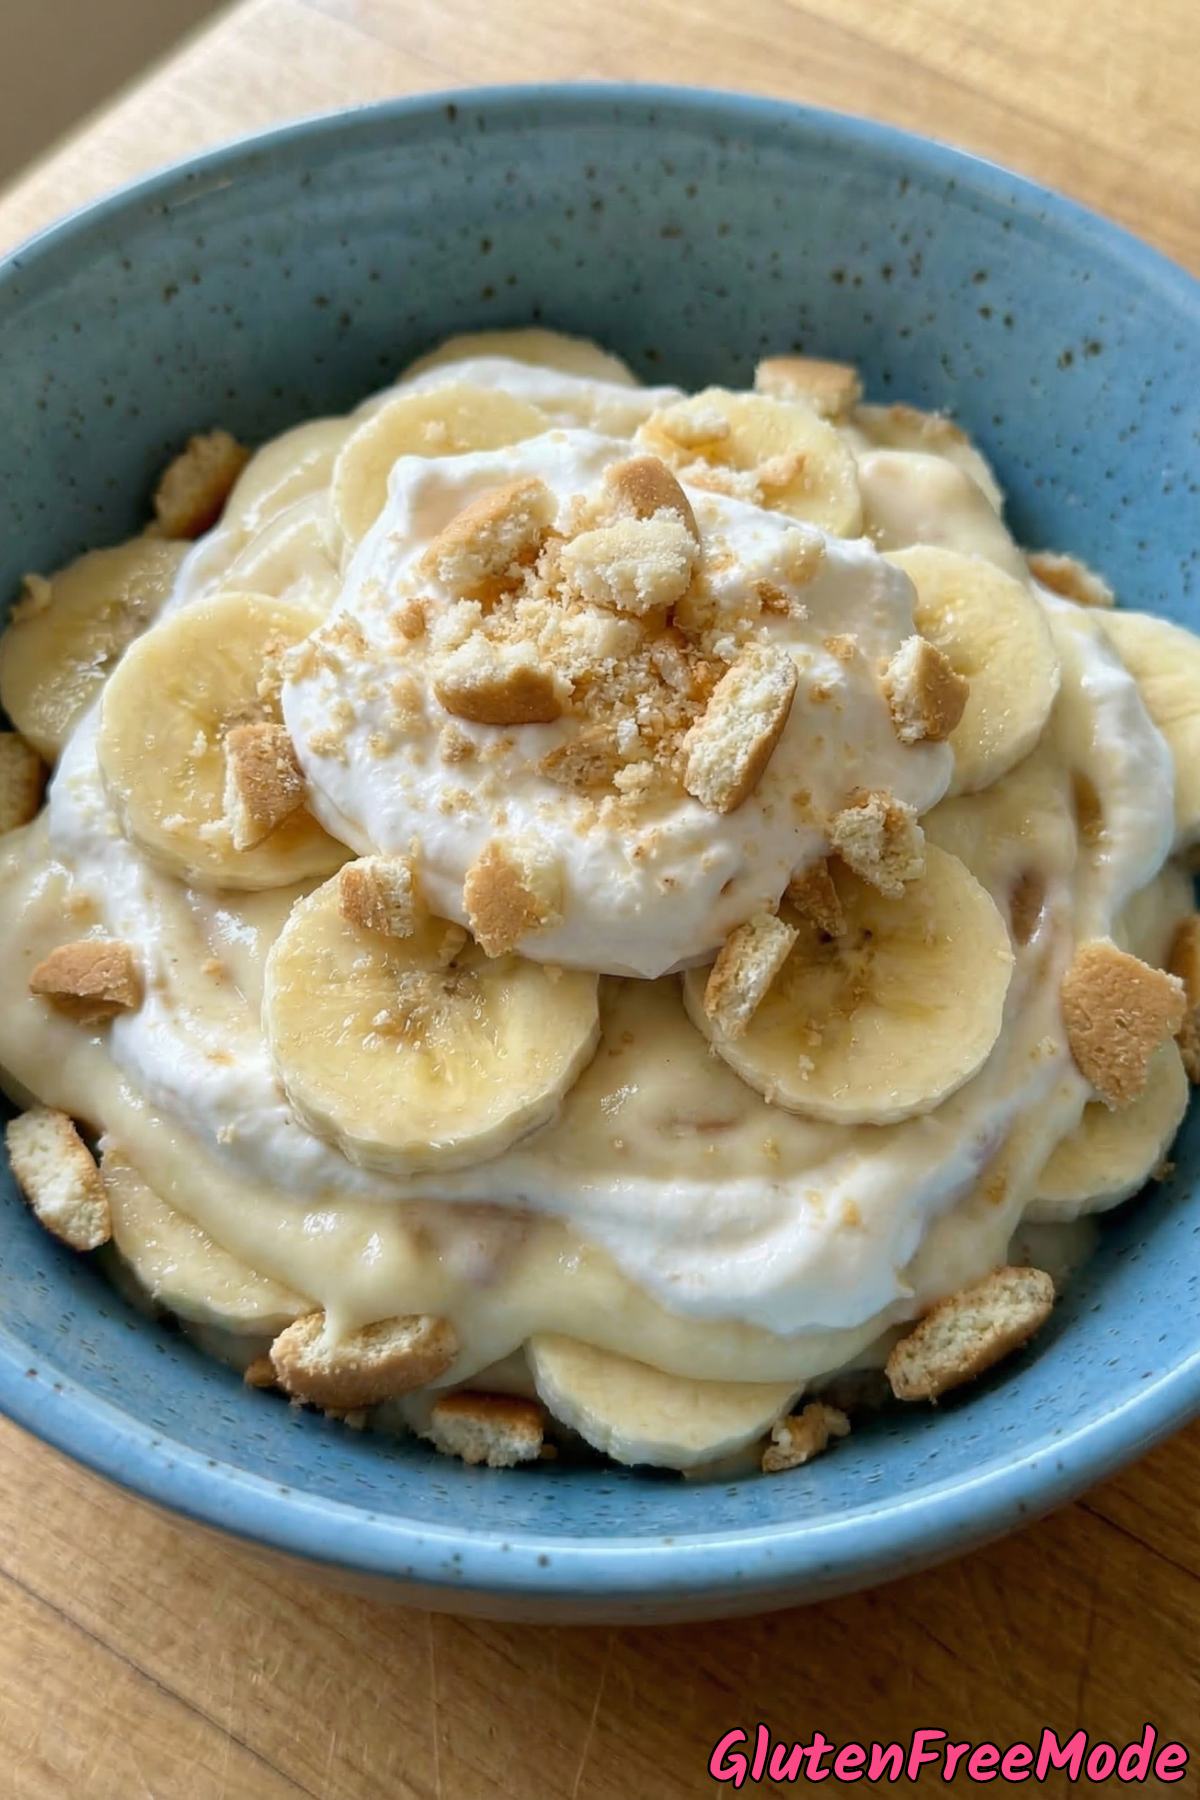
And yes, these gluten free banana pudding cups taste just as good as the classic version. I used gluten free vanilla wafers for the crunchy layer, and you really can’t tell the difference.
The base is a mix of instant vanilla pudding, cream cheese, sweetened condensed milk, and cool whip. It comes together in minutes and the flavor is incredible.
If you’ve been looking for a gluten free dessert that actually impresses people, this is the one to try.
Why You’ll Love This Recipe
No Baking Required – These banana pudding cups are completely no-bake, which means you can skip the oven entirely and still end up with a dessert that tastes like you spent hours on it.
Gluten Free Comfort Food – Banana pudding is a classic dessert that a lot of people miss when they go gluten free, and this recipe brings it back in the most delicious way using gluten free vanilla wafers.
Super Creamy Texture – The combination of cream cheese, sweetened condensed milk, and Cool Whip creates a pudding filling that is ridiculously creamy and smooth, way better than regular pudding on its own.
Perfect for Parties – Since these are made in individual cups, they are super easy to serve at gatherings and everyone gets their own perfectly layered portion without any messy scooping from a big dish.
Ingredients
- 2 boxes Instant Vanilla Pudding Mix
- 4 cups Cold Milk
- 8 oz Cream Cheese, softened
- 14 oz Sweetened Condensed Milk
- 12 oz Cool Whip
- 3 cups Sliced Bananas
- 2 cups Crushed Gluten Free Vanilla Wafers
How to Make
Step 1
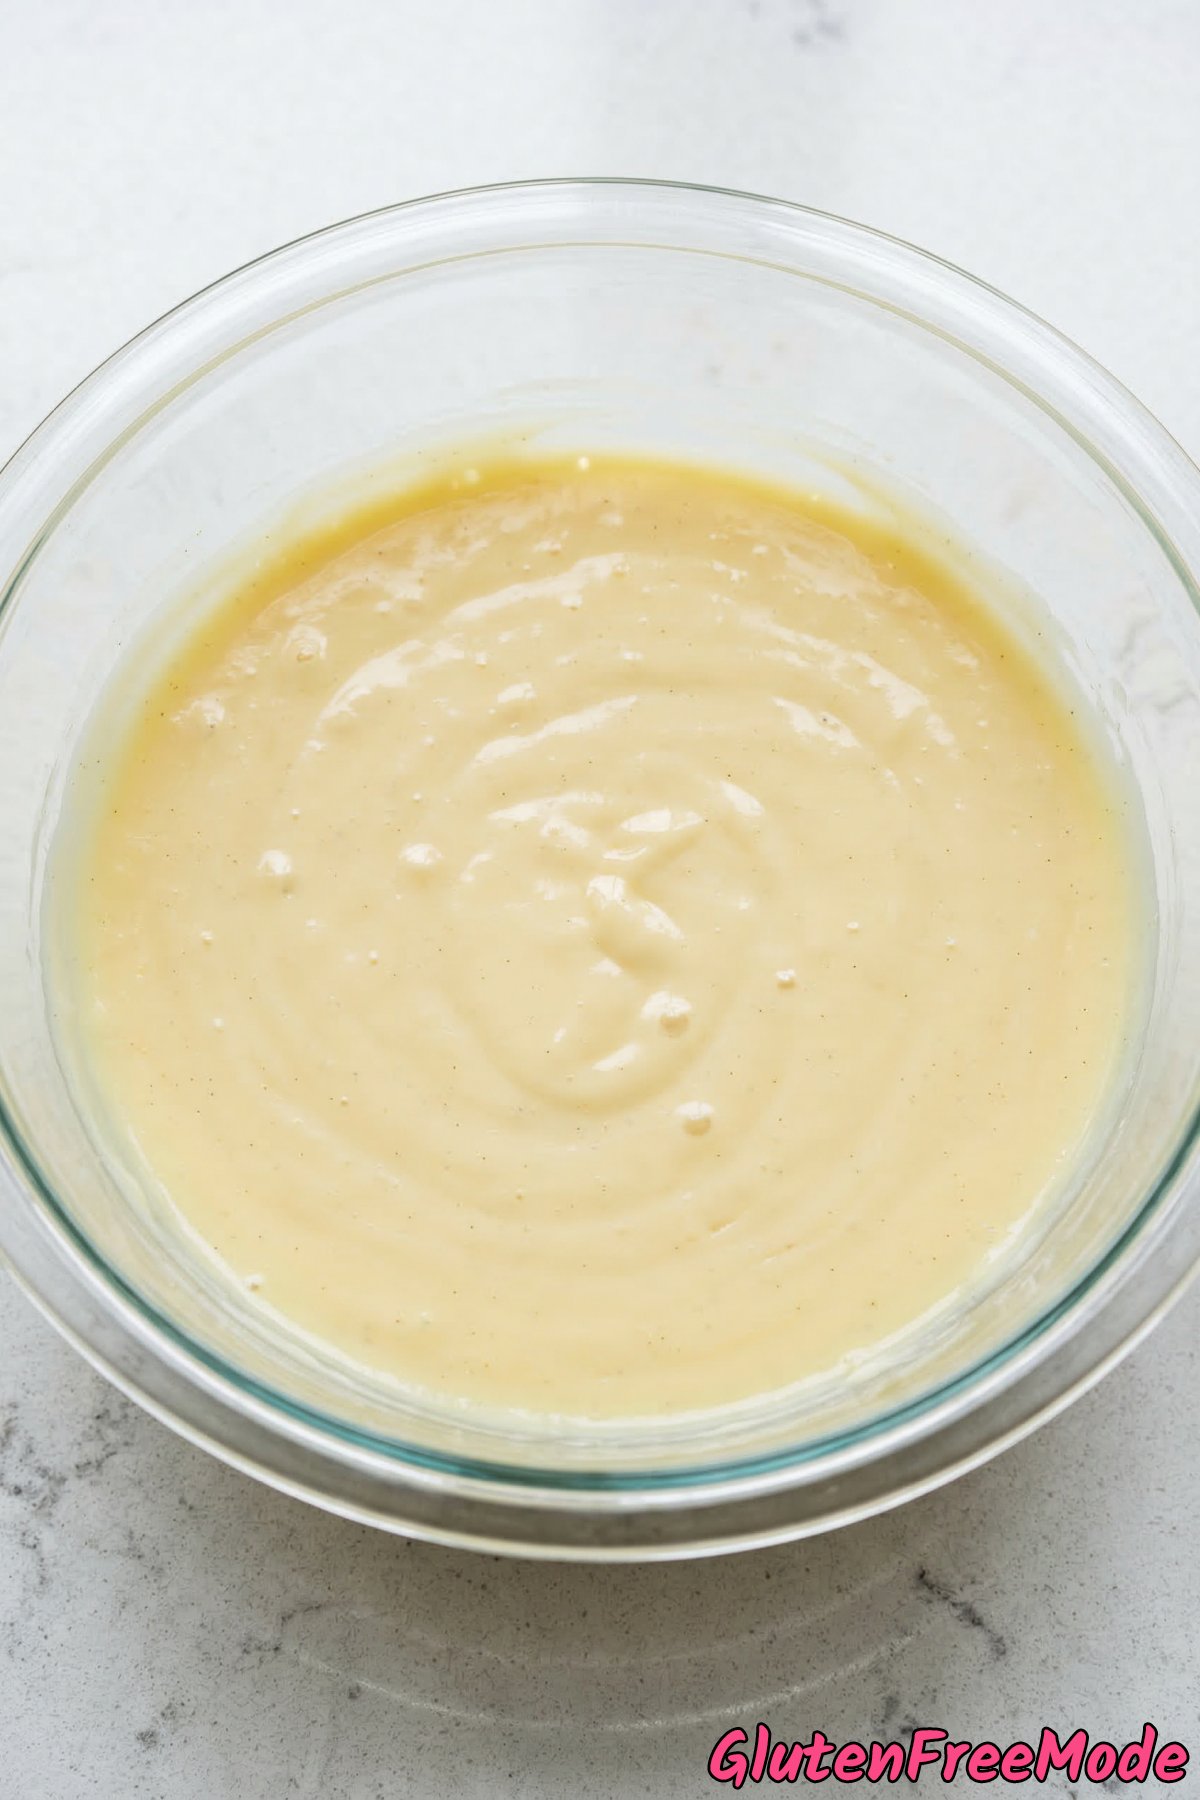
Prepare vanilla pudding according to package directions using cold milk, then refrigerate for 5 minutes.
Step 2
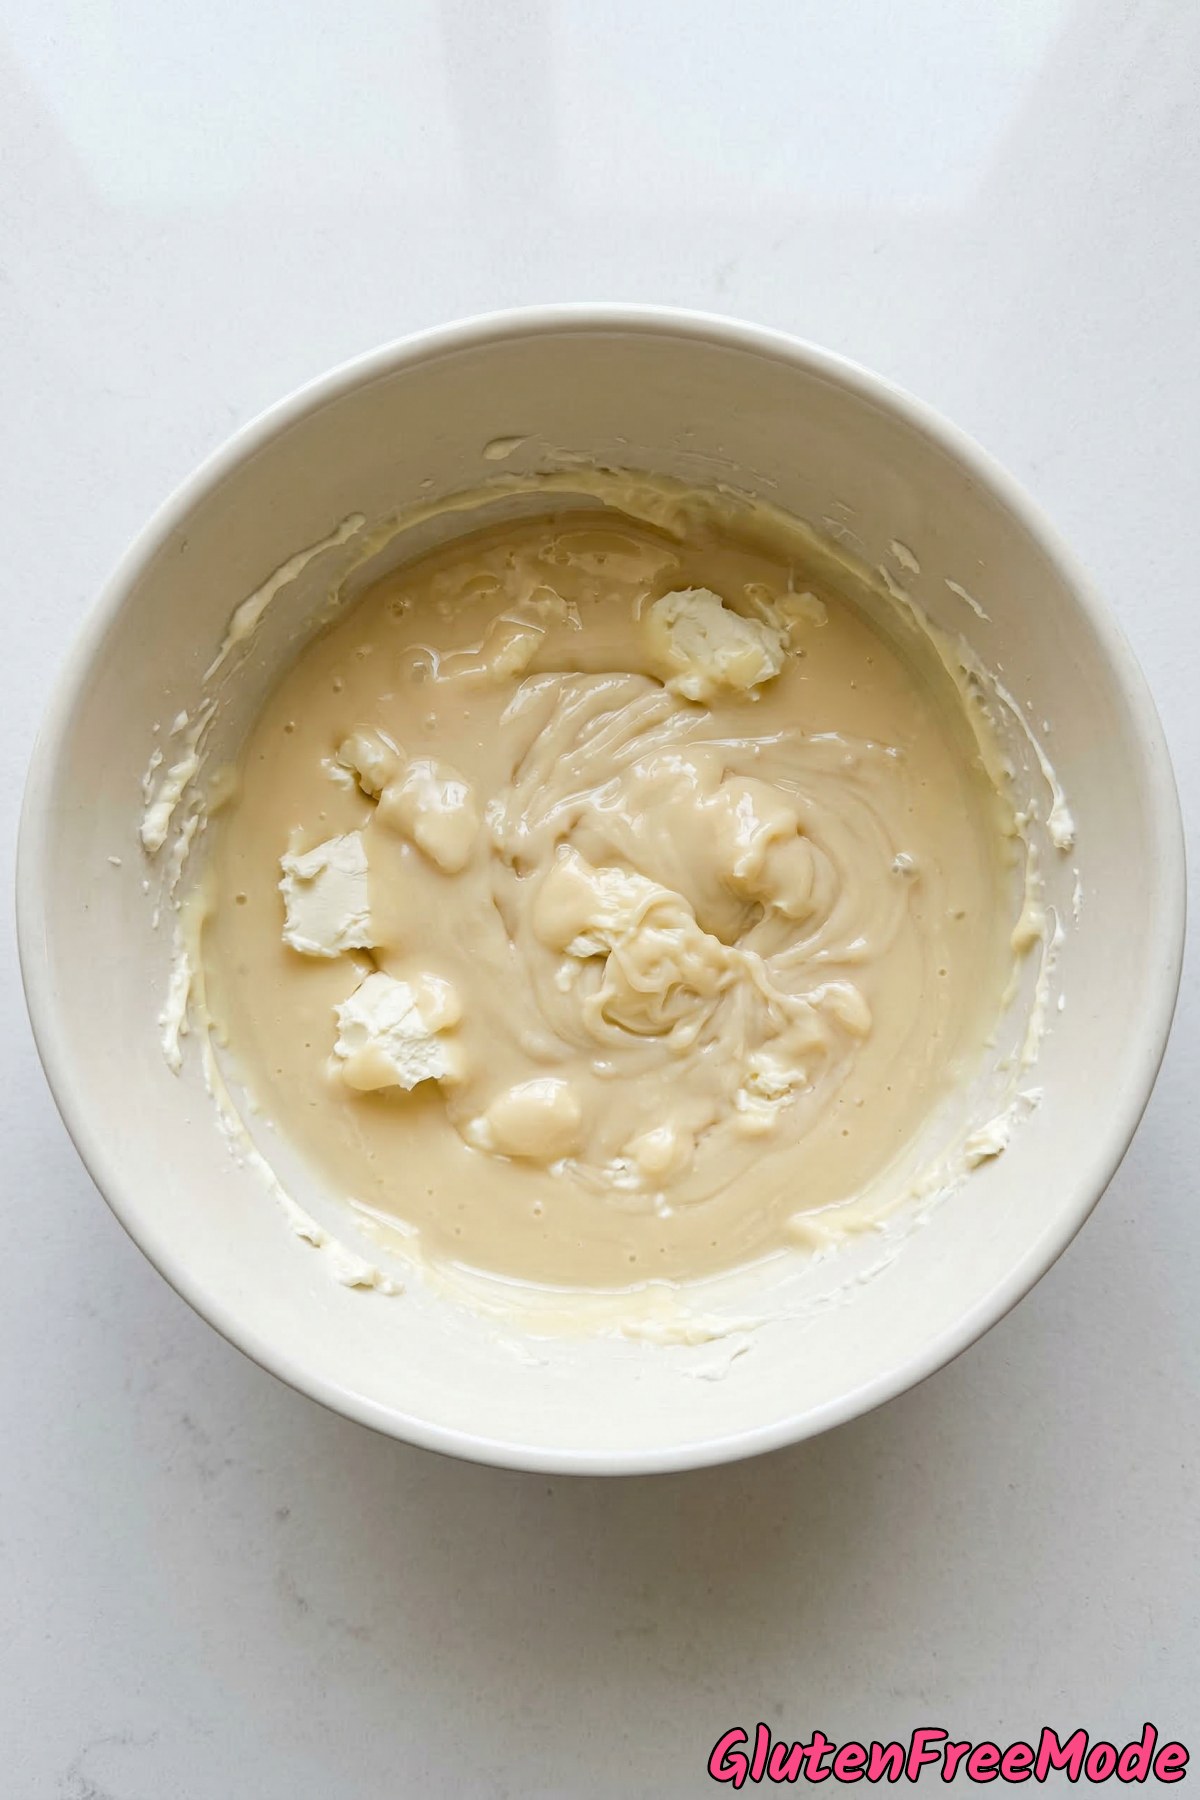
Beat cream cheese and sweetened condensed milk together until smooth and fluffy.
Step 3
Fold in the prepared pudding and half of the cool whip until fully combined.
Step 4
In serving cups or a trifle dish, layer crushed gluten free vanilla wafers, banana slices, and pudding mixture.
Step 5
Repeat layers until cups are filled, ending with pudding mixture on top.
Step 6
Top with remaining cool whip and more crushed wafers.
Step 7
Refrigerate for at least 2 hours before serving for best flavor and texture.
Helpful Tips
Soften the Cream Cheese All the Way
Take your cream cheese out of the fridge at least an hour before you start making this. If it’s still cold in the middle, you’ll end up with lumps in your pudding mixture that won’t go away no matter how much you beat it.
You can tell it’s ready when you press it with your finger and it sinks in easily with no resistance. It should feel like soft butter.
If you forgot to take it out early, cut it into small cubes and let it sit on the counter for about 20 minutes. That speeds things up a lot compared to leaving it as a whole block.
Use Really Cold Milk for the Pudding
The milk needs to be cold straight from the fridge when you mix it with the instant pudding. Room temperature milk won’t let the pudding set up properly, and you’ll end up with a runny layer that makes the whole cup soupy.
Whisk the pudding mix and cold milk together for about two minutes until it starts to thicken. Then get it into the fridge right away for those 5 minutes so it firms up before you fold it into the cream cheese mixture.
Fold the Cool Whip In Gently
When the recipe says to fold in the Cool Whip, that means you should use a spatula and gently scoop from the bottom up and over in a slow circular motion. This is not the time to stir hard or use an electric mixer.

If you beat the Cool Whip in like you would normal ingredients, it loses all its air and your pudding mixture will turn dense and flat instead of light and creamy.
It’s okay if you still see a few small white streaks of Cool Whip. A couple more gentle folds will take care of it. Just stop as soon as everything looks combined.
You Might Also Like
- Gluten Free Brownie Cheesecake Swirl
- Gluten Free Churro Bites
- Gluten Free Coconut Macaroons
- Gluten Free Cookie Dough Bites
- Gluten Free Strawberry Cheesecake Bars
Frequently Asked Questions
Can I make these banana pudding cups ahead of time?
Yes, and they actually taste better when you do. Making them a few hours ahead or even the night before gives the flavors time to meld together and lets the vanilla wafers soften into the pudding, which is the best part.
Just cover each cup tightly with plastic wrap or a lid and store them in the fridge. They’ll keep well for up to 24 hours, though the bananas may start to brown after that.
Gluten Free Banana Pudding Cups
Ingredients
- 2 boxes Instant Vanilla Pudding Mix
- 4 cups Cold Milk
- 8 oz Cream Cheese, softened
- 14 oz Sweetened Condensed Milk
- 12 oz Cool Whip
- 3 cups Sliced Bananas
- 2 cups Crushed Gluten Free Vanilla Wafers
Instructions
- Prepare vanilla pudding according to package directions using cold milk, then refrigerate for 5 minutes.
- Beat cream cheese and sweetened condensed milk together until smooth and fluffy.
- Fold in the prepared pudding and half of the cool whip until fully combined.
- In serving cups or a trifle dish, layer crushed gluten free vanilla wafers, banana slices, and pudding mixture.
- Repeat layers until cups are filled, ending with pudding mixture on top.
- Top with remaining cool whip and more crushed wafers.
- Refrigerate for at least 2 hours before serving for best flavor and texture.