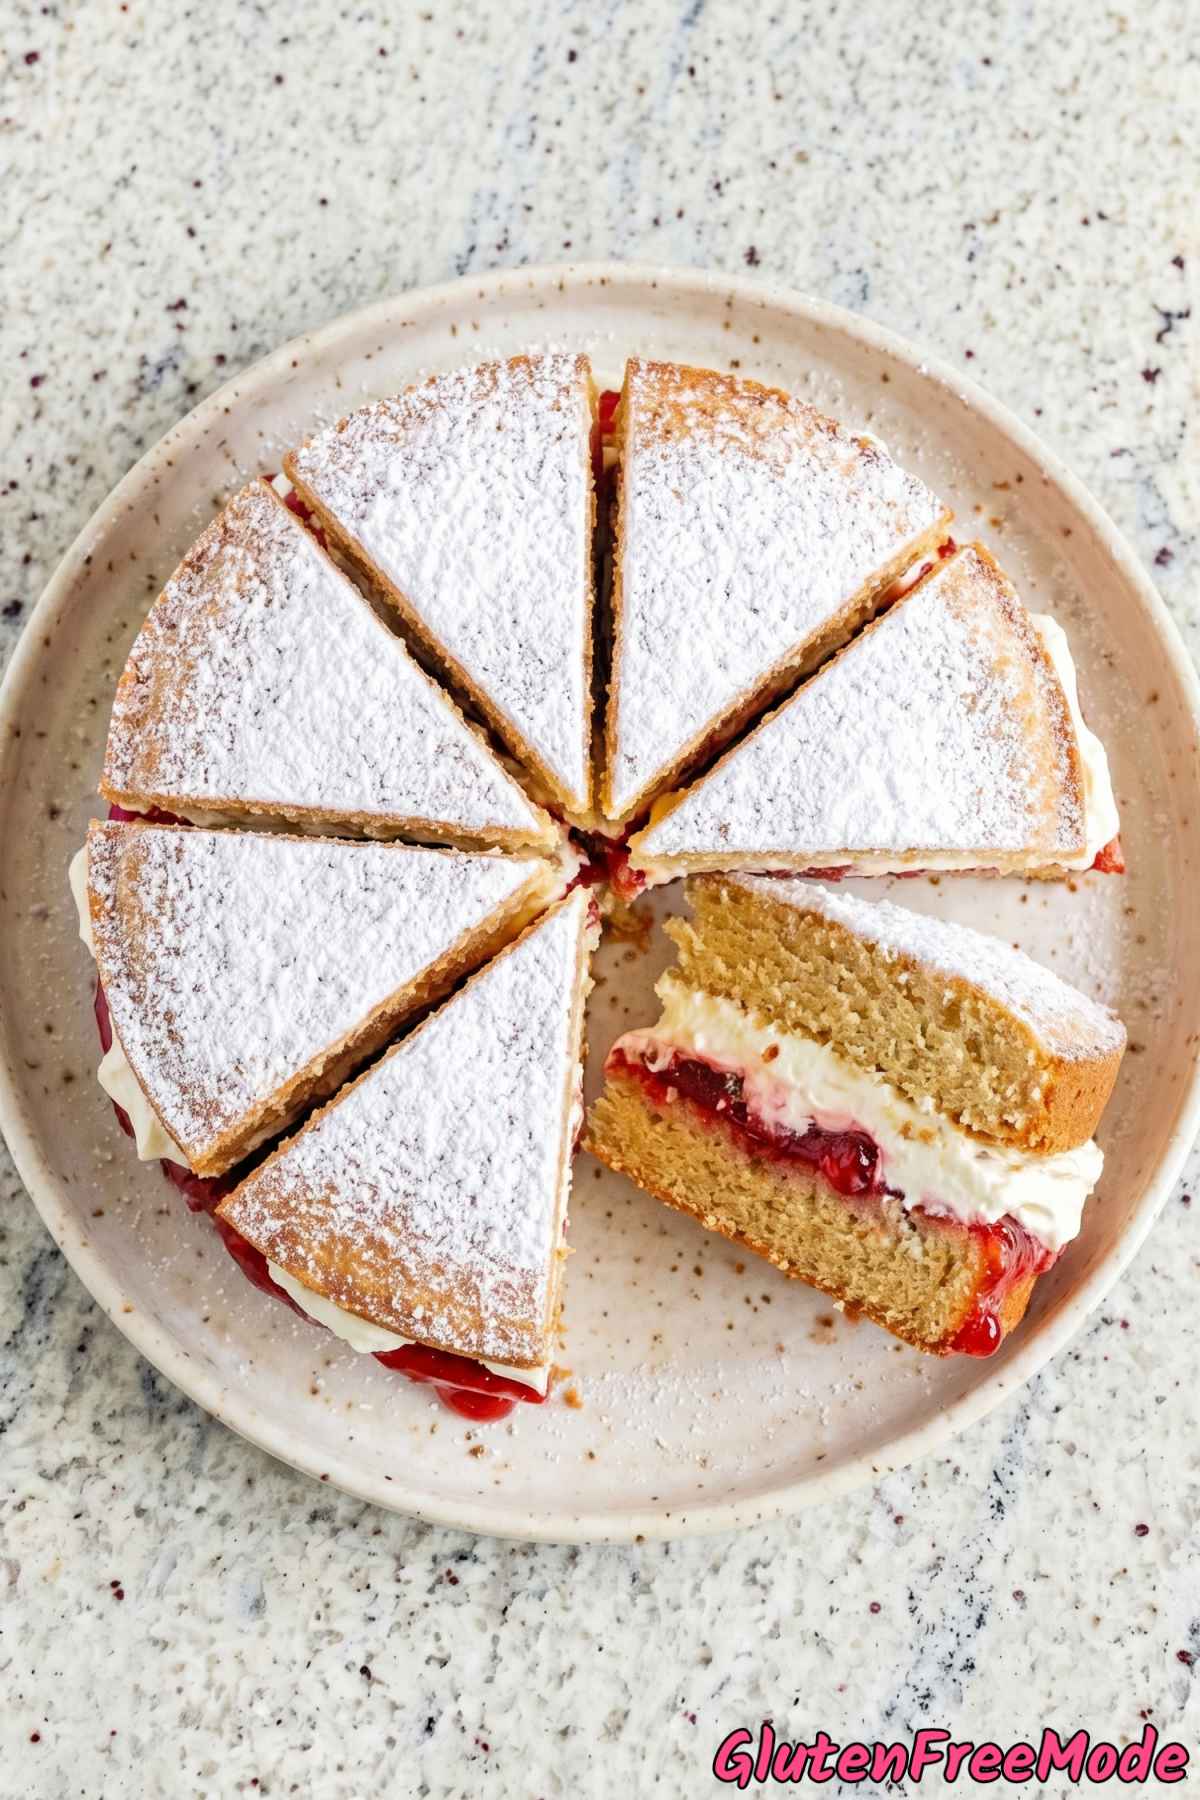
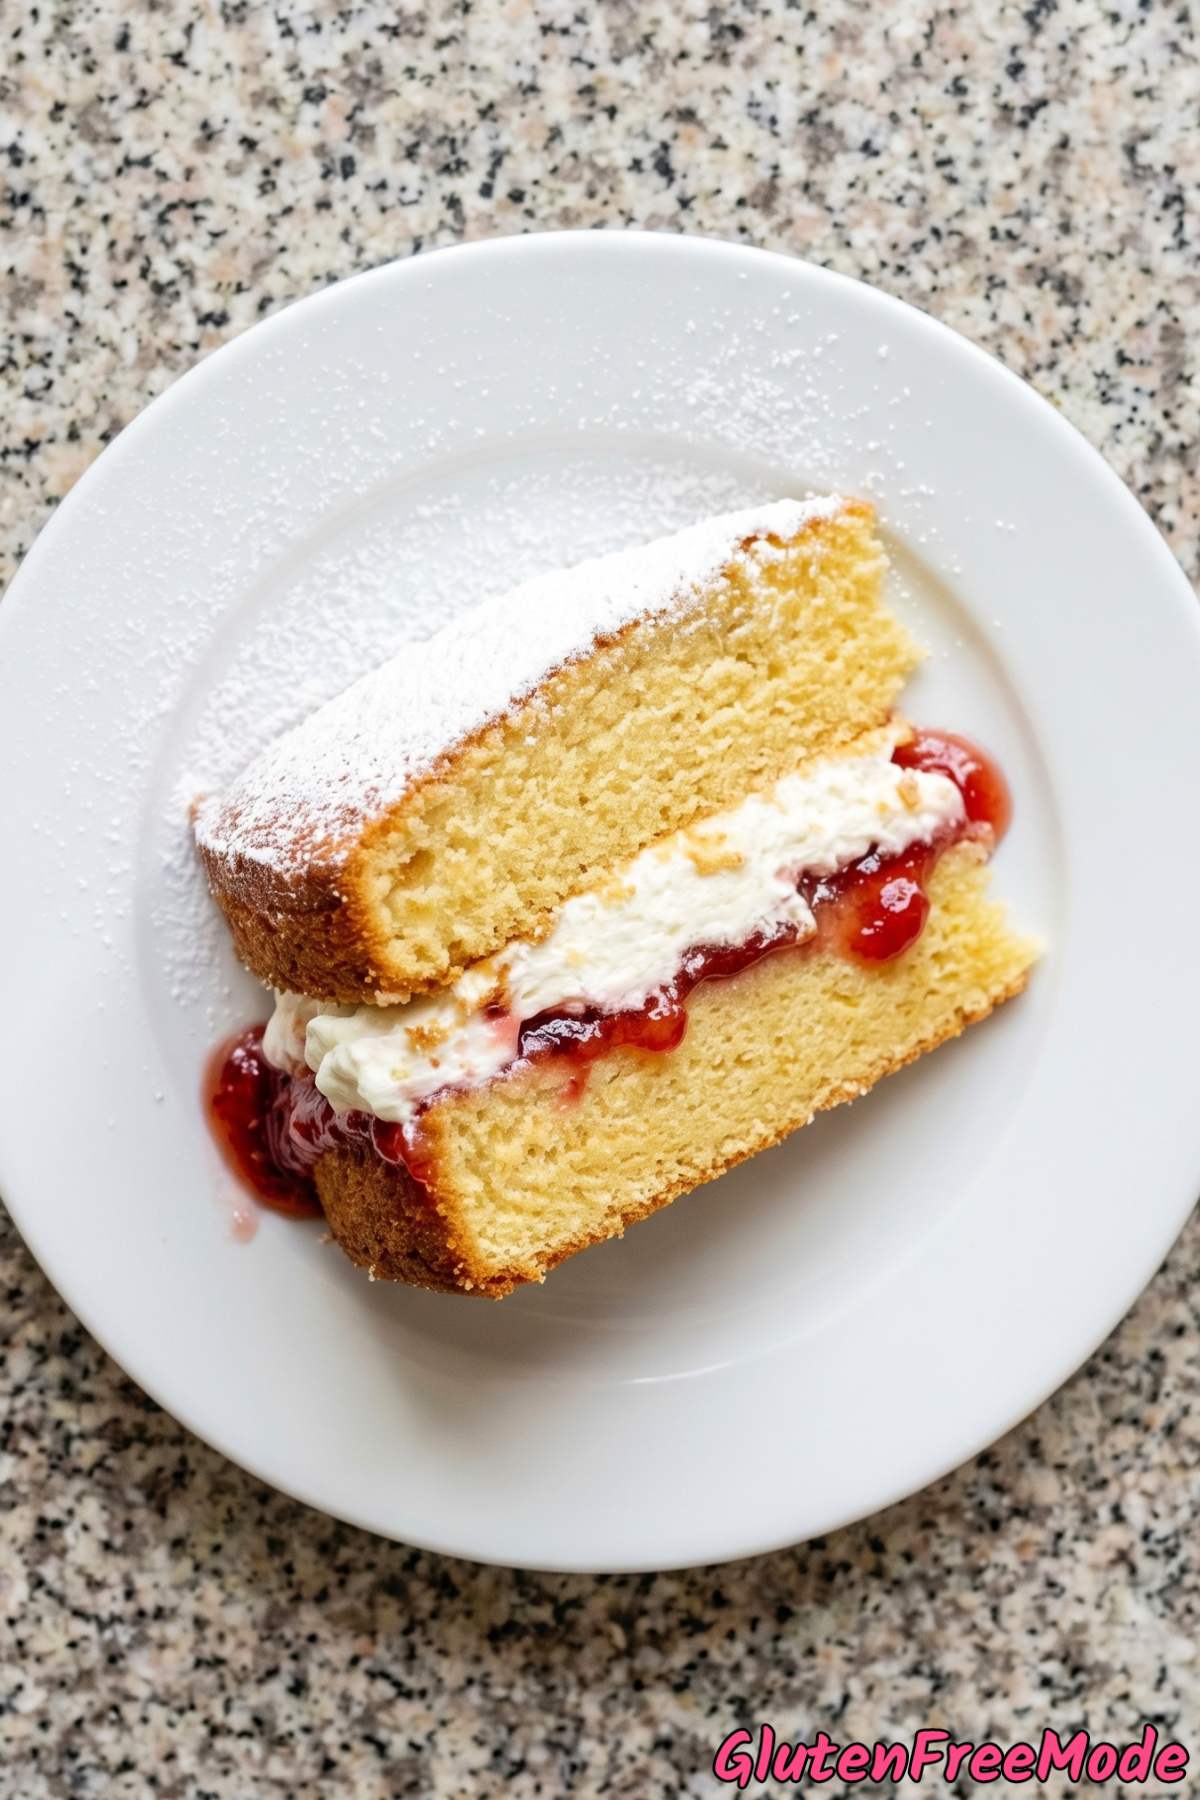
This gluten free victoria sponge cake is everything you want from a classic British cake. Light, fluffy sponge layers filled with strawberry jam and freshly whipped cream.
If you’ve been missing a proper victoria sponge since going gluten free, this recipe is for you. It tastes just as good as the original, and no one will guess it’s made without regular flour.
The cake itself is simple to put together. You just need basic baking ingredients like butter, sugar, eggs, and a good gluten free flour blend.
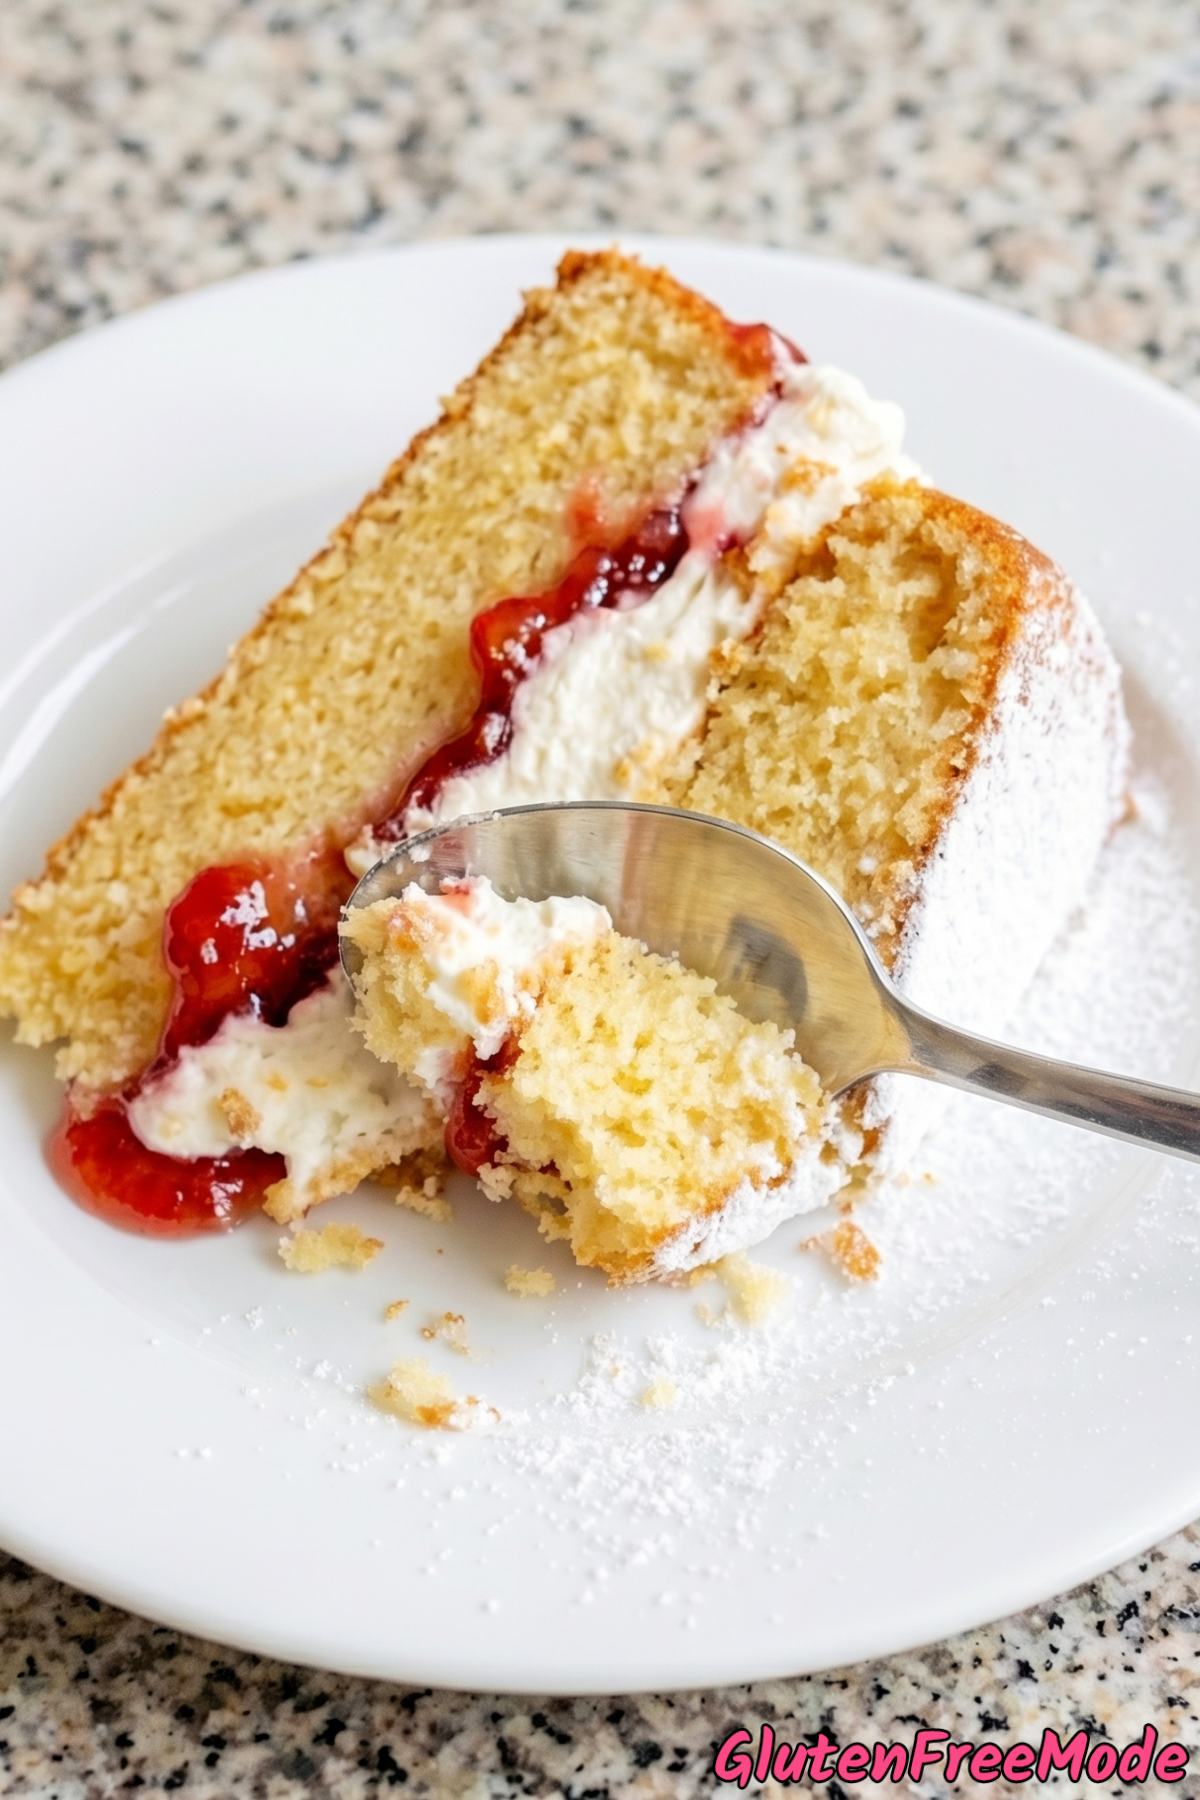
The filling is the best part. A generous layer of strawberry jam paired with vanilla whipped cream makes every slice feel a little special.
It’s perfect for afternoon tea, birthdays, or just a weekend treat when you feel like baking something classic.
Why You’ll Love This Recipe
It Tastes Like the Real Thing – This gluten free Victoria sponge is so light, fluffy, and buttery that nobody will ever guess it’s made without regular flour.
Perfect for Afternoon Tea – A Victoria sponge with jam and fresh whipped cream is the classic British teatime cake, and now you can enjoy it without worrying about gluten.
Simple Ingredients You Can Find Anywhere – All you need is basic stuff like butter, eggs, sugar, and a gluten free 1-to-1 baking flour, so there’s no hunting around for weird or hard-to-find ingredients.
The Jam and Cream Filling Is Incredible – The combination of sweet strawberry jam with freshly whipped vanilla cream sandwiched between two soft cake layers is honestly hard to beat.
Ingredients
For the Cake
- 1 cup Unsalted Butter, softened
- 1 cup Caster Sugar (or superfine sugar)
- 4 Large Eggs, room temperature
- 1 3/4 cups Gluten Free 1-to-1 Baking Flour
- 2 tsp Baking Powder
- 1/4 tsp Salt
- 2 tbsp Whole Milk
- 1 tsp Vanilla Extract
For the Filling & Topping
- 3/4 cup Strawberry Jam
- 1 1/4 cups Heavy Whipping Cream
- 2 tbsp Powdered Sugar
- 1 tsp Vanilla Extract
- Powdered Sugar, for dusting
How to Make
Step 1
Preheat your oven to 350°F. Grease two 8-inch round cake pans, line the bottoms with parchment paper, and grease the parchment.
Step 2
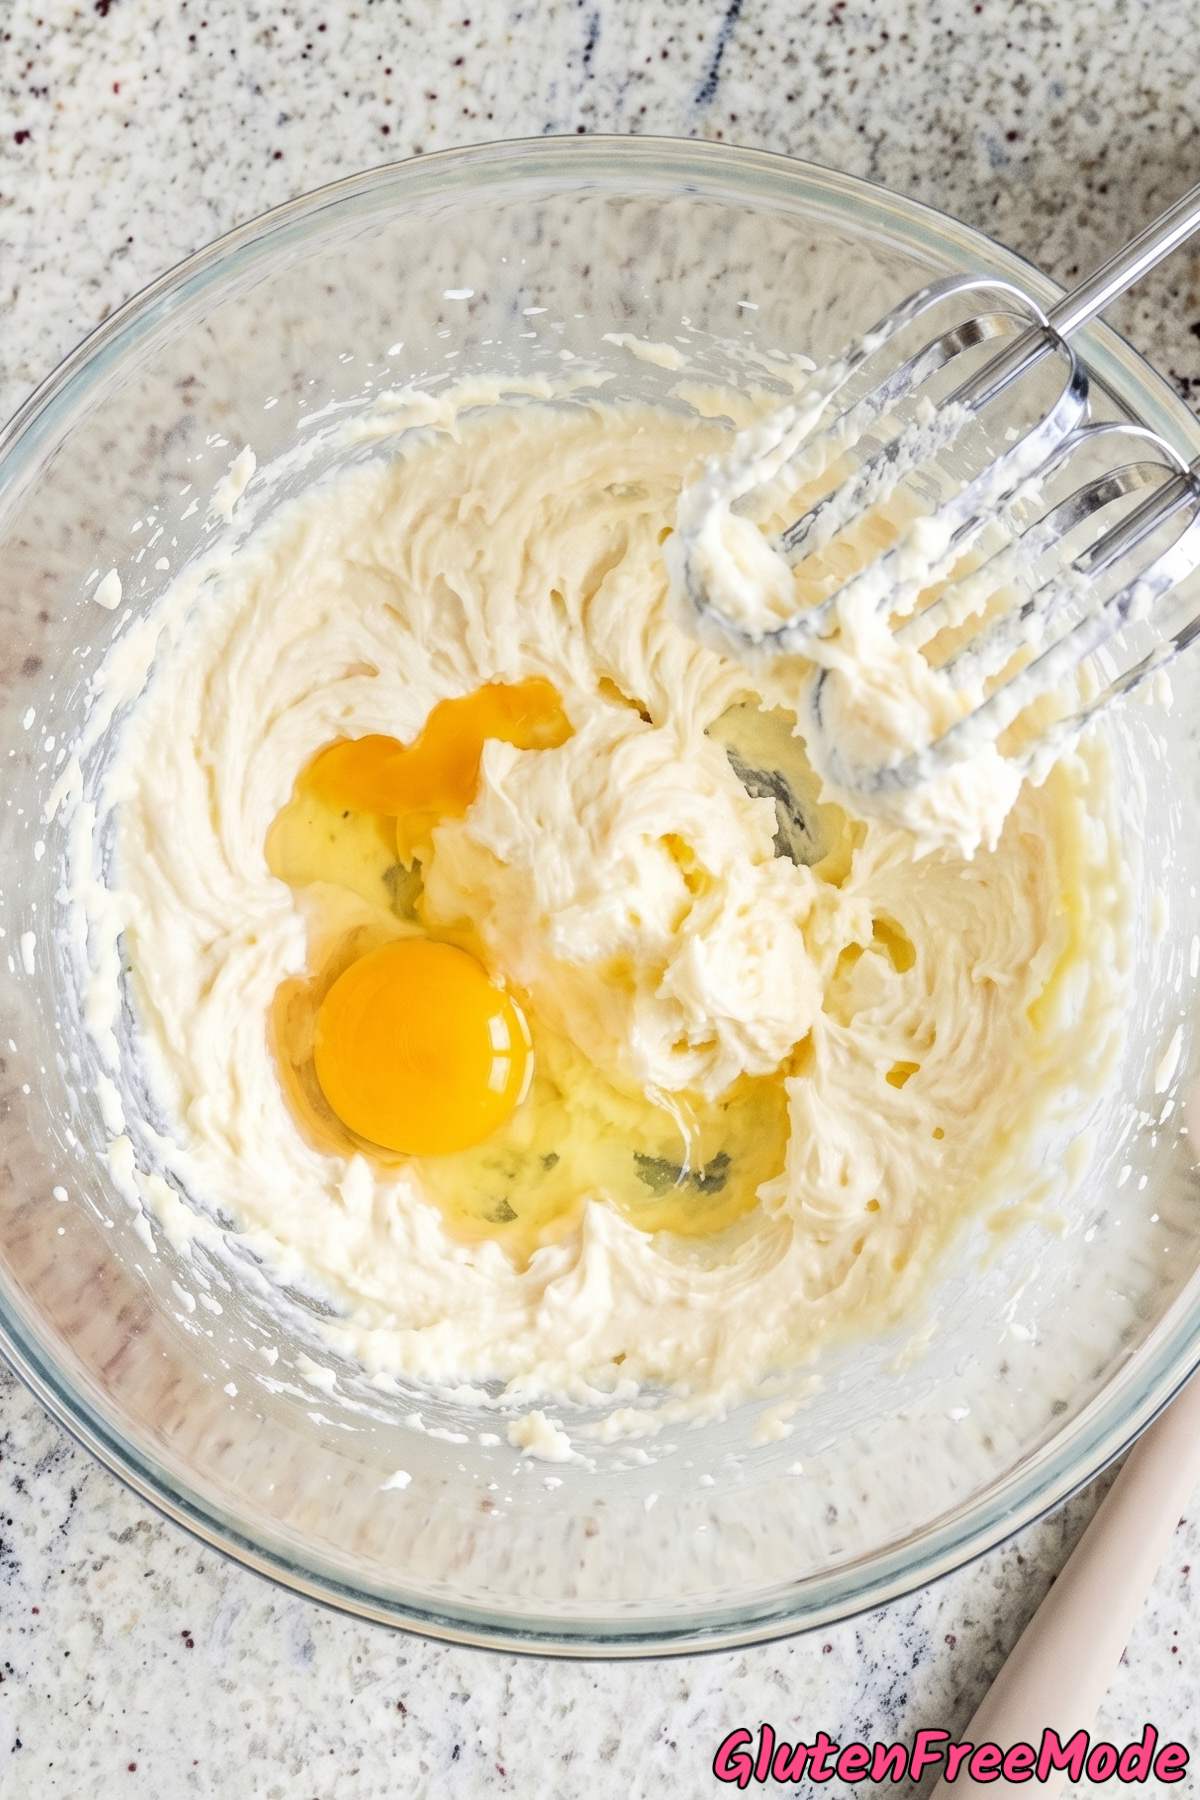
Using an electric mixer, beat the softened butter and caster sugar together on medium-high speed for 4-5 minutes, until very light, pale, and fluffy. Add the eggs one at a time, beating well after each addition.
Step 3
In a separate bowl, whisk together the gluten free 1-to-1 baking flour, baking powder, and salt. Add the flour mixture to the butter mixture in three additions, folding gently with a spatula after each. Fold in the milk and vanilla extract until the batter is smooth and evenly combined.
Step 4
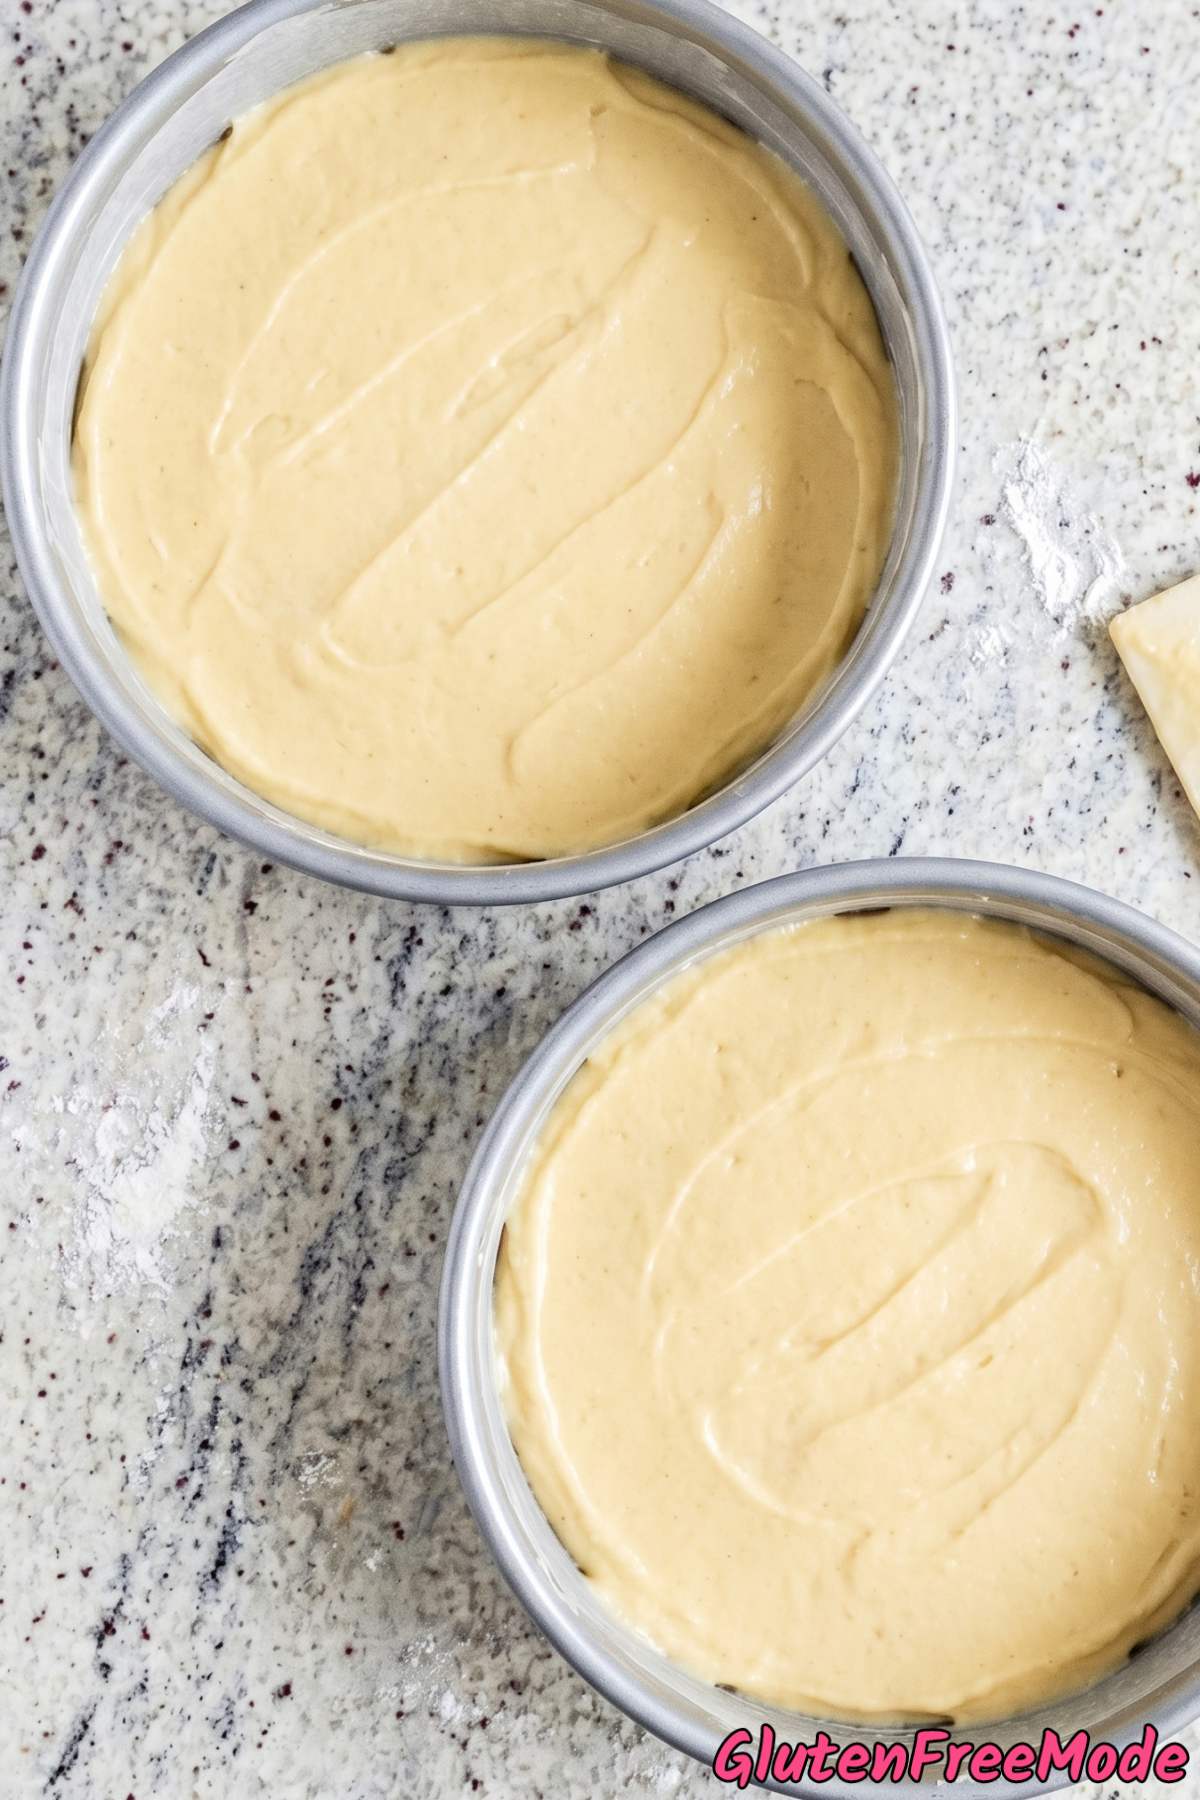
Divide the batter evenly between the two prepared pans and smooth the tops. Bake for 22-26 minutes, until the cakes are golden and a toothpick inserted in the center comes out clean.
Step 5
Let the cakes cool in the pans for 10 minutes, then turn them out onto a wire rack and peel off the parchment. Let them cool completely.
Step 6
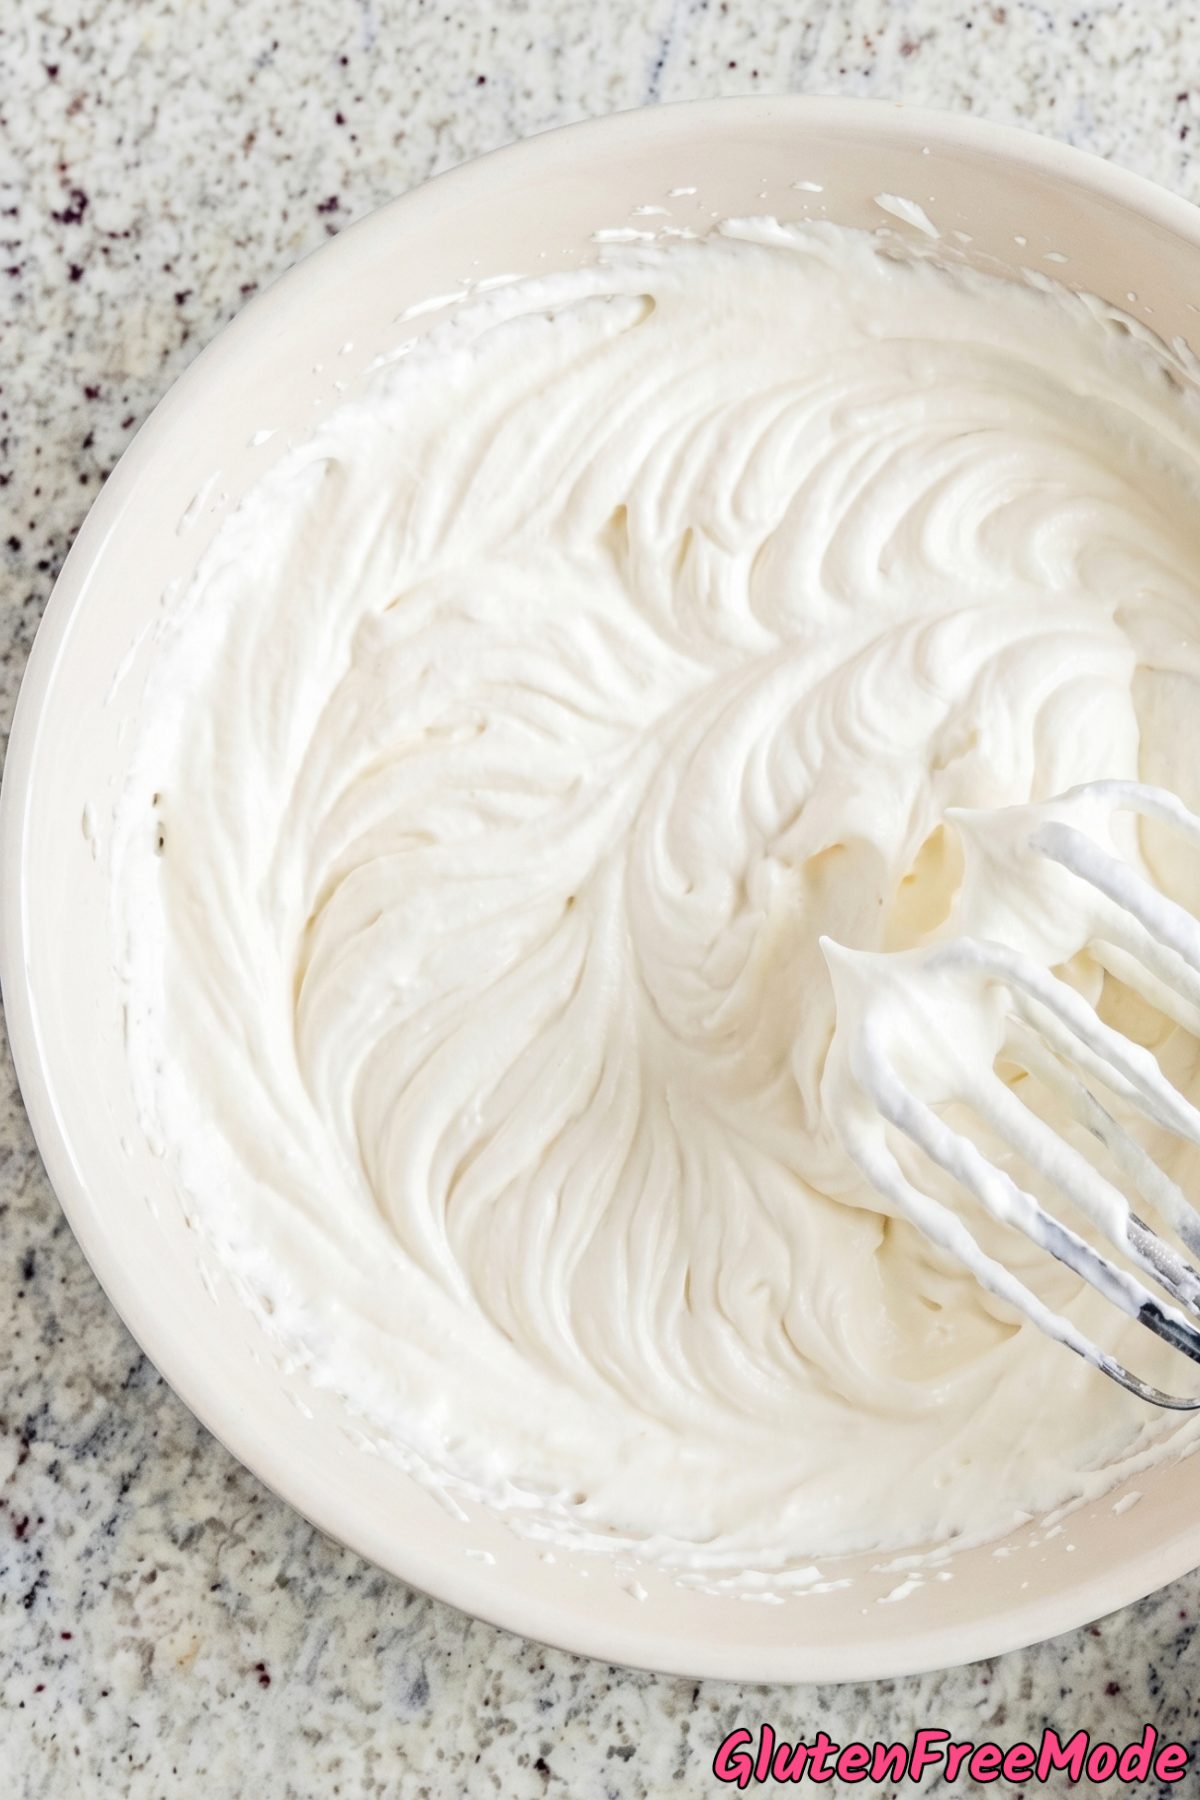
Whip the heavy cream, 2 tablespoons powdered sugar, and vanilla extract together with an electric mixer until firm peaks form.
Step 7
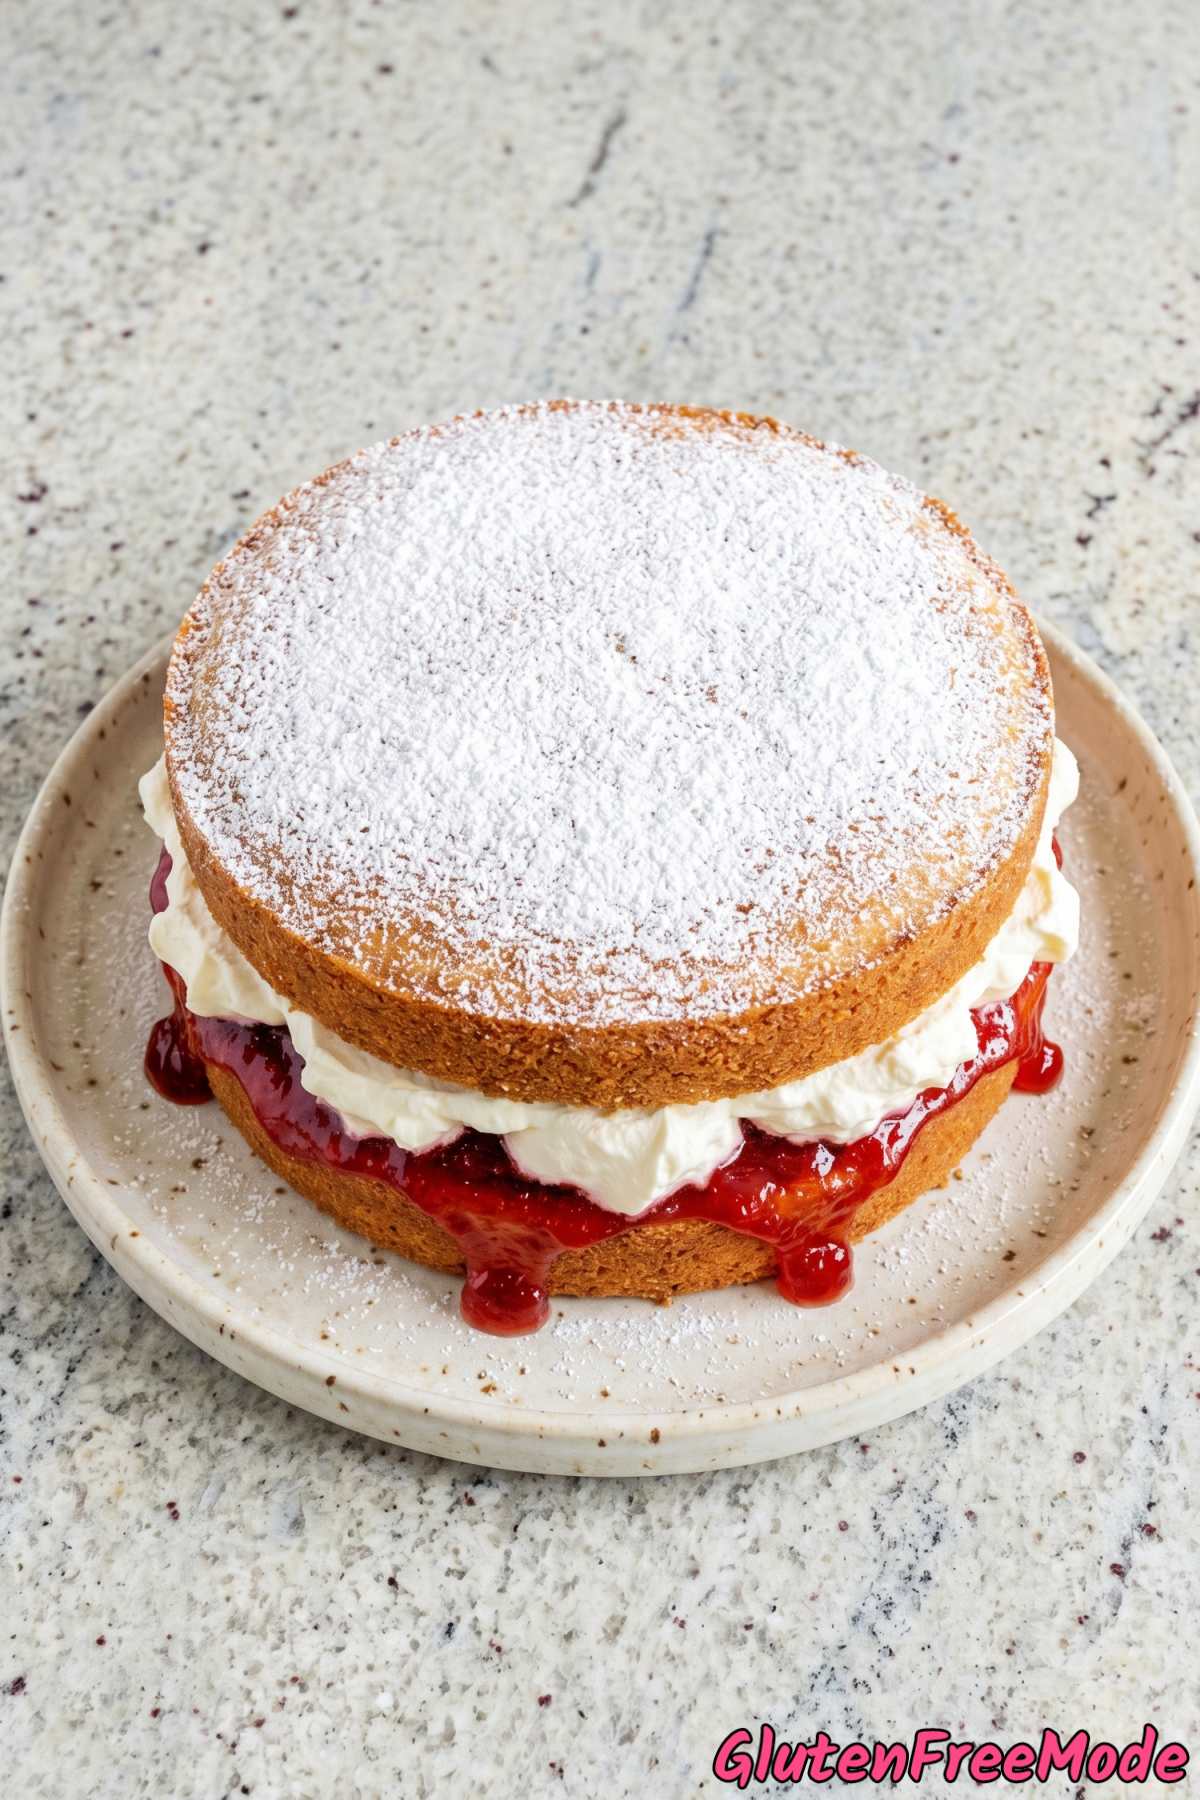
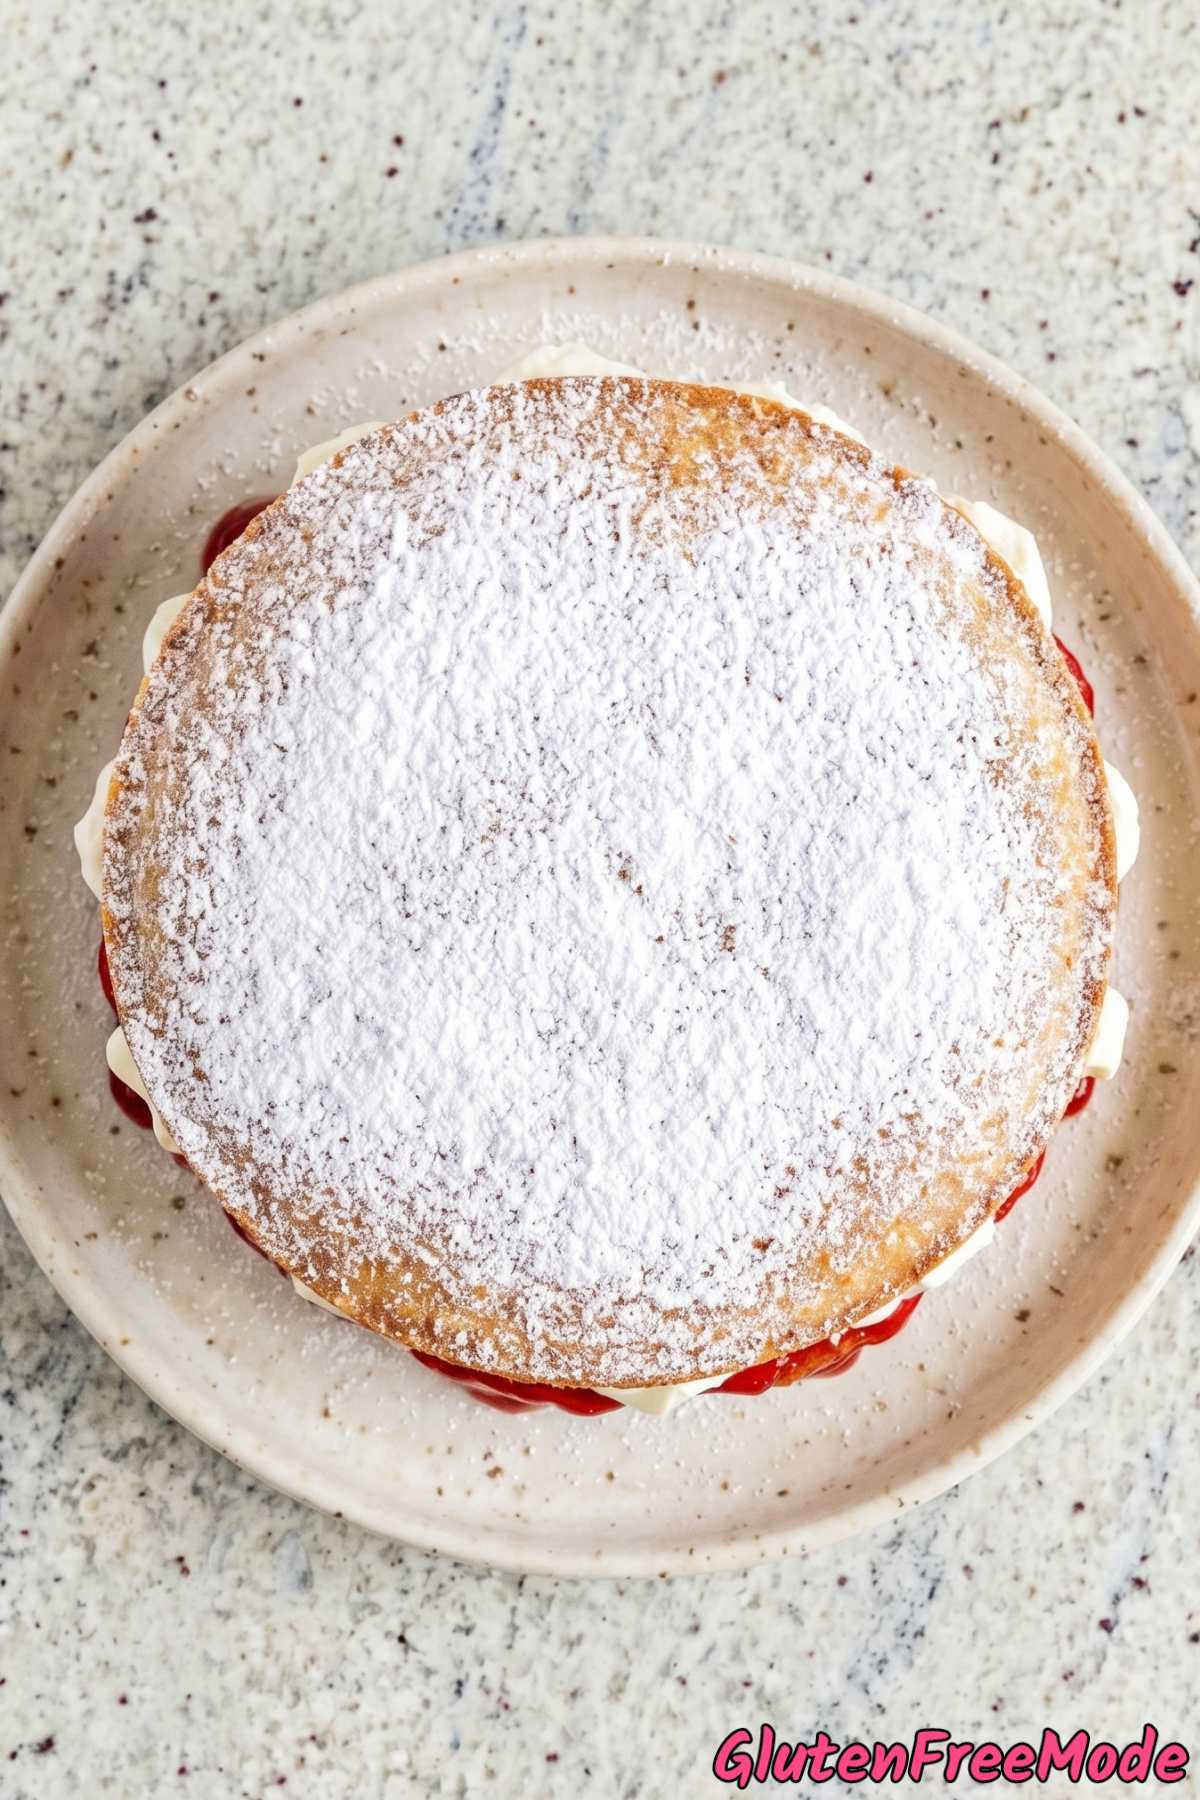
Place one cake layer on a serving plate. Spread the strawberry jam evenly over it, then spread or dollop the whipped cream on top of the jam. Place the second cake layer on top and dust generously with powdered sugar. Serve at room temperature.
Helpful Tips
Use Room Temperature Ingredients
Make sure your butter is actually soft before you start. It should dent easily when you press it with your finger but not be melty or greasy. If it’s too cold, it won’t cream properly with the sugar and your cake will be dense.
Same goes for the eggs. Cold eggs can cause the butter mixture to curdle and look lumpy, which affects how the cake rises. Pull them out of the fridge about 30 minutes before you start, or place them in a bowl of warm water for 10 minutes to take the chill off.
The milk should also be at room temperature. Even a small amount of cold liquid can shock the batter and cause it to split.
Cream the Butter and Sugar Long Enough
Don’t rush the creaming step. You want to beat the butter and caster sugar together for a full 4-5 minutes on medium-high speed. It should turn noticeably pale, almost white, and look really fluffy. This is what gives the sponge its light, airy texture.
If you only beat it for a minute or two, the sugar won’t dissolve properly and you won’t trap enough air into the batter. That air is doing a lot of the heavy lifting when it comes to making the cake rise, so give it the full time.
Scrape down the sides of the bowl halfway through so everything gets incorporated evenly.
Fold the Flour In Gently
Once you add the gluten free flour mixture, switch from the electric mixer to a spatula. Gluten free 1-to-1 baking flour can get gummy fast if you overwork it, and you’ll end up with a heavy, flat cake instead of a light sponge.
Use big, slow folding motions from the bottom of the bowl up and over. Add the flour in three batches so it’s easier to incorporate without having to stir too much. Stop as soon as you don’t see any dry patches of flour left.
You Might Also Like
- Gluten Free Classic Vanilla Layer Cake
- Gluten Free Classic Vanilla Pound Cake
- Gluten Free Strawberry Shortcake Jars
- Gluten Free Strawberry Cream Cake Roll
- Gluten Free Lemon Drizzle Cake
Frequently Asked Questions
Why did my gluten free sponge turn out dense or gummy?
The most common reason is overmixing. Once you add the flour, you should fold it in gently with a spatula rather than beating it with the mixer. Gluten free batters can get gummy and heavy really fast if they’re worked too much, especially blends that contain xanthan gum.
Another common issue is not creaming the butter and sugar long enough. That 4-5 minutes of beating is what creates the light, airy structure in a Victoria sponge, so don’t rush that step. Make sure your butter is truly soft (not melted) and your eggs are at room temperature so everything incorporates smoothly.
Gluten Free Victoria Sponge Cake

Equipment
- electric mixer
- 8-inch round cake pans
- wire rack
Ingredients
For the Cake
- 1 cup Unsalted Butter, softened
- 1 cup Caster Sugar (or superfine sugar)
- 4 Large Eggs, room temperature
- 1 3/4 cups Gluten Free 1-to-1 Baking Flour
- 2 tsp Baking Powder
- 1/4 tsp Salt
- 2 tbsp Whole Milk
- 1 tsp Vanilla Extract
For the Filling & Topping
- 3/4 cup Strawberry Jam
- 1 1/4 cups Heavy Whipping Cream
- 2 tbsp Powdered Sugar
- 1 tsp Vanilla Extract
- Powdered Sugar, for dusting
Instructions
- Preheat your oven to 350°F. Grease two 8-inch round cake pans, line the bottoms with parchment paper, and grease the parchment.
- Using an electric mixer, beat the softened butter and caster sugar together on medium-high speed for 4-5 minutes, until very light, pale, and fluffy. Add the eggs one at a time, beating well after each addition.
- In a separate bowl, whisk together the gluten free 1-to-1 baking flour, baking powder, and salt. Add the flour mixture to the butter mixture in three additions, folding gently with a spatula after each. Fold in the milk and vanilla extract until the batter is smooth and evenly combined.
- Divide the batter evenly between the two prepared pans and smooth the tops. Bake for 22-26 minutes, until the cakes are golden and a toothpick inserted in the center comes out clean.
- Let the cakes cool in the pans for 10 minutes, then turn them out onto a wire rack and peel off the parchment. Let them cool completely.
- Whip the heavy cream, 2 tablespoons powdered sugar, and vanilla extract together with an electric mixer until firm peaks form.
- Place one cake layer on a serving plate. Spread the strawberry jam evenly over it, then spread or dollop the whipped cream on top of the jam. Place the second cake layer on top and dust generously with powdered sugar. Serve at room temperature.