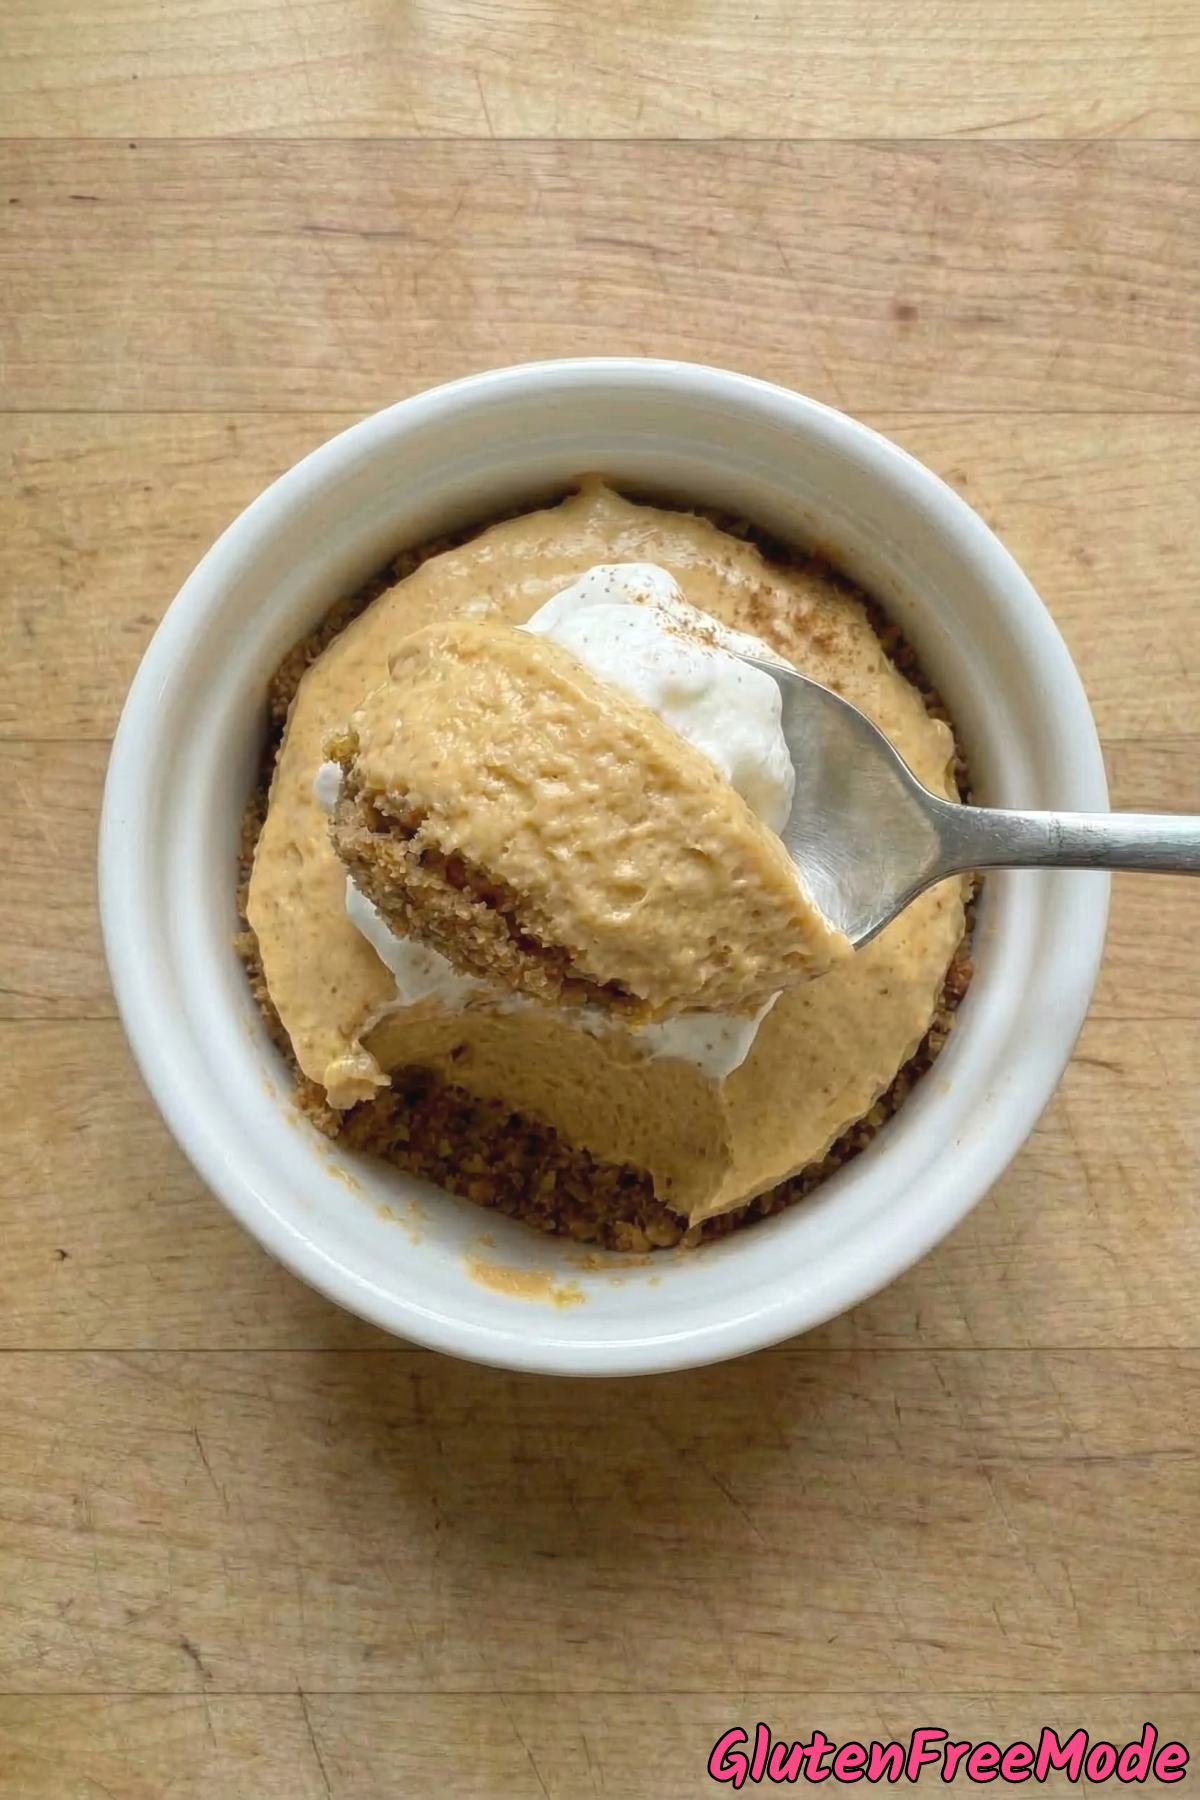
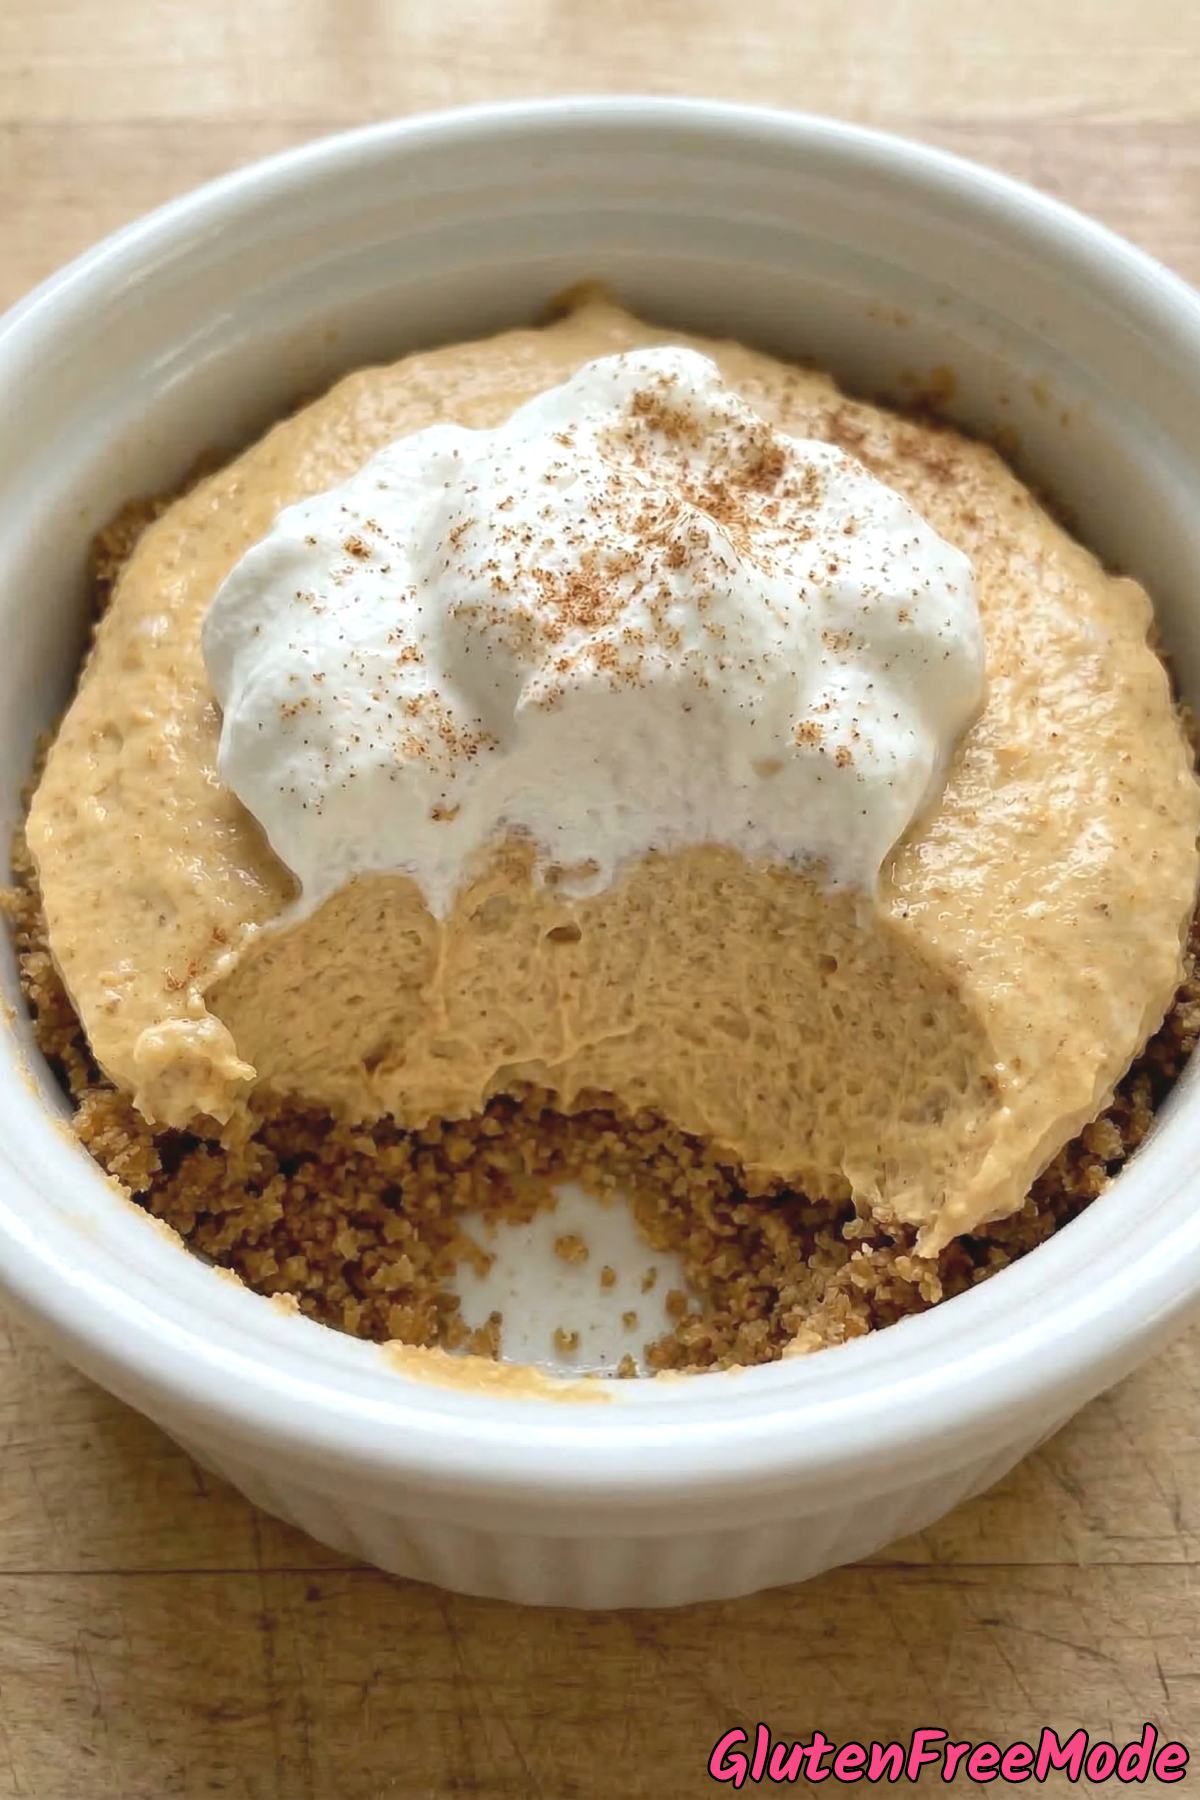
If you love pumpkin desserts, these gluten free pumpkin cheesecake cups are going to be your new favorite treat. They’re creamy, perfectly spiced, and so easy to make.
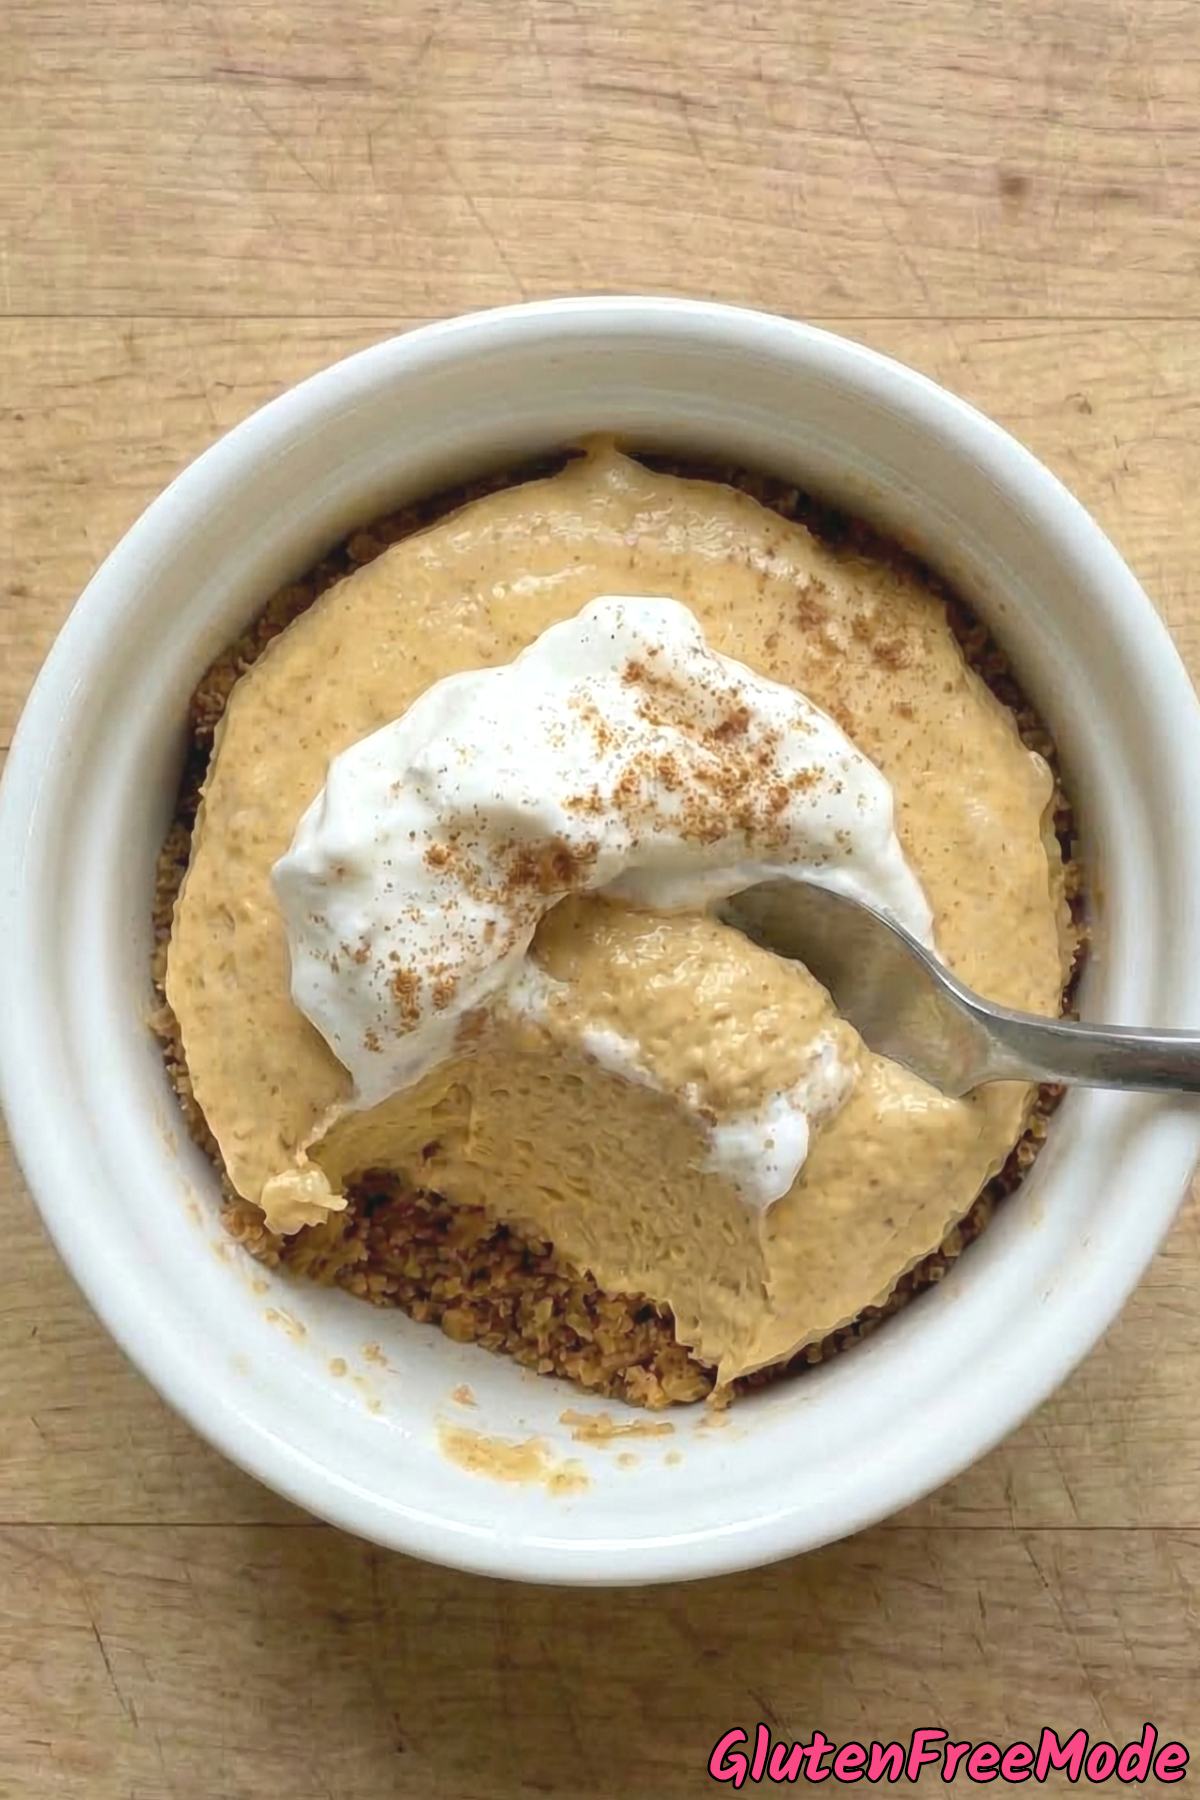
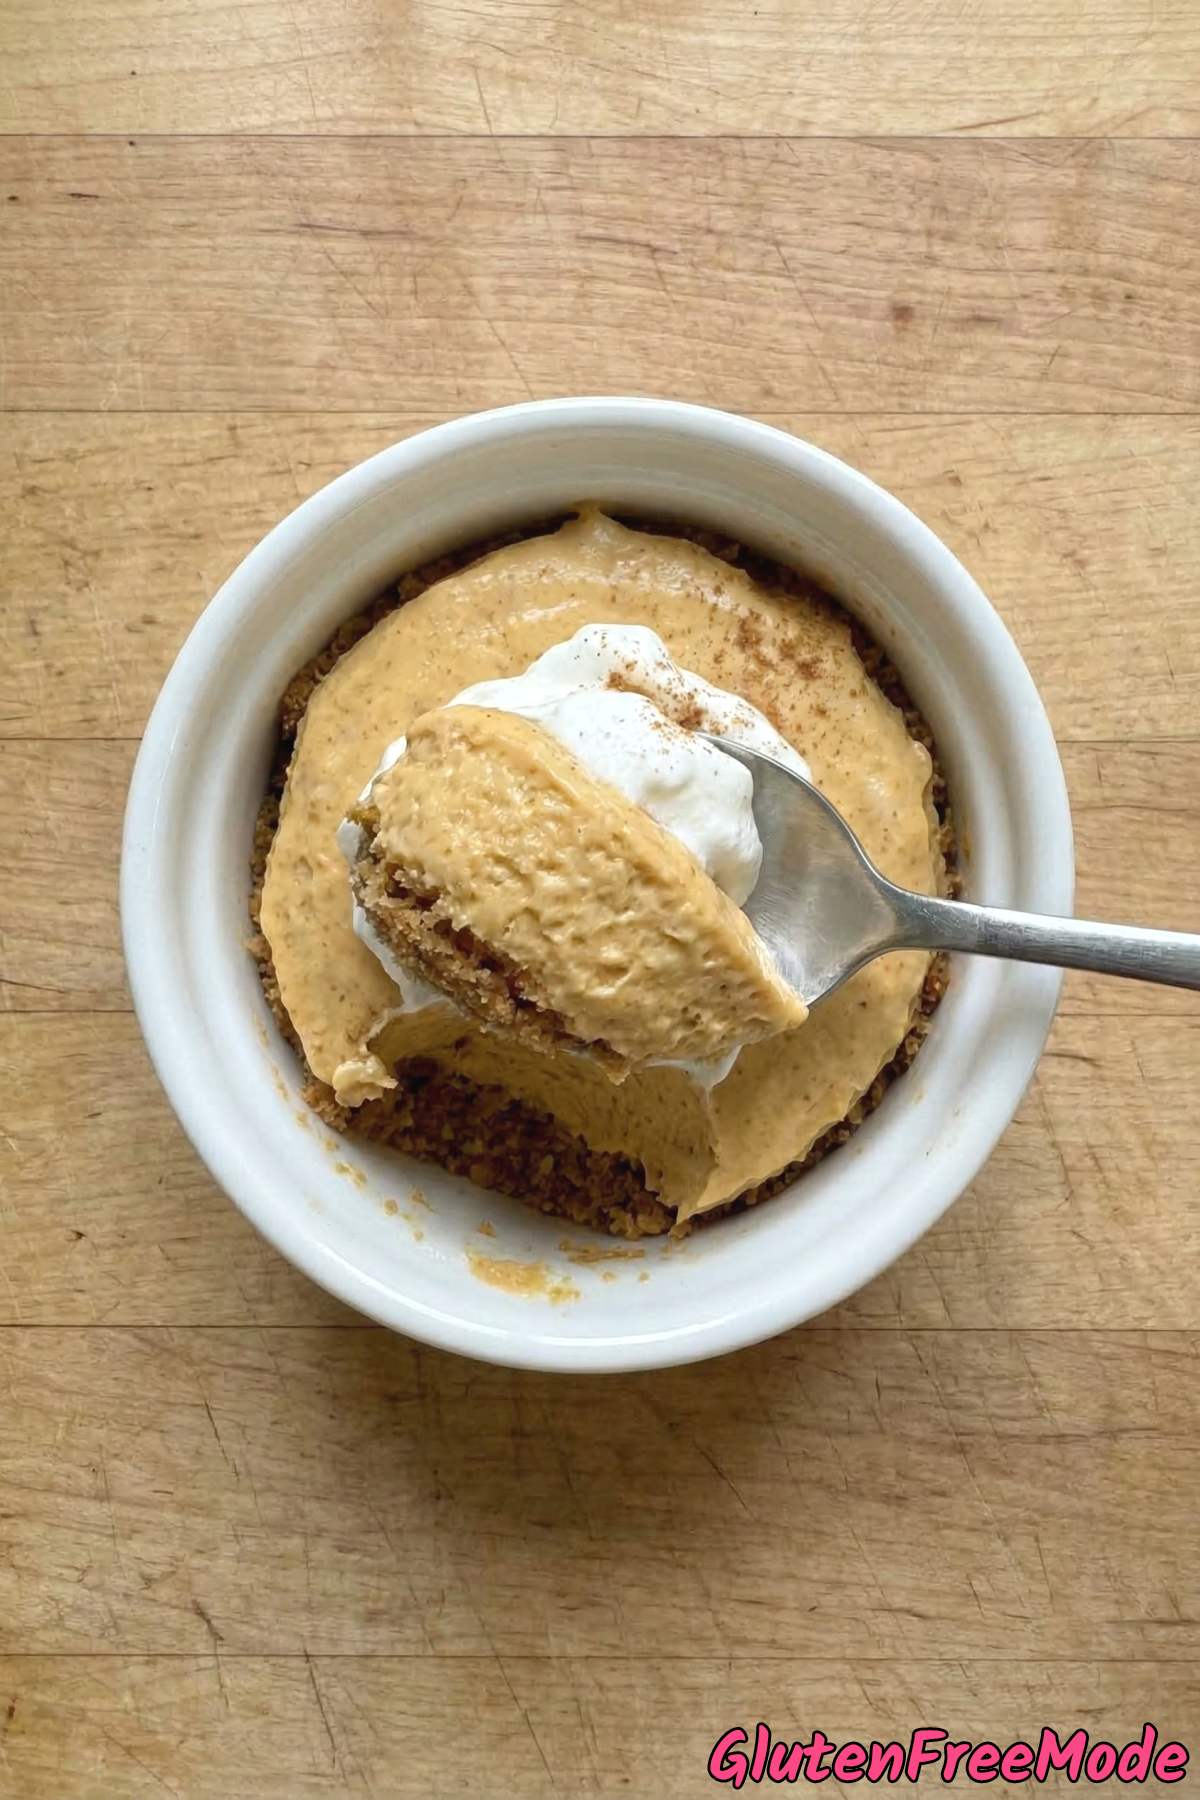
Each cup has a crunchy gingersnap crust on the bottom and a smooth pumpkin cheesecake filling on top. Every bite is just the right mix of spice and sweetness.
This recipe is completely gluten free, so if you’re avoiding gluten or cooking for someone who does, you don’t have to skip dessert. These taste just as good as any regular cheesecake, if not better.
The best part is that they’re no-bake. You just mix everything together, layer it up, and let them chill in the fridge. No oven needed.
You only need a handful of simple ingredients to make these, and most of them are probably already in your kitchen. Let me show you how it’s done.
Why You’ll Love This Recipe
Amazing Pumpkin Flavor – With a full cup of pumpkin puree and pumpkin pie spice in the filling, these cups deliver real, cozy pumpkin flavor in every single bite. They taste like fall in dessert form.
Perfectly Gluten Free – Made with gluten free gingersnap crumbs for the crust, these cheesecake cups are safe for anyone avoiding gluten without sacrificing that classic spiced cookie crunch at the bottom.
The Gingersnap Crust Is Everything – The combination of gluten free gingersnap crumbs with melted butter and sugar creates a perfectly spiced, buttery base that pairs so well with the creamy pumpkin filling. It honestly makes the whole dessert.
Light and Creamy Texture – Thanks to the Cool Whip folded into the cream cheese filling, these cups have an airy, mousse-like texture that feels way more elegant than the effort you actually put in.
Ingredients
For the Crust
- 1 1/2 cups Gluten Free Gingersnap Crumbs
- 4 tbsp Melted Butter
- 2 tbsp Sugar
For the Filling
- 16 oz Cream Cheese, softened
- 1 cup Pumpkin Puree
- 3/4 cup Powdered Sugar
- 1 tsp Pumpkin Pie Spice
- 1 tsp Vanilla Extract
- 1 1/2 cups Cool Whip
- Whipped Cream for topping
How to Make
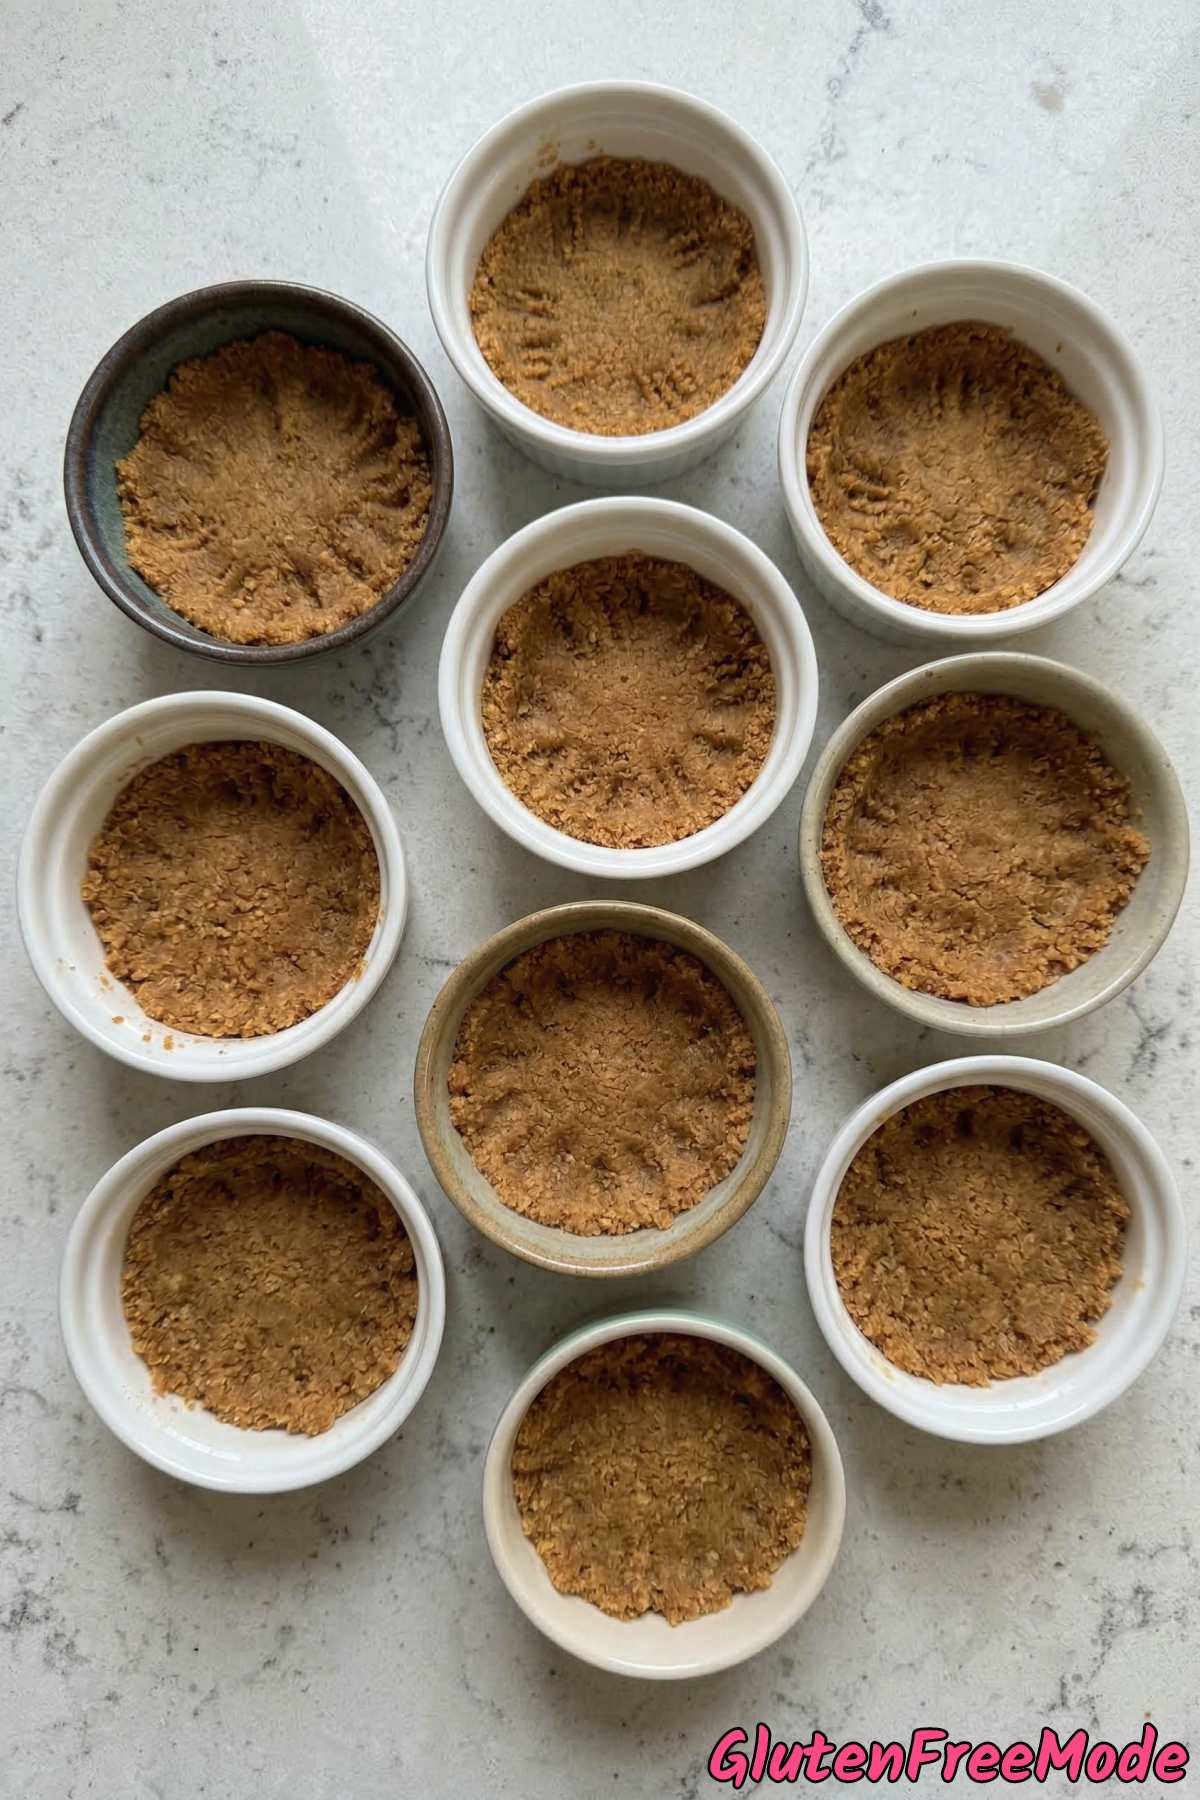
Step 1
Mix gluten free gingersnap crumbs, melted butter, and sugar, then divide among 8 cups and press down firmly.
Step 2
Beat cream cheese until smooth and fluffy, about 2 minutes.
Step 3
Add pumpkin puree, powdered sugar, pumpkin pie spice, and vanilla extract, beating until fully combined.
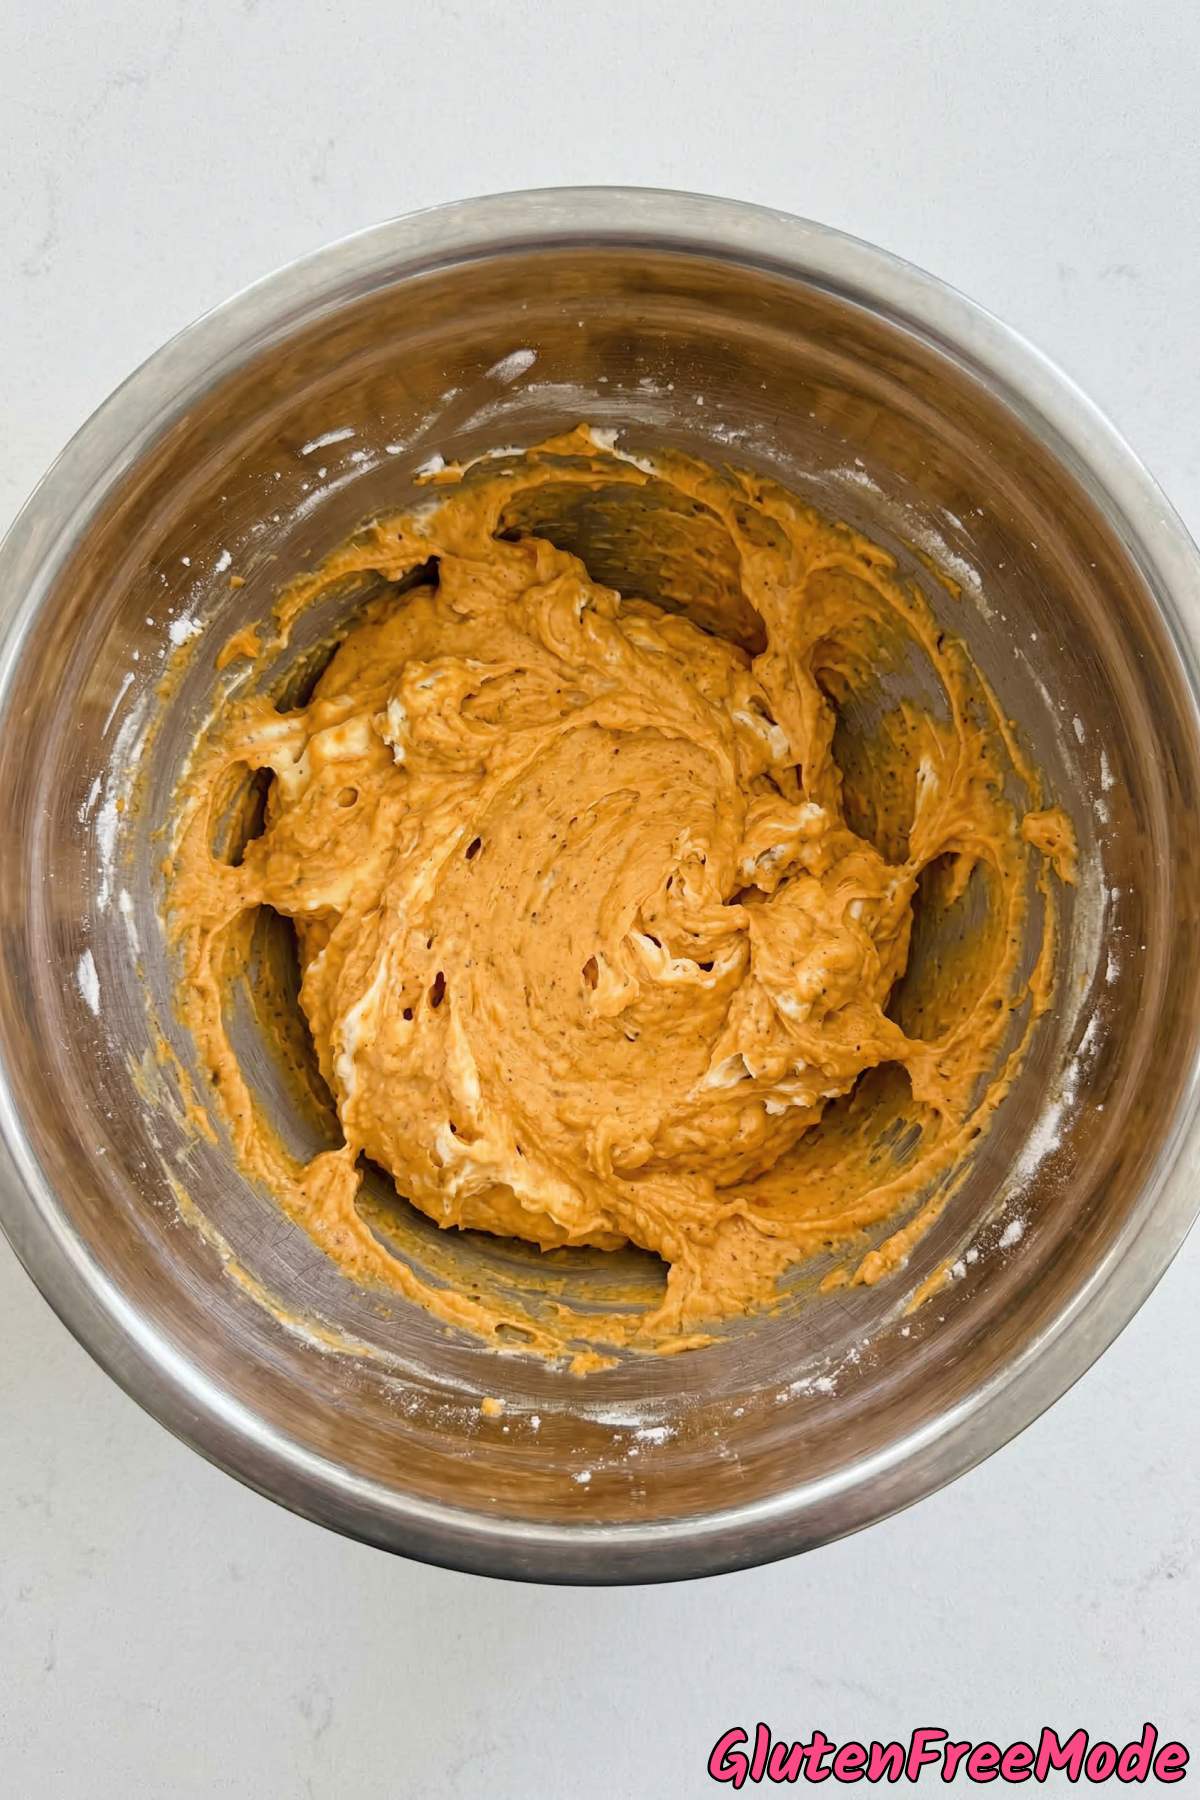
Step 4
Gently fold in cool whip until the mixture is light and airy.
Step 5
Spoon or pipe the filling into each cup over the crusts.
Step 6
Refrigerate for at least 3 hours or overnight until completely set.
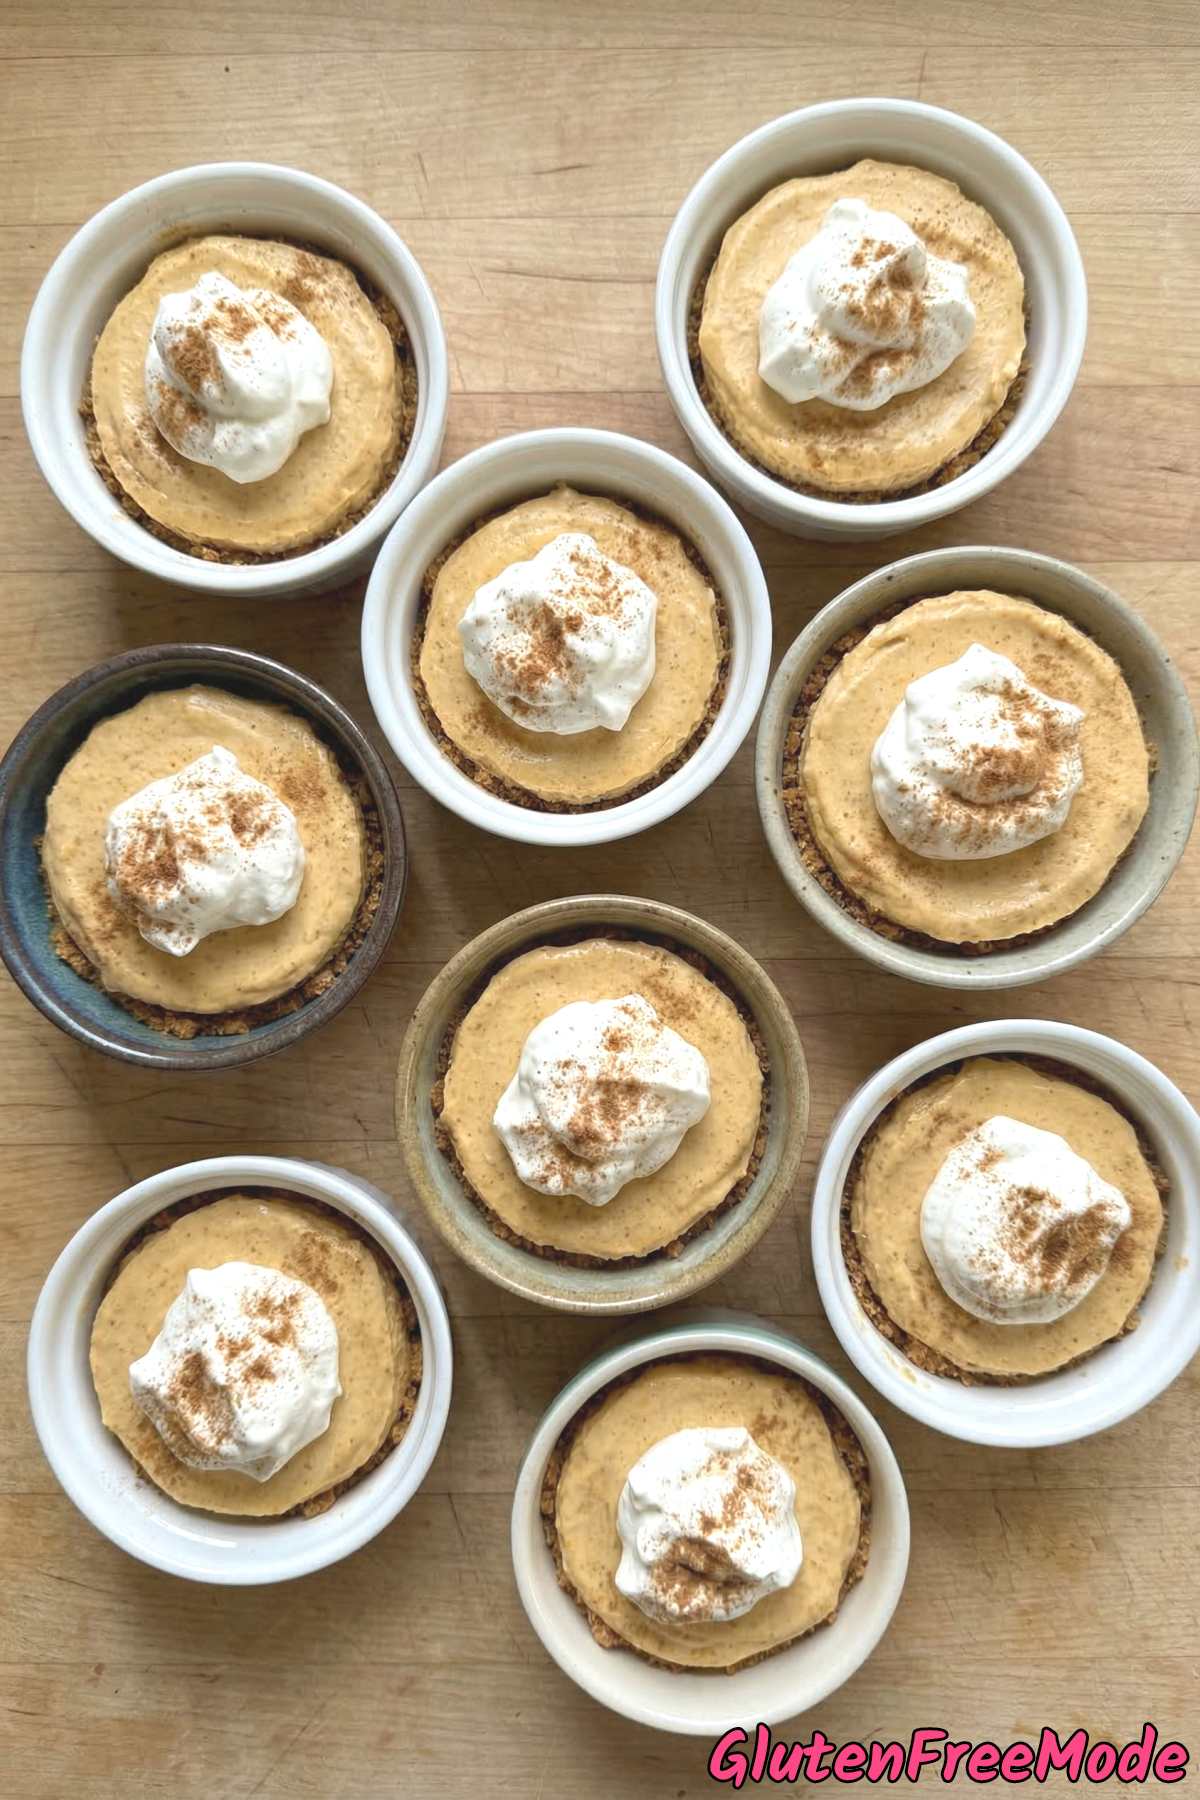
Step 7
Top with whipped cream and a sprinkle of pumpkin pie spice before serving.
Helpful Tips
Make Sure Your Cream Cheese Is Actually Soft
This is the most important step in the whole recipe. Take your cream cheese out of the fridge at least an hour before you start, maybe even two hours if your kitchen runs cool.
If the cream cheese is still cold or firm in the middle, you’ll end up with lumps in your filling no matter how long you beat it. Those lumps won’t go away once the other ingredients are mixed in.
A quick test is to press your finger into the block. If it sinks in easily with no resistance, it’s ready to go.
Press the Crust Down Really Firmly
Don’t just drop the crumb mixture into the cups and call it done. You need to press it down hard so it holds together like a solid base. Use the flat bottom of a small glass or a measuring cup to pack it in tight.
If you skip this step or go too lightly, the crust will just crumble apart when you try to eat the cheesecake cup. A firm, compact crust is what gives you that nice clean bite with the creamy filling on top.
Use Real Pumpkin Puree, Not Pie Filling
When you grab a can at the store, double check the label. You want plain pumpkin puree, not pumpkin pie filling. They look almost identical on the shelf, but pie filling already has sugar and spices added to it.
If you accidentally use pie filling, your cheesecake cups will be way too sweet and the spice balance will be off. The can should list just one ingredient – pumpkin.
You Might Also Like
- Gluten Free Brownie Cheesecake Swirl
- Gluten Free Strawberry Cheesecake Bars
- Gluten Free Churro Bites
- Gluten Free Cookie Dough Bites
- Gluten Free Coconut Macaroons
Frequently Asked Questions
Can I make these pumpkin cheesecake cups ahead of time?
Yes, these are actually a great make-ahead dessert. You can prepare them up to 24 hours in advance and store them in the fridge covered with plastic wrap or in an airtight container.
Just wait to add the whipped cream topping until right before you serve them so it stays fluffy and doesn’t deflate.
Gluten Free Pumpkin Cheesecake Cups
Ingredients
For the Crust
- 1 1/2 cups Gluten Free Gingersnap Crumbs
- 4 tbsp Melted Butter
- 2 tbsp Sugar
For the Filling
- 16 oz Cream Cheese, softened
- 1 cup Pumpkin Puree
- 3/4 cup Powdered Sugar
- 1 tsp Pumpkin Pie Spice
- 1 tsp Vanilla Extract
- 1 1/2 cups Cool Whip
- Whipped Cream for topping
Instructions
- Mix gluten free gingersnap crumbs, melted butter, and sugar, then divide among 8 cups and press down firmly.
- Beat cream cheese until smooth and fluffy, about 2 minutes.
- Add pumpkin puree, powdered sugar, pumpkin pie spice, and vanilla extract, beating until fully combined.
- Gently fold in cool whip until the mixture is light and airy.
- Spoon or pipe the filling into each cup over the crusts.
- Refrigerate for at least 3 hours or overnight until completely set.
- Top with whipped cream and a sprinkle of pumpkin pie spice before serving.