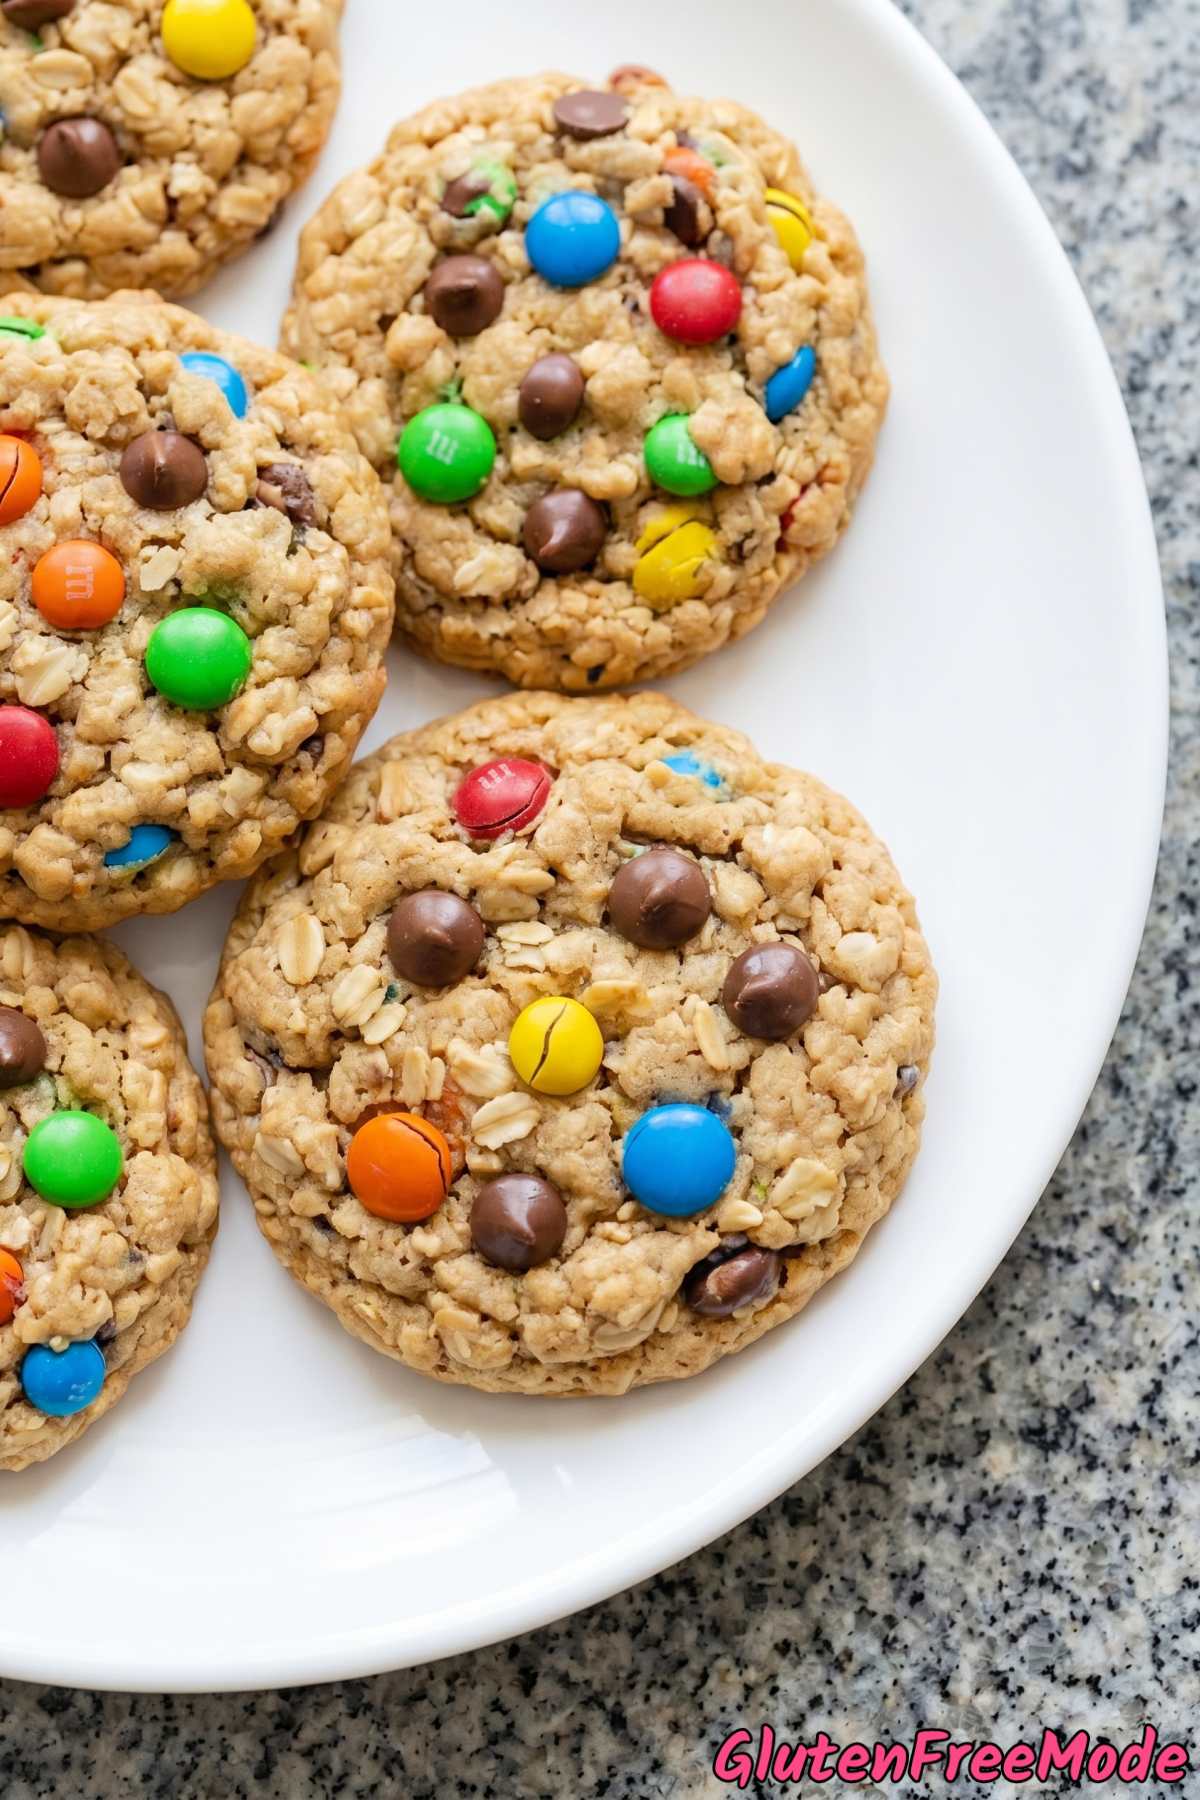
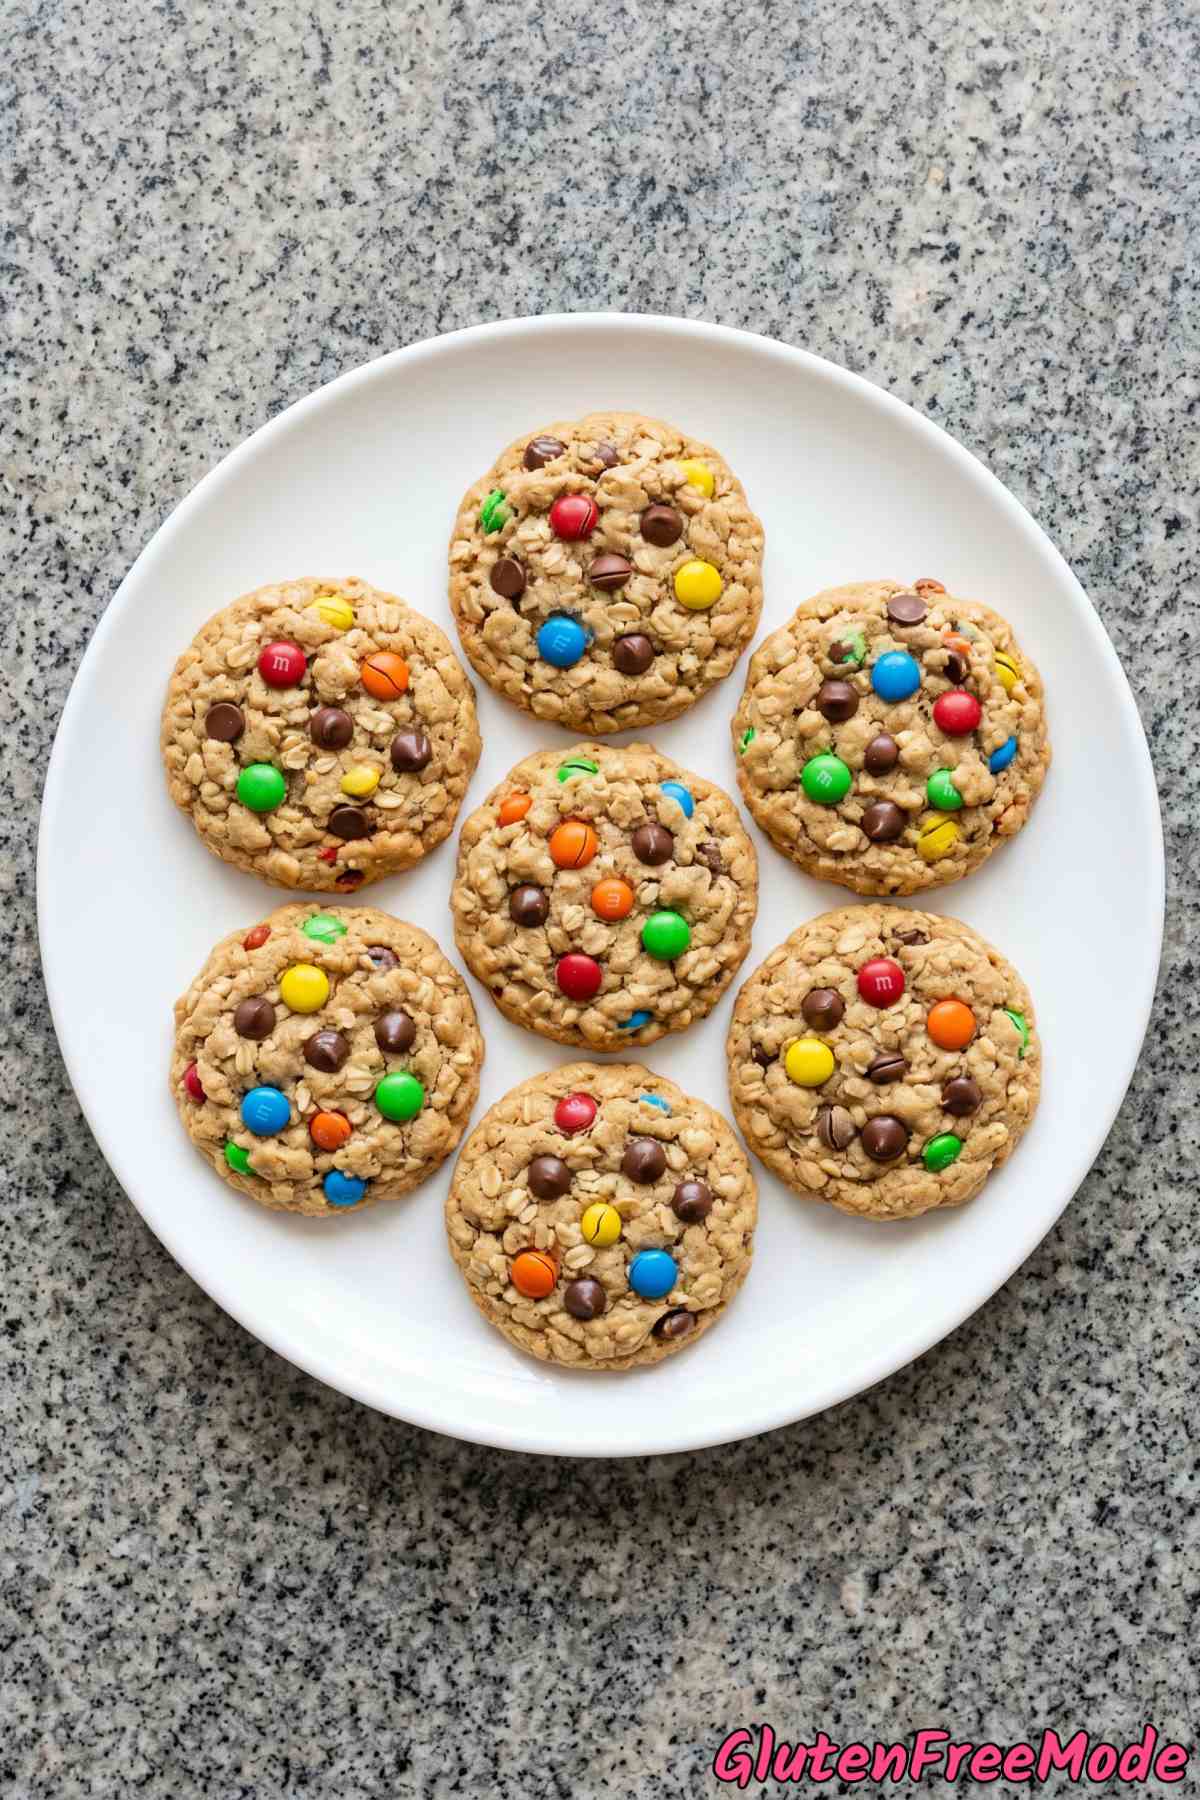
These gluten free monster cookies are everything you want in a cookie. Chewy, loaded with chocolate chips and colorful candy-coated chocolates, and absolutely delicious.
The base of the dough is peanut butter, which means there’s no flour needed at all. That’s what makes this recipe naturally gluten free without any weird substitutions or special ingredients.
They’re super easy to make too. One bowl, no mixer required, and about 15 minutes in the kitchen before they go into the oven.
If you’ve been looking for a gluten free cookie recipe that actually tastes like a real cookie, this is the one. Nobody will even guess these are gluten free.
Let me show you how to make them step by step.
Why You’ll Love This Recipe
Incredibly Chewy Texture – These cookies cool into the perfect chewy bite thanks to the oats and peanut butter working together.
Naturally Flour Free – There is zero flour in this recipe so you never have to worry about finding the right gluten free blend.
Loaded With Mix-Ins – Every single bite is packed with chocolate chips and colorful candy-coated chocolates for amazing flavor and crunch.
Ingredients
- 1 cup Creamy Peanut Butter
- 3/4 cup Packed Light Brown Sugar
- 1/2 cup Granulated Sugar
- 2 large Eggs
- 1 tsp Pure Vanilla Extract
- 1 tsp Baking Soda
- 1/4 tsp Fine Sea Salt
- 3 cups Gluten Free Certified Rolled Oats
- 3/4 cup Semi-Sweet Chocolate Chips
- 3/4 cup Gluten Free Candy-Coated Chocolates
- 1/4 cup Mini Gluten Free Candy-Coated Chocolates (for pressing on top)
How to Make
Step 1
Preheat the oven to 350 degrees F and line two large baking sheets with parchment paper.
Step 2
In a large bowl, stir together the peanut butter, light brown sugar, and granulated sugar until well combined and smooth. Add the eggs one at a time, mixing well after each addition, then stir in the vanilla extract.
Step 3
Sprinkle the baking soda and fine sea salt over the mixture and stir until evenly distributed. Add the gluten free rolled oats and fold until fully incorporated into the dough.
Step 4
Fold in the chocolate chips and the 3/4 cup of candy-coated chocolates until evenly scattered throughout. The dough will be thick and chunky.
Step 5
Scoop the dough into 2-tablespoon-sized balls and place them about 3 inches apart on the prepared baking sheets. Gently press a few mini candy-coated chocolates into the top of each dough ball for a colorful presentation.
Step 6
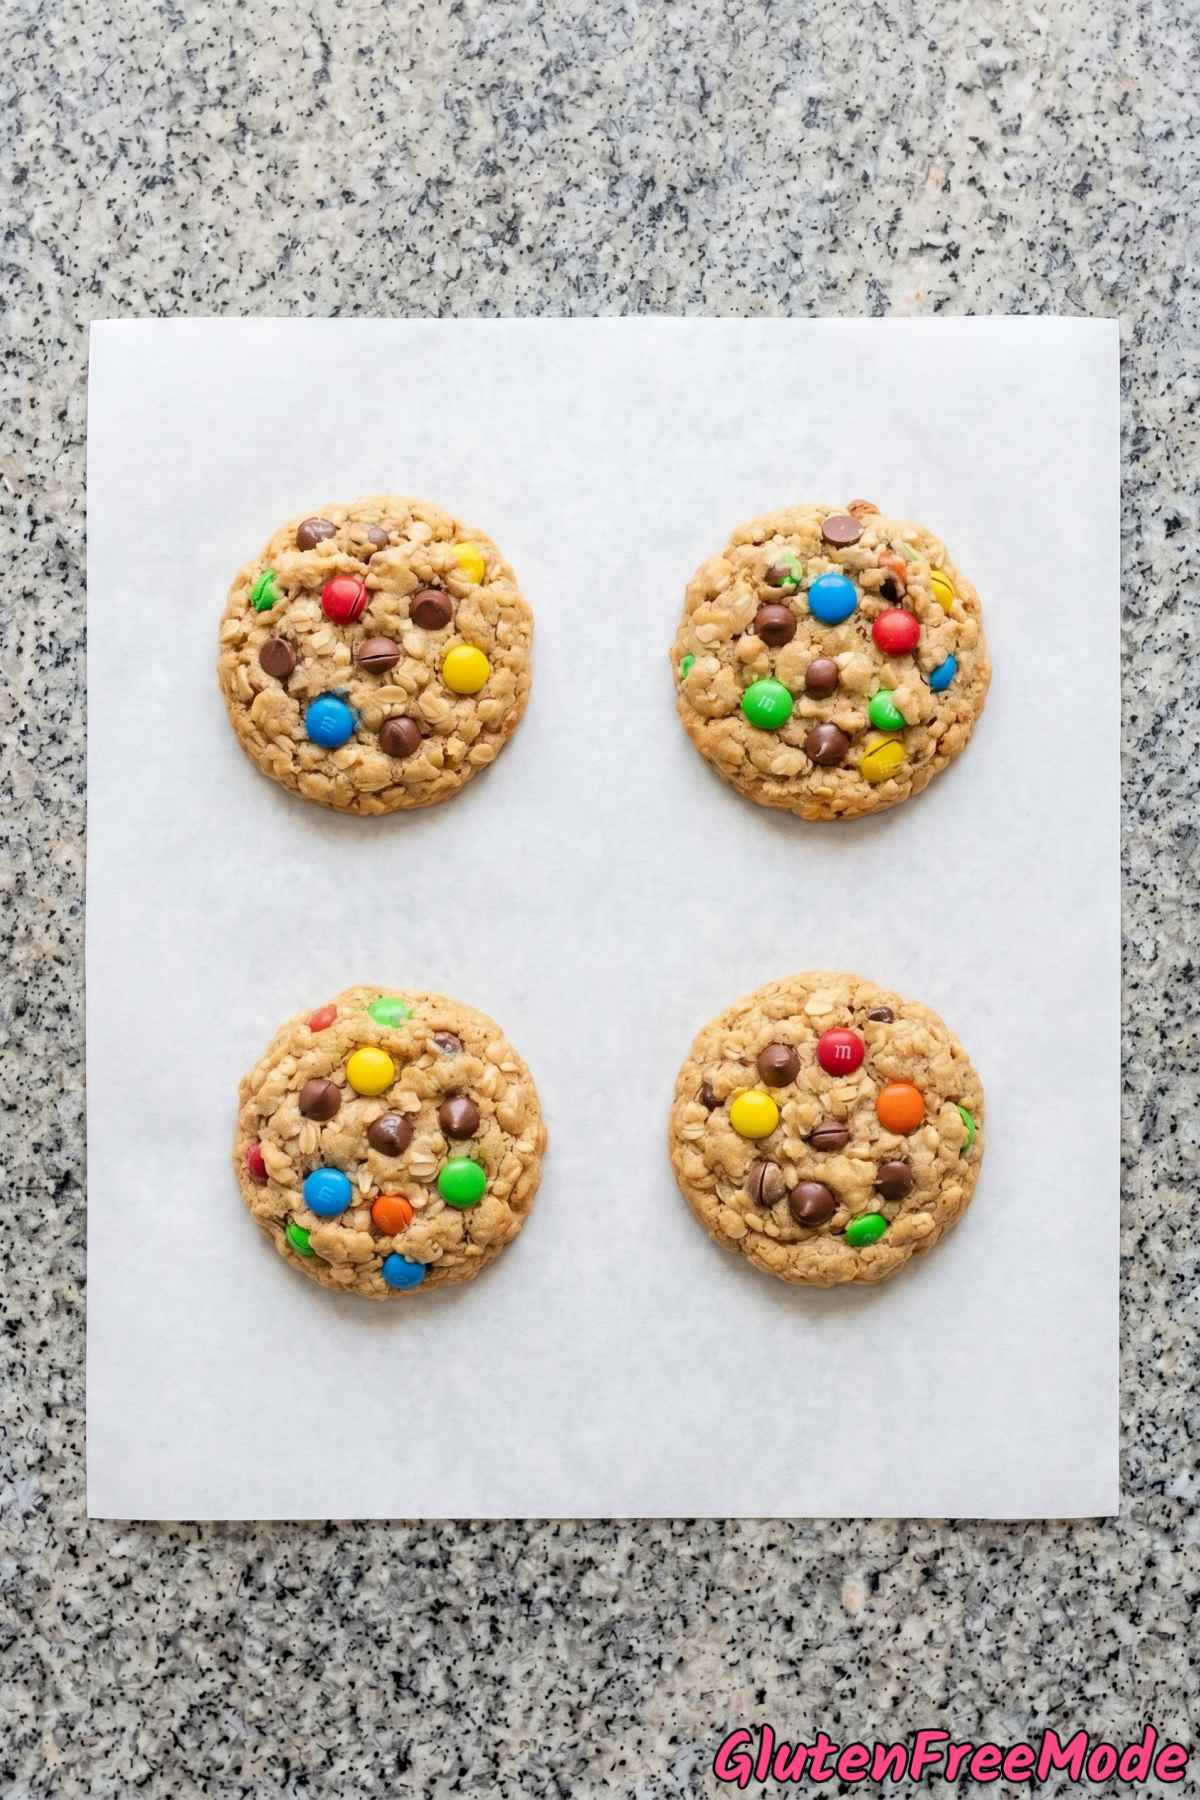
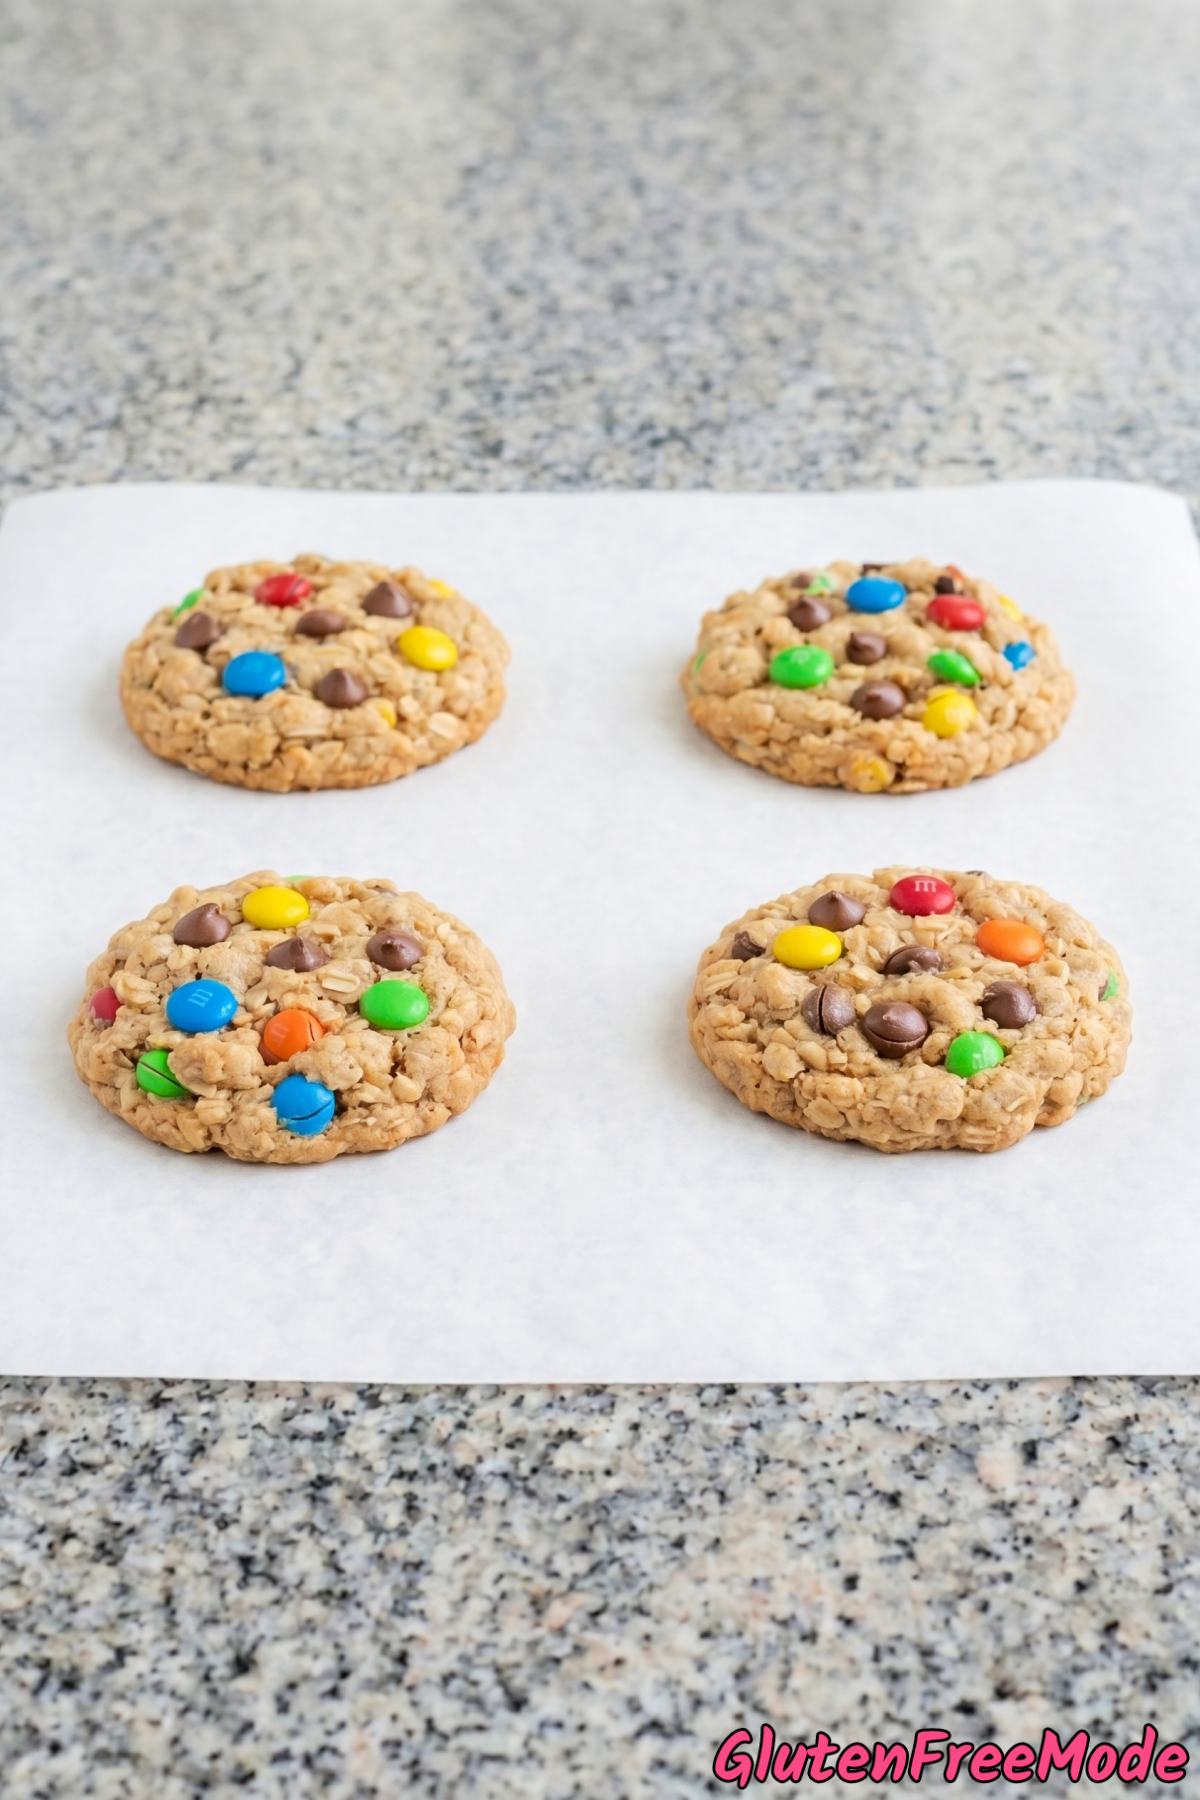
Bake for 11 to 13 minutes until the edges are set and just barely golden. The centers will look soft and slightly puffy. Do not overbake as they firm up significantly as they cool.
Step 7
Let the cookies cool on the baking sheet for at least 10 minutes before transferring to a wire rack. They will become perfectly chewy once cooled.
My Tips
Use Natural Peanut Butter Carefully
If you use natural peanut butter (the kind with oil sitting on top), your cookies will spread more and come out flatter. The extra oil changes the texture of the dough quite a bit.
Regular creamy peanut butter like Jif or Skippy works best here because it’s thicker and more stable. It keeps the cookies thick and chewy instead of thin and crispy.
If natural peanut butter is all you have, refrigerate the dough for about 30 minutes before scooping. That helps firm things up so they don’t spread too much in the oven.
Don’t Skip the One-Egg-at-a-Time Step
It might seem like no big deal to just crack both eggs in at once, but adding them one at a time actually matters here. Since there’s no flour in this dough, the eggs are doing a lot of the heavy lifting to hold everything together.
When you mix one egg in fully before adding the second, the dough absorbs it better and you get a smoother base. This leads to cookies that hold their shape and don’t crumble apart after baking.
Press the Candies in at the Right Time
When you press the mini candy-coated chocolates on top, push them in just slightly so they’re nestled into the surface but still mostly visible. If you push them in too deep, they’ll sink during baking and you won’t see them.
Also, do this right before the cookies go into the oven, not after scooping a whole tray’s worth. If the dough sits too long at room temperature, it softens and the candies won’t stay where you placed them.
More Tasty Recipes
- Gluten Free Oatmeal Raisin Cookies
- Gluten Free Peanut Butter Blossoms
- Gluten Free Chocolate Chip Cookies
- Gluten Free Peanut Butter Oat Clusters
- Gluten Free Snickers Cookie Bars
FAQ
Can I use crunchy peanut butter instead of creamy?
You can, but keep in mind it will change the texture of the cookies. Creamy peanut butter helps the dough bind together smoothly since there is no flour in this recipe, so crunchy peanut butter may make the cookies a bit more crumbly.
If you like that extra nutty crunch and don’t mind a slightly different texture, go for it – just make sure to press the dough balls together firmly before baking.
Gluten Free Monster Cookies

Ingredients
- 1 cup Creamy Peanut Butter
- 3/4 cup Packed Light Brown Sugar
- 1/2 cup Granulated Sugar
- 2 large Eggs
- 1 tsp Pure Vanilla Extract
- 1 tsp Baking Soda
- 1/4 tsp Fine Sea Salt
- 3 cups Gluten Free Certified Rolled Oats
- 3/4 cup Semi-Sweet Chocolate Chips
- 3/4 cup Gluten Free Candy-Coated Chocolates
- 1/4 cup Mini Gluten Free Candy-Coated Chocolates (for pressing on top)
Instructions
- Preheat the oven to 350 degrees F and line two large baking sheets with parchment paper.
- In a large bowl, stir together the peanut butter, light brown sugar, and granulated sugar until well combined and smooth. Add the eggs one at a time, mixing well after each addition, then stir in the vanilla extract.
- Sprinkle the baking soda and fine sea salt over the mixture and stir until evenly distributed. Add the gluten free rolled oats and fold until fully incorporated into the dough.
- Fold in the chocolate chips and the 3/4 cup of candy-coated chocolates until evenly scattered throughout. The dough will be thick and chunky.
- Scoop the dough into 2-tablespoon-sized balls and place them about 3 inches apart on the prepared baking sheets. Gently press a few mini candy-coated chocolates into the top of each dough ball for a colorful presentation.
- Bake for 11 to 13 minutes until the edges are set and just barely golden. The centers will look soft and slightly puffy. Do not overbake as they firm up significantly as they cool.
- Let the cookies cool on the baking sheet for at least 10 minutes before transferring to a wire rack. They will become perfectly chewy once cooled.