Fried chicken is one of those comfort foods that’s hard to replace when you go gluten free. Most recipes either fall flat on flavor or the coating just doesn’t crisp up right.
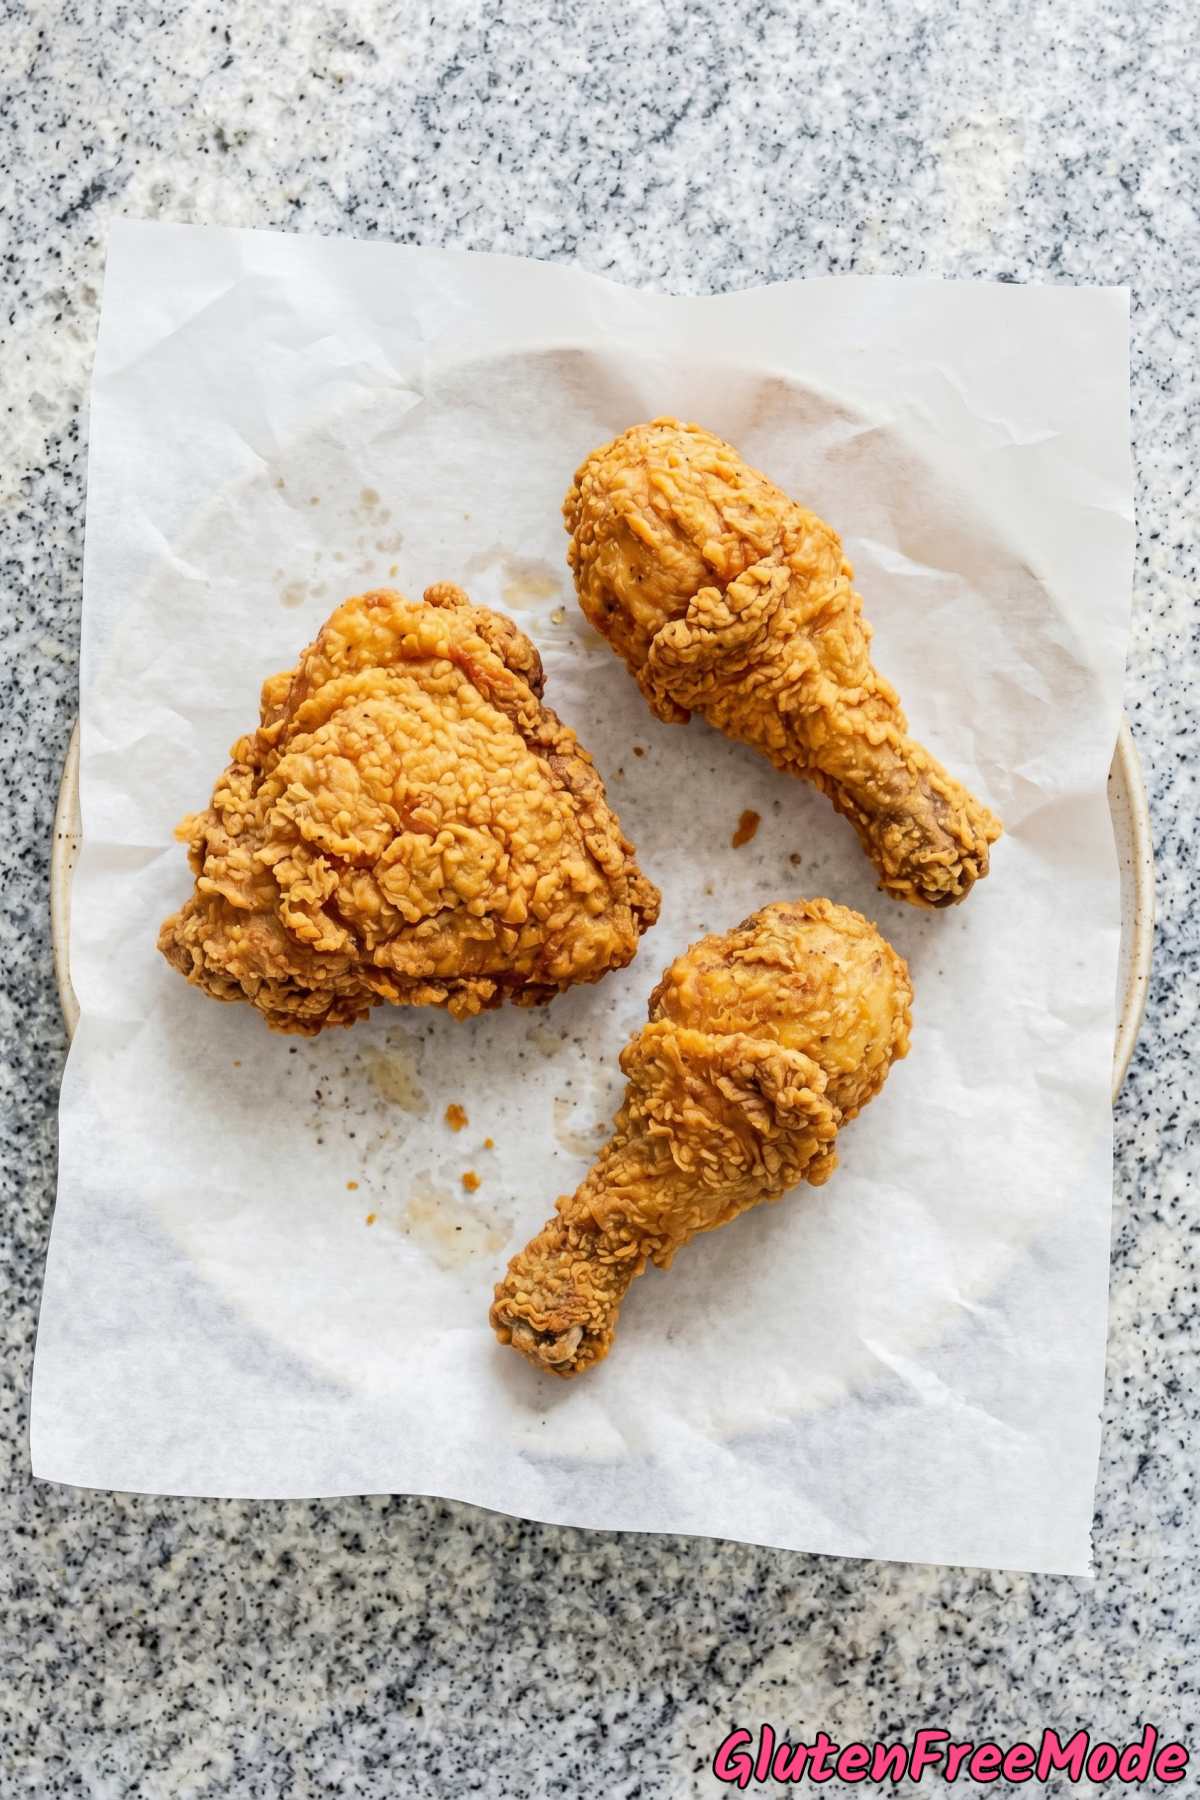
This gluten free crispy fried chicken fixes both of those problems. The outside gets perfectly golden and crunchy, while the inside stays juicy and tender.

There’s a little trick in the breading step that creates those extra craggy, crispy bits you see on the best fried chicken. It’s easy to do and makes a huge difference.
The seasoning blend gives it a nice kick without being too spicy. Just enough warmth to keep things interesting.
If you’ve been missing real fried chicken since going gluten free, this is the recipe you need. Let’s get into it.
Why You’ll Love This Recipe
It Tastes Like the Real Deal – The buttermilk soak and the gluten free flour and cornstarch combo give this chicken a shatteringly crispy crust that rivals any traditional fried chicken you have ever had.
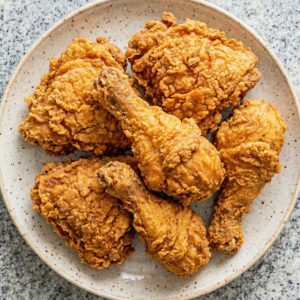
Nobody Will Know It’s Gluten Free – The craggy, golden coating looks and crunches exactly like classic fried chicken, so you can serve it to anyone and they won’t even question what flour you used.
The Buttermilk Marinade Does All the Heavy Lifting – Soaking the chicken in buttermilk and hot sauce for a few hours makes the meat incredibly tender and juicy on the inside while helping the coating stick perfectly on the outside.
That Spice Blend Is Spot On – The mix of smoked paprika, garlic powder, cayenne, and onion powder gives every bite a warm, savory kick that is flavorful without being overwhelming.
Ingredients
- 3 lb Bone-In Chicken Pieces (thighs, drumsticks, breasts)
- 2 cups Buttermilk
- 1 tbsp Hot Sauce
- 2 cups Gluten Free All-Purpose Flour Blend
- 1/2 cup Cornstarch
- 1 tsp Garlic Powder
- 1 tsp Onion Powder
- 1 tsp Smoked Paprika
- 1/2 tsp Cayenne Pepper
- 1 1/2 tsp Salt
- 1 tsp Black Pepper
- Vegetable Oil (for frying)
How to Make
Step 1
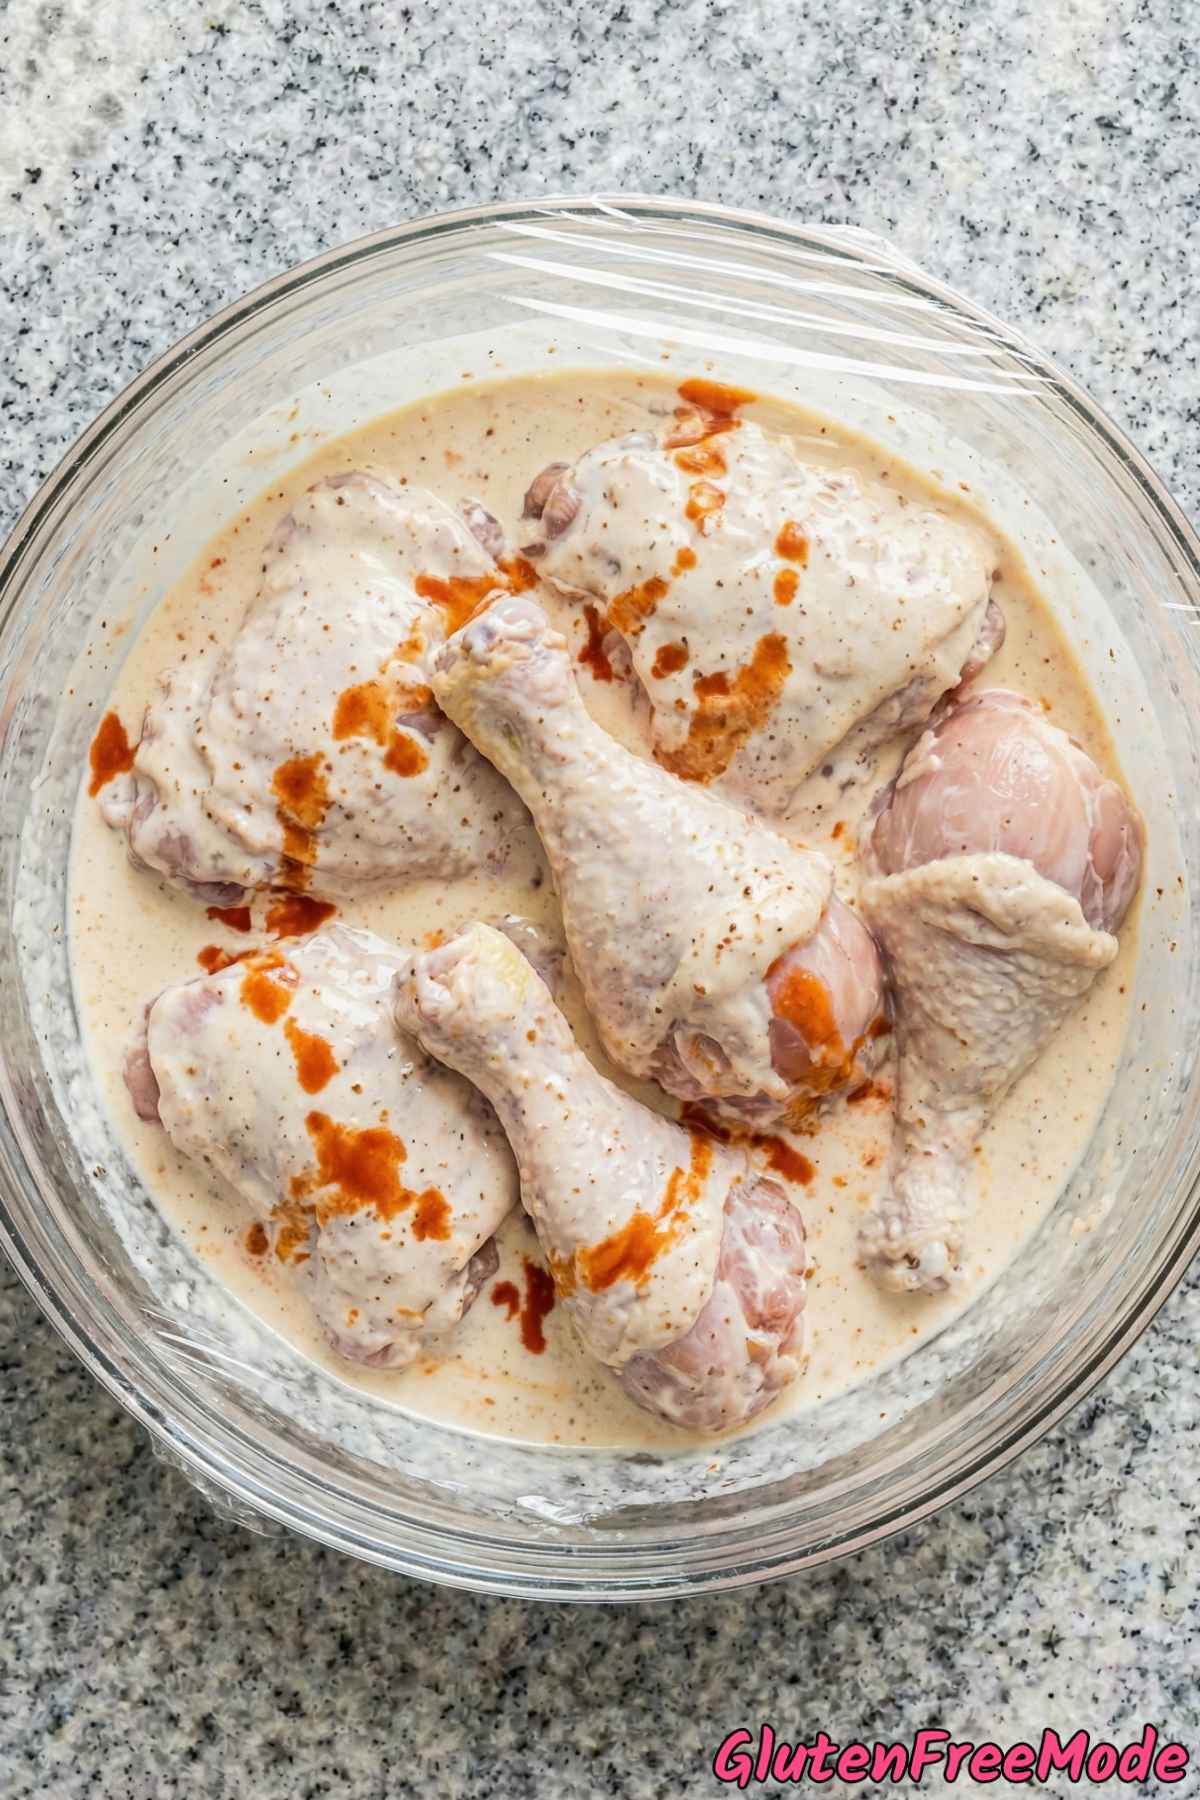
Place the chicken pieces in a large bowl. Pour the buttermilk and hot sauce over them, toss to coat, then cover and refrigerate for at least 2 hours or overnight.
Step 2
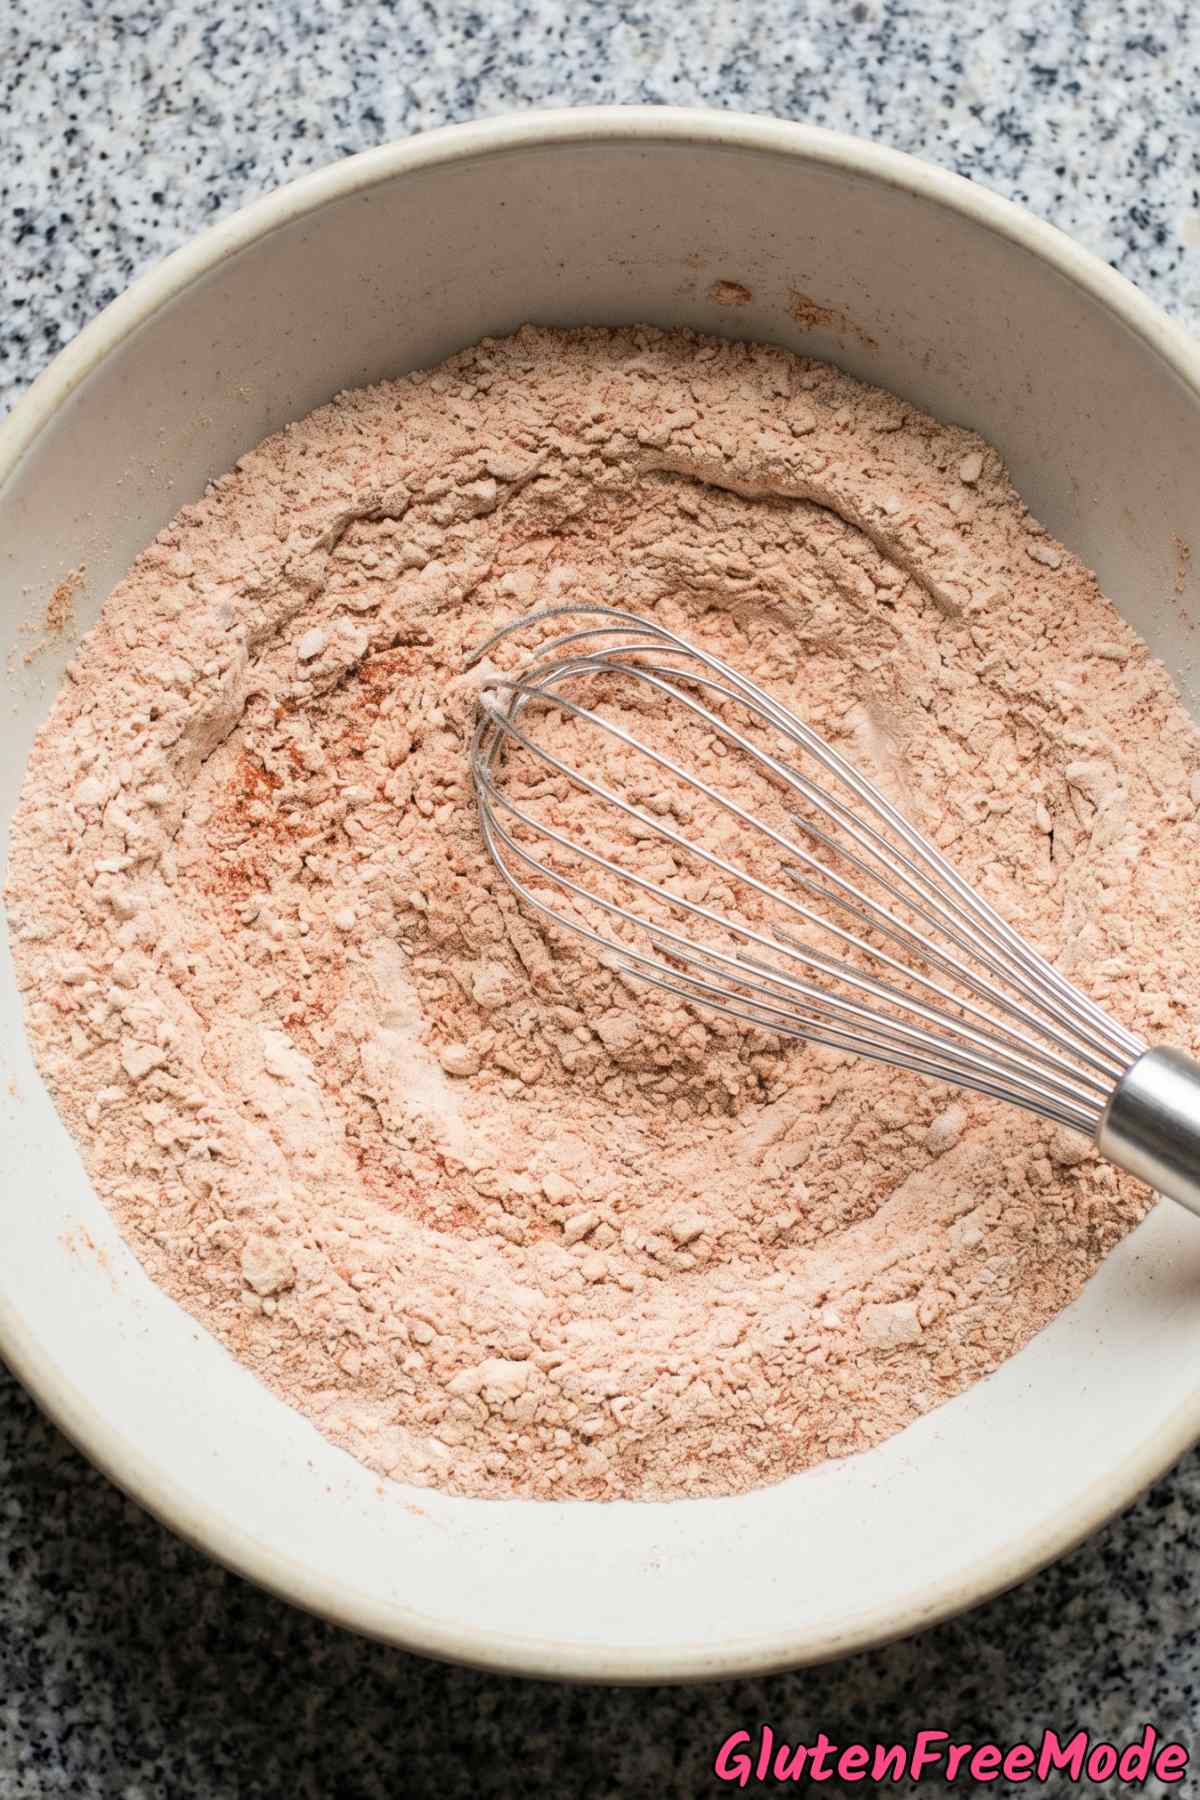
In a large shallow dish, whisk together the gluten free flour blend, cornstarch, garlic powder, onion powder, smoked paprika, cayenne pepper, salt, and black pepper.
Step 3
Remove one piece of chicken from the buttermilk, letting excess drip off. Dredge it in the flour mixture, pressing firmly to coat. Drizzle a few drops of the buttermilk over the flour on the chicken and press again to create craggy, crispy bits. Set on a wire rack and repeat with remaining pieces. Let them rest for 15 minutes.
Step 4
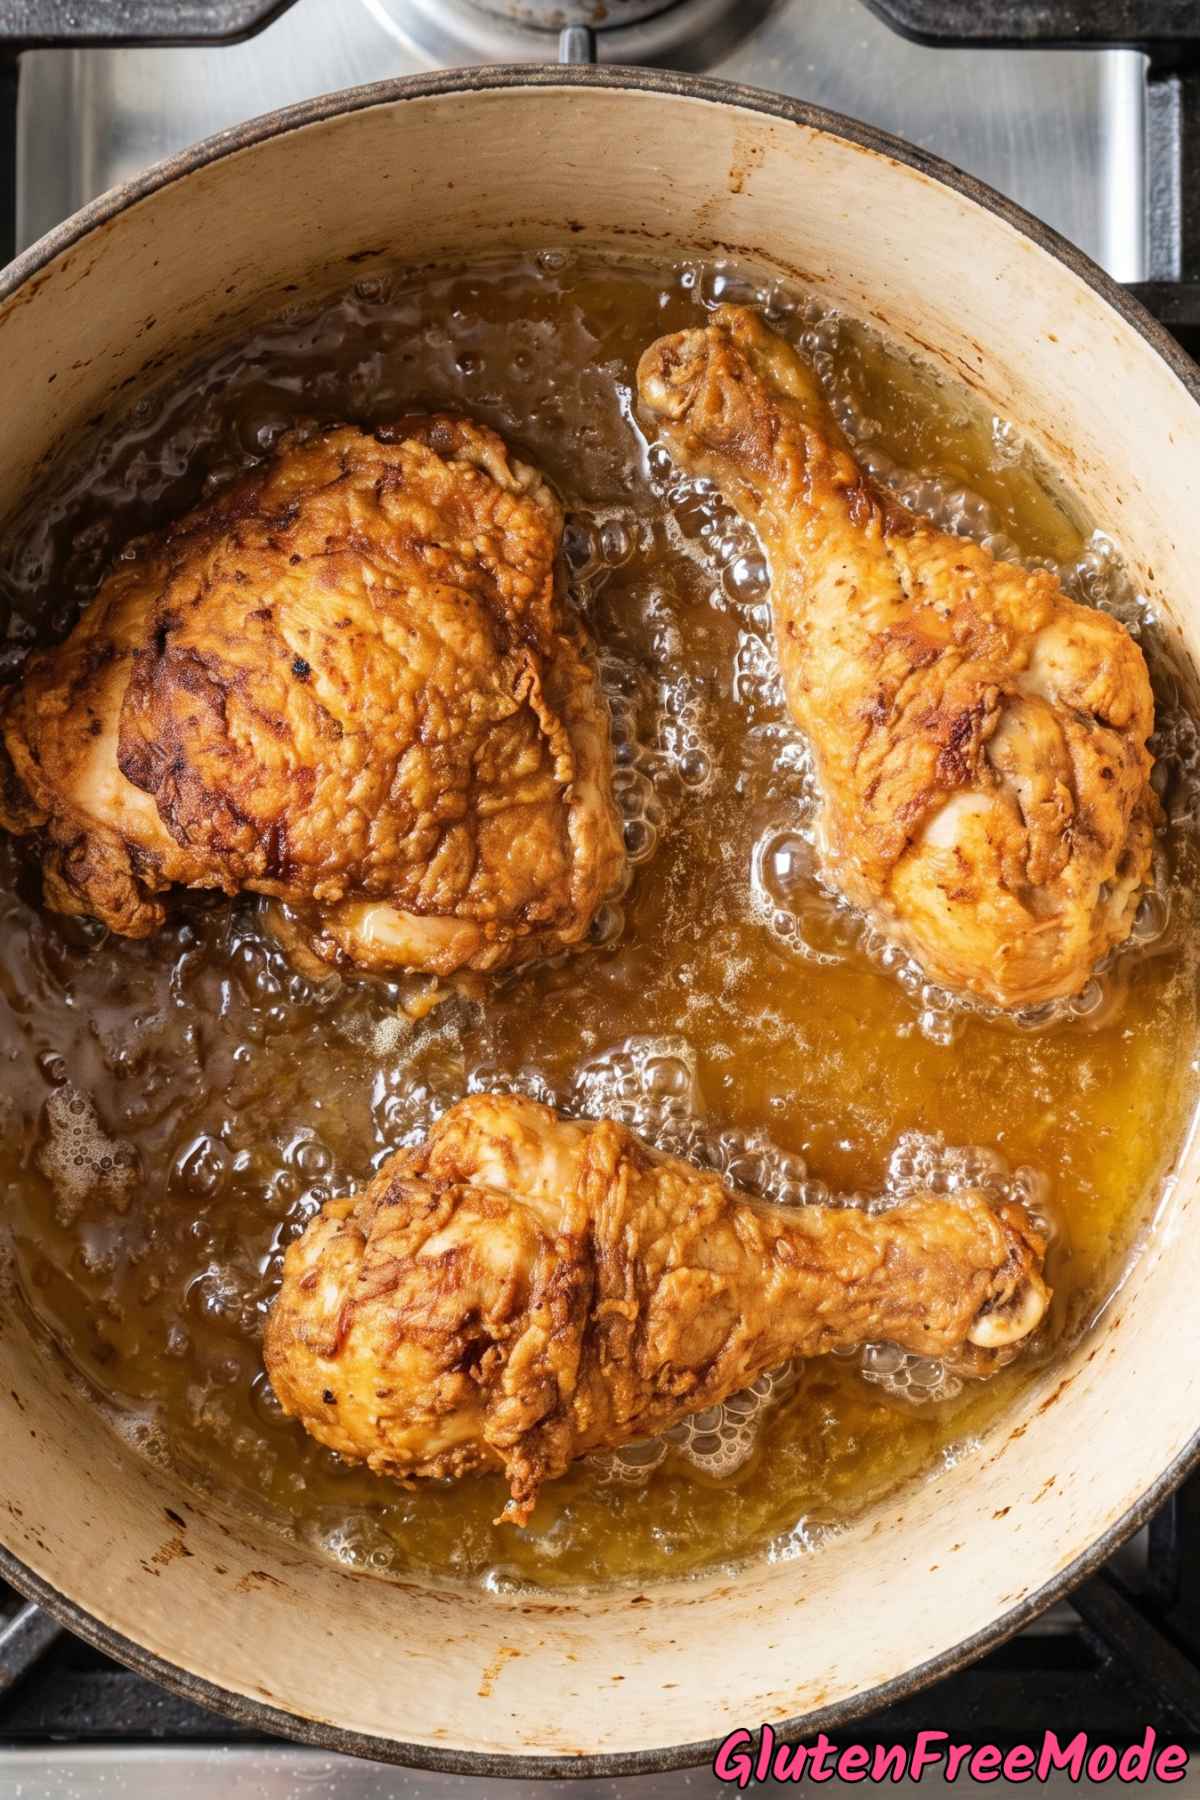
Fill a large heavy-bottomed pot or Dutch oven with about 2 inches of vegetable oil and heat to 325 degrees F. Use a thermometer to monitor the temperature.
Step 5
Working in batches of 3 to 4 pieces so the oil temperature stays steady, carefully lower the chicken into the hot oil. Fry for 6 to 7 minutes per side for thighs and drumsticks, or 7 to 8 minutes per side for breasts, until the coating is deep golden brown and the internal temperature reaches 165 degrees F.
Step 6
Transfer the fried chicken to a wire rack set over a sheet pan. Season lightly with a pinch of salt while still hot. Let rest for 5 minutes before serving.

Helpful Tips
Marinate the Chicken Long Enough
Two hours in the buttermilk is the minimum, but overnight is where you really want to be. The buttermilk and hot sauce need time to break down the surface of the chicken, which makes it more tender and gives the coating something to really grab onto.
If you only give it 30 or 45 minutes, the flavor stays on the surface and the crust is more likely to slide off during frying. Plan ahead and get the chicken soaking the night before so it’s ready to go when you are.
Make sure every piece is fully submerged or at least well coated. If the buttermilk doesn’t cover everything, flip the pieces halfway through the marinating time so both sides get equal love.
Get Those Craggy Bits on the Coating
The step where you drizzle a few drops of buttermilk over the flour-coated chicken and press again is the most important part of the whole recipe. Those little clumps of moist flour are what turn into the super crunchy, crispy pieces you see on really good fried chicken.

Don’t skip this or rush through it. After the first dredge, take your fingers, flick just a tiny bit of buttermilk from the bowl onto the floured chicken, then press the loose flour into it firmly with your hands. You want it to look rough and shaggy, not smooth.
Once all the pieces are coated, let them sit on the wire rack for the full 15 minutes. This rest time lets the coating dry slightly and bond to the chicken so it doesn’t fall off in the oil.
Keep Your Oil at the Right Temperature
325 degrees F is lower than a lot of fried chicken recipes call for, and that’s on purpose. Gluten free flour blends tend to brown faster than regular flour, so frying at a lower temperature gives the chicken time to cook all the way through without the outside burning.
Use a clip-on deep fry thermometer or an instant read thermometer and check the oil often. Every time you add a batch of chicken, the temperature will drop, so give it a minute to come back up between batches if needed.
If the oil gets too hot, your crust will look dark and done while the inside is still raw. If it’s too cool, the chicken soaks up oil and gets greasy instead of crispy. Staying right around 325 is the sweet spot.
You Might Also Like
- Gluten Free Baked Chicken Nuggets
- Gluten Free Chicken Fried Steak
- Gluten Free Crispy Chicken Parmesan
- Gluten Free Crispy Chicken Tenders
- Gluten Free Crispy Coconut Shrimp
Frequently Asked Questions
Which gluten free flour blend works best for this fried chicken?
A good all-purpose gluten free flour blend that contains a mix of rice flour, potato starch, and tapioca starch works really well here. Brands like Bob’s Red Mill 1-to-1 or King Arthur Measure for Measure are popular choices that give you a nice crispy coating.
Try to avoid blends that contain bean flours as the main ingredient, since they can leave a slightly bitter taste that’s more noticeable in fried foods.
Gluten Free Crispy Fried Chicken
Equipment
- Dutch oven
- deep-fry thermometer
- wire rack
Ingredients
- 3 lb Bone-In Chicken Pieces (thighs, drumsticks, breasts)
- 2 cups Buttermilk
- 1 tbsp Hot Sauce
- 2 cups Gluten Free All-Purpose Flour Blend
- 1/2 cup Cornstarch
- 1 tsp Garlic Powder
- 1 tsp Onion Powder
- 1 tsp Smoked Paprika
- 1/2 tsp Cayenne Pepper
- 1 1/2 tsp Salt
- 1 tsp Black Pepper
- Vegetable Oil (for frying)
Instructions
- Place the chicken pieces in a large bowl. Pour the buttermilk and hot sauce over them, toss to coat, then cover and refrigerate for at least 2 hours or overnight.
- In a large shallow dish, whisk together the gluten free flour blend, cornstarch, garlic powder, onion powder, smoked paprika, cayenne pepper, salt, and black pepper.
- Remove one piece of chicken from the buttermilk, letting excess drip off. Dredge it in the flour mixture, pressing firmly to coat. Drizzle a few drops of the buttermilk over the flour on the chicken and press again to create craggy, crispy bits. Set on a wire rack and repeat with remaining pieces. Let them rest for 15 minutes.
- Fill a large heavy-bottomed pot or Dutch oven with about 2 inches of vegetable oil and heat to 325 degrees F. Use a thermometer to monitor the temperature.
- Working in batches of 3 to 4 pieces so the oil temperature stays steady, carefully lower the chicken into the hot oil. Fry for 6 to 7 minutes per side for thighs and drumsticks, or 7 to 8 minutes per side for breasts, until the coating is deep golden brown and the internal temperature reaches 165 degrees F.
- Transfer the fried chicken to a wire rack set over a sheet pan. Season lightly with a pinch of salt while still hot. Let rest for 5 minutes before serving.