
Crispy, sticky, nutty, and completely gluten free. This homemade baklava is one of those recipes that impresses everyone, whether they eat gluten free or not.
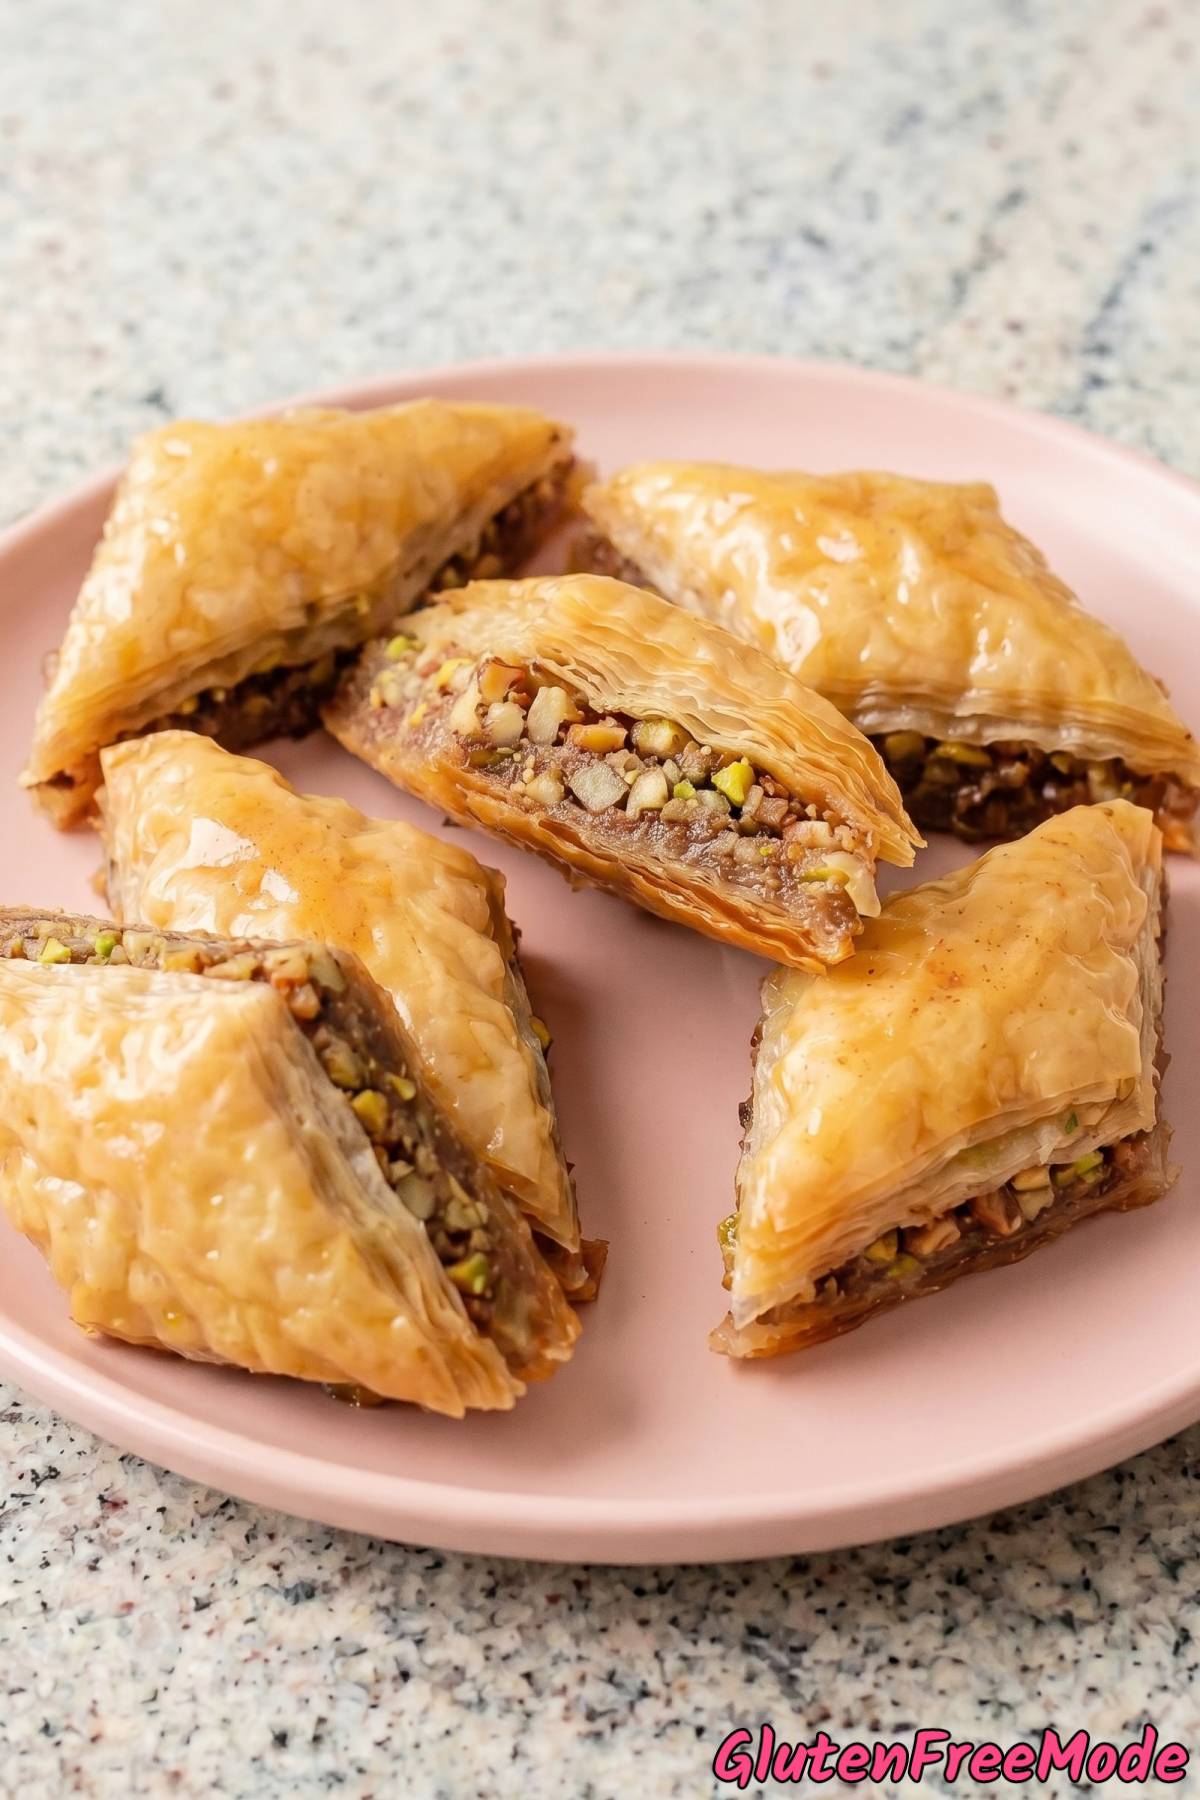
I worked on this recipe to get the layers as thin and crispy as possible using a simple gluten free dough. No store-bought phyllo needed, and honestly, the homemade version gives you so much more control over the texture.
The nut filling is a mix of walnuts and pistachios with warm spices, and the honey syrup ties everything together perfectly. It’s sweet but not too sweet, with a little lemon juice to balance it out.
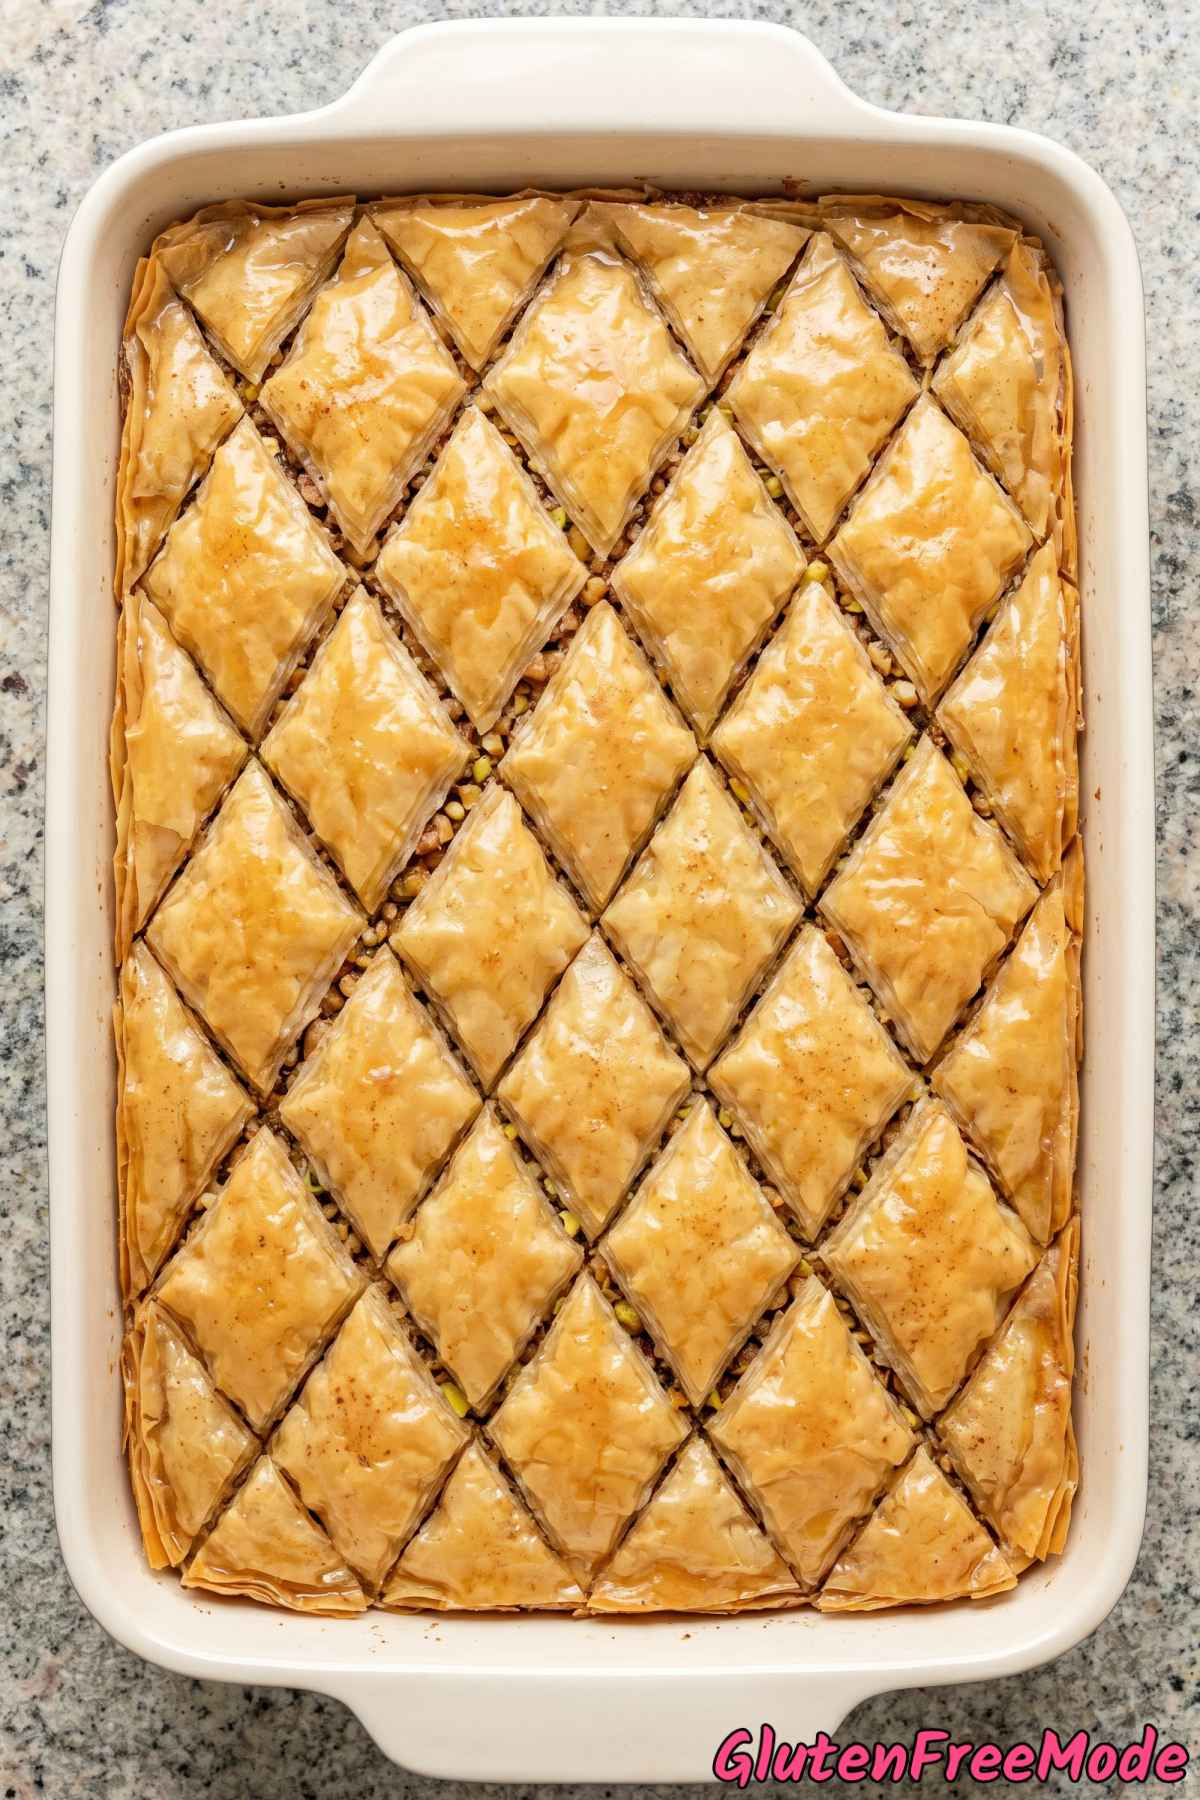
If you’ve been looking for a gluten free version of baklava that actually tastes like the real thing, this is it. No weird textures, no compromise on flavor.
The whole process is straightforward, and I’ll guide you through every step below.
Why You’ll Love This Recipe
Shattering Crispy Layers – Each bite breaks through thin flaky layers that crunch just like traditional baklava made with regular phyllo dough.
Finally Real Baklava That Is Gluten Free – This recipe proves you do not have to give up classic Middle Eastern pastries just because you avoid gluten.
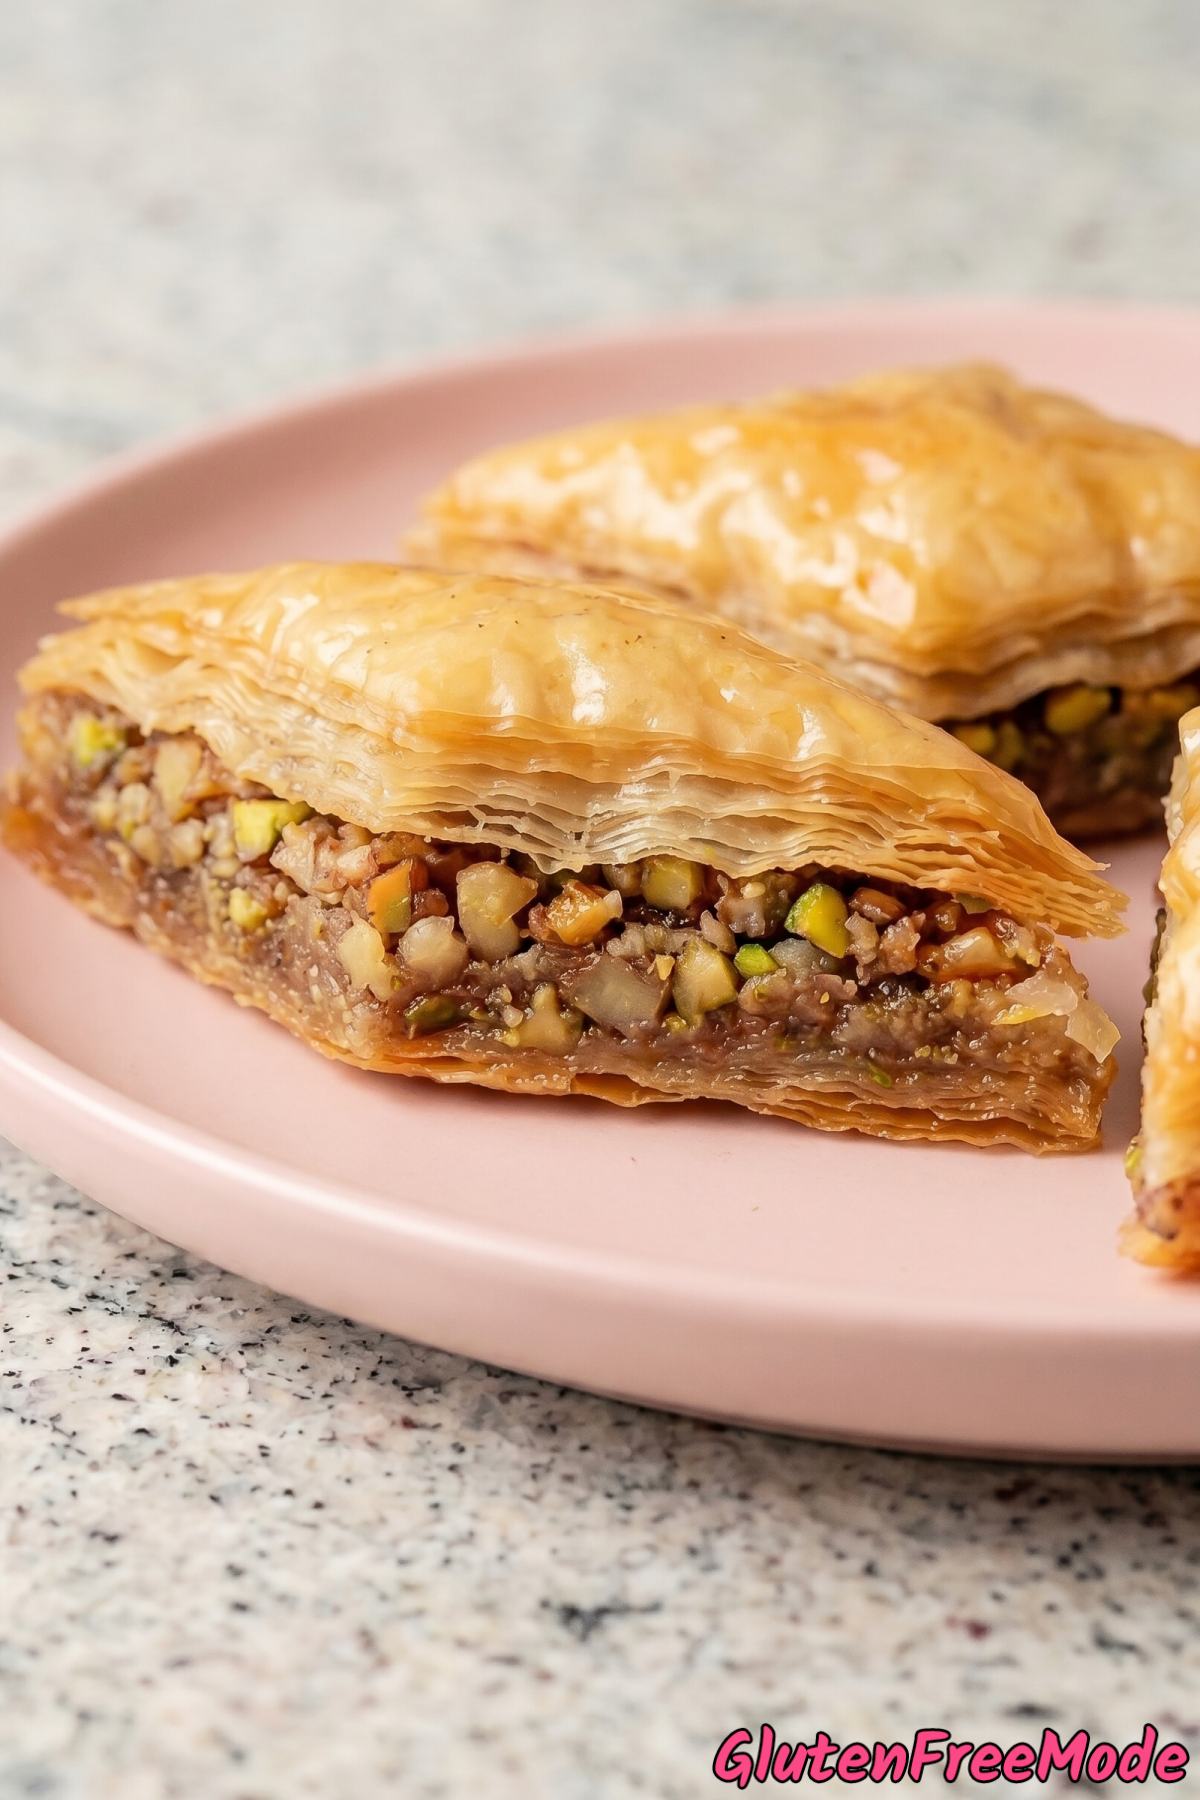
Rich Nutty Filling – The mix of walnuts and pistachios with warm cinnamon and cardamom creates a deeply satisfying flavor in every single piece.
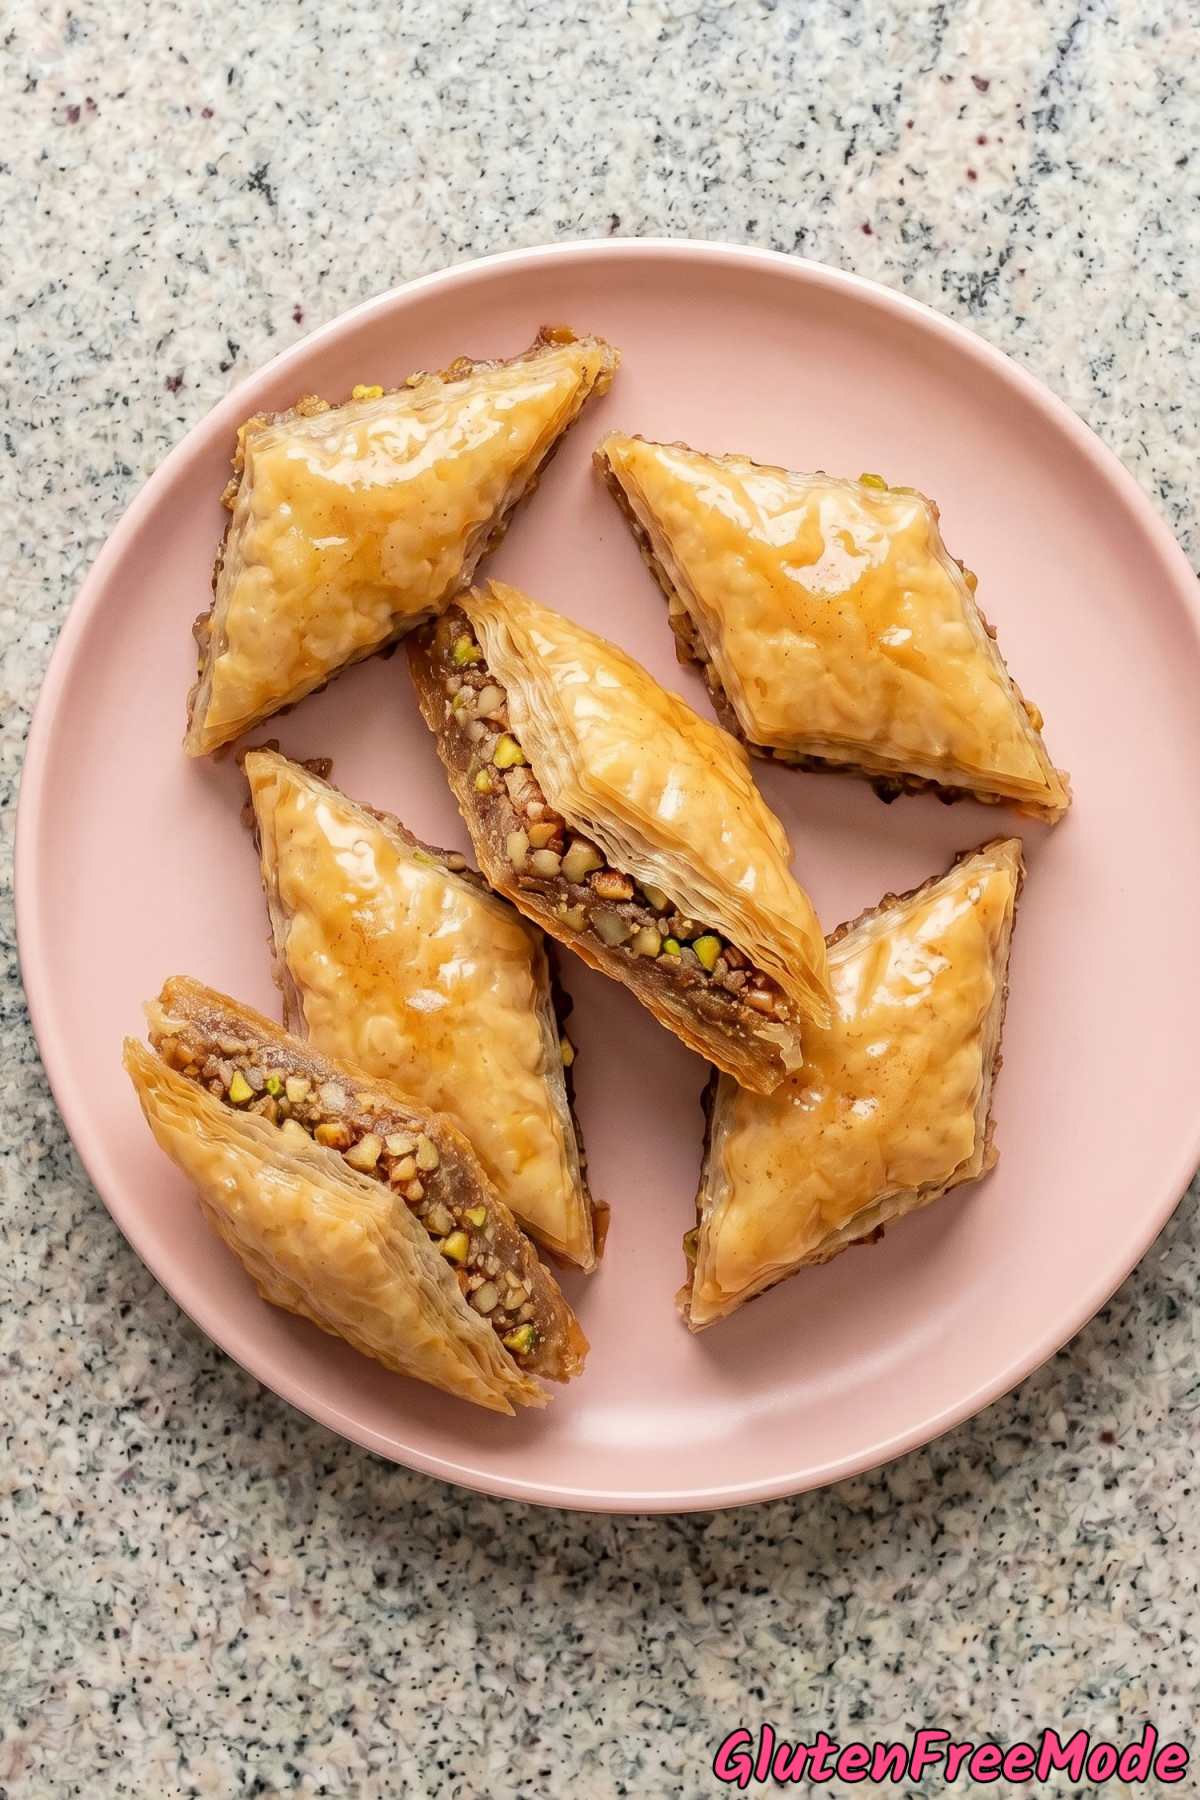
Perfectly Sticky and Sweet – The honey syrup soaks into every layer and gives you that irresistible sticky sweetness that makes baklava so addictive.
Ingredients
For the Phyllo-Style Layers
- 2 cups Gluten Free 1-to-1 Baking Flour
- 1/4 cup Tapioca Starch
- 1/2 tsp Xanthan Gum
- 1/4 tsp Salt
- 2 tbsp Olive Oil
- 2/3 cup Warm Water
- 1 cup Unsalted Butter, melted
For the Nut Filling
- 2 cups Walnuts, finely chopped
- 1 cup Pistachios, finely chopped
- 1/3 cup Granulated Sugar
- 1 1/2 tsp Ground Cinnamon
- 1/4 tsp Ground Cardamom
For the Honey Syrup
- 1 cup Granulated Sugar
- 3/4 cup Water
- 1/2 cup Honey
- 1 tbsp Fresh Lemon Juice
- 1 tsp Vanilla Extract
How to Make
Step 1
In a medium bowl, whisk together the gluten free flour, tapioca starch, xanthan gum, and salt. Add the olive oil and warm water, then stir until a smooth, pliable dough forms. Divide the dough into 12 equal balls, cover with plastic wrap, and let rest for 30 minutes.
Step 2
While the dough rests, make the nut filling by tossing together the chopped walnuts, pistachios, sugar, cinnamon, and cardamom in a bowl. Set aside.
Step 3
On a surface dusted with tapioca starch, roll each dough ball out as thin as possible into roughly the size of your baking dish. The thinner the layers, the crispier and more authentic your baklava will be. Use extra starch to prevent sticking.
Step 4
Preheat the oven to 325 degrees F. Brush a 9×13 inch baking dish generously with melted butter. Layer 4 sheets of rolled dough in the bottom, brushing each one generously with melted butter before adding the next.
Spread half of the nut filling evenly over the layers. Add 4 more buttered dough sheets, then the remaining nut filling. Finish with the last 4 sheets, brushing butter between each and on top.
Step 5
Using a sharp tool, carefully cut the baklava into diamond or square shapes, cutting all the way through to the bottom. Drizzle any remaining melted butter over the top.
Bake for 45 to 55 minutes, until the top is deep golden brown and the layers look crispy.
Step 6
While the baklava bakes, make the syrup. Combine the sugar and water in a saucepan over medium heat, stirring until the sugar dissolves. Add the honey and lemon juice, bring to a boil, then reduce heat and simmer for 10 minutes. Remove from heat and stir in the vanilla.
Step 7
As soon as the baklava comes out of the oven, pour the warm syrup evenly over the hot baklava. You will hear it sizzle. Let it cool completely at room temperature, uncovered, for at least 3 to 4 hours so the layers absorb the syrup and become perfectly crispy and sticky.
My Tips
Roll the Dough as Thin as You Can
This is the single most important step for getting crispy baklava. Gluten free dough can be a little trickier to roll thin, so dust your surface and rolling pin generously with tapioca starch to prevent sticking.
You want each sheet almost paper-thin, where you can nearly see through it. If the dough keeps springing back, let it rest for a few more minutes and try again.
Thick layers will make the baklava doughy and bread-like instead of flaky and crispy. Take your time here and it will pay off big time.
Cut Before Baking, Not After
Always cut your baklava into diamonds or squares before it goes in the oven, and make sure you cut all the way through to the bottom of the dish. A sharp knife works best for this.
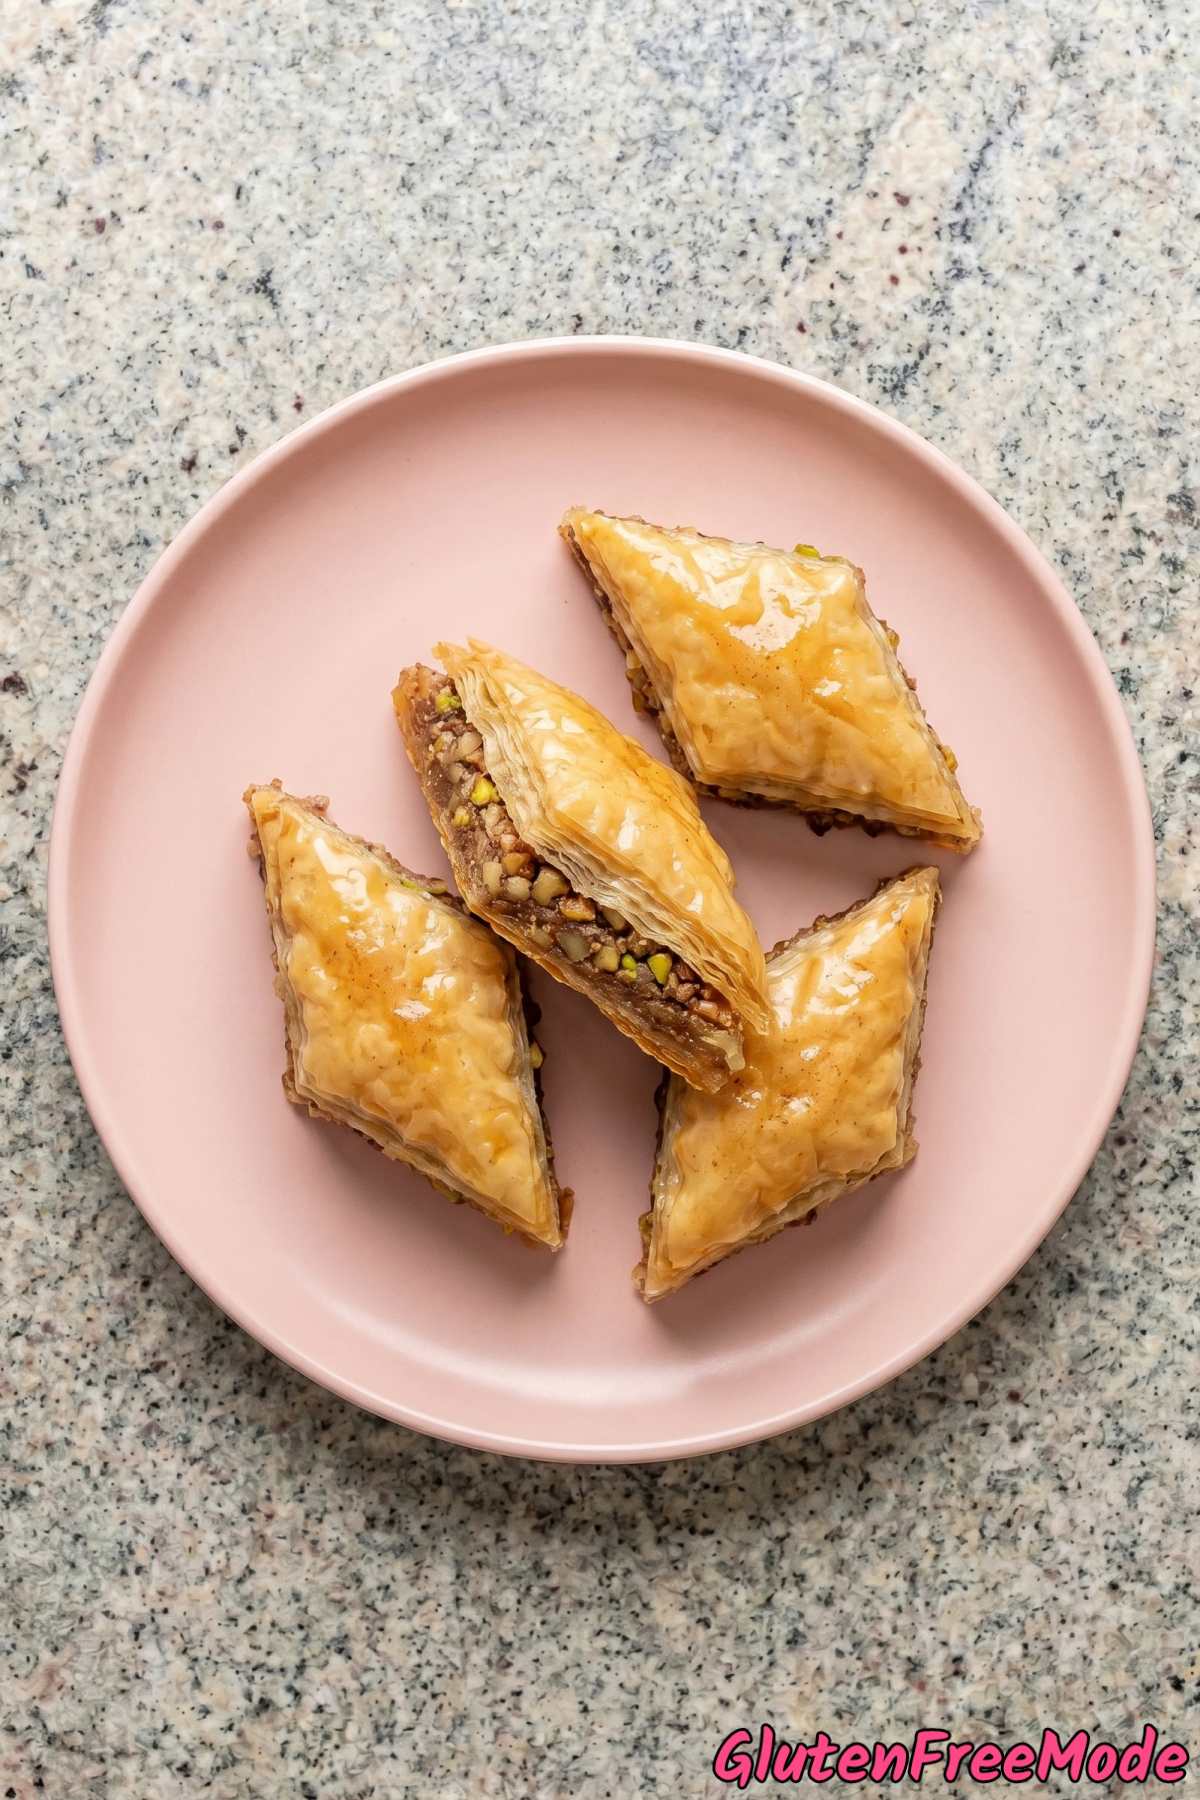
If you try to cut it after baking, the crispy top layers will shatter and crumble everywhere, and your pieces will look messy. Cutting beforehand gives you clean, beautiful shapes.
Use a gentle sawing motion when you cut so you don’t drag the layers around. If the dough sticks to the knife, wipe the blade clean between cuts.
Don’t Be Shy with the Butter
Every single layer of dough needs a generous brush of melted butter on it. This is what separates the layers during baking and makes them crisp up individually instead of turning into one thick clump.
If you run low on butter while layering, melt a little more. Skimping on butter between layers is the fastest way to end up with chewy, stuck-together baklava instead of crispy, flaky layers.
More Tasty Recipes
- Gluten Free Baklava Cheesecake
- Gluten Free Baklava Cookies
- Gluten Free Apple Strudel
- Gluten Free Pistachio Rose Layer Cake
- Gluten Free Honey Almond Cake
FAQ
Can I use store-bought gluten free phyllo dough instead of making it from scratch?
Gluten free phyllo dough is very hard to find in most stores, which is exactly why this recipe includes a homemade version. If you do happen to find a gluten free phyllo brand near you, you can absolutely use it to save time.
Just make sure you still brush each layer generously with melted butter so you get that signature crispy, flaky texture throughout the baklava.
Gluten Free Crispy Baklava
Equipment
- Rolling Pin
- 9x13 inch baking dish
Ingredients
For the Phyllo-Style Layers
- 2 cups Gluten Free 1-to-1 Baking Flour
- 1/4 cup Tapioca Starch
- 1/2 tsp Xanthan Gum
- 1/4 tsp Salt
- 2 tbsp Olive Oil
- 2/3 cup Warm Water
- 1 cup Unsalted Butter, melted
For the Nut Filling
- 2 cups Walnuts, finely chopped
- 1 cup Pistachios, finely chopped
- 1/3 cup Granulated Sugar
- 1 1/2 tsp Ground Cinnamon
- 1/4 tsp Ground Cardamom
For the Honey Syrup
- 1 cup Granulated Sugar
- 3/4 cup Water
- 1/2 cup Honey
- 1 tbsp Fresh Lemon Juice
- 1 tsp Vanilla Extract
Instructions
- In a medium bowl, whisk together the gluten free flour, tapioca starch, xanthan gum, and salt. Add the olive oil and warm water, then stir until a smooth, pliable dough forms. Divide the dough into 12 equal balls, cover with plastic wrap, and let rest for 30 minutes.
- While the dough rests, make the nut filling by tossing together the chopped walnuts, pistachios, sugar, cinnamon, and cardamom in a bowl. Set aside.
- On a surface dusted with tapioca starch, roll each dough ball out as thin as possible into roughly the size of your baking dish. The thinner the layers, the crispier and more authentic your baklava will be. Use extra starch to prevent sticking.
- Preheat the oven to 325 degrees F. Brush a 9x13 inch baking dish generously with melted butter. Layer 4 sheets of rolled dough in the bottom, brushing each one generously with melted butter before adding the next. Spread half of the nut filling evenly over the layers. Add 4 more buttered dough sheets, then the remaining nut filling. Finish with the last 4 sheets, brushing butter between each and on top.
- Using a sharp tool, carefully cut the baklava into diamond or square shapes, cutting all the way through to the bottom. Drizzle any remaining melted butter over the top. Bake for 45 to 55 minutes, until the top is deep golden brown and the layers look crispy.
- While the baklava bakes, make the syrup. Combine the sugar and water in a saucepan over medium heat, stirring until the sugar dissolves. Add the honey and lemon juice, bring to a boil, then reduce heat and simmer for 10 minutes. Remove from heat and stir in the vanilla.
- As soon as the baklava comes out of the oven, pour the warm syrup evenly over the hot baklava. You will hear it sizzle. Let it cool completely at room temperature, uncovered, for at least 3 to 4 hours so the layers absorb the syrup and become perfectly crispy and sticky.