If you love Japanese food but eat gluten free, this one is for you. This gluten free chicken katsu is crispy, golden, and tastes just like the real deal.
Chicken katsu is basically a breaded and fried chicken cutlet. It’s simple, satisfying, and usually served over rice with a sweet and savory sauce on top.
The problem is that traditional katsu uses regular panko breadcrumbs and flour, which both contain gluten. But with a couple of easy swaps, you can make a version that’s completely gluten free without losing any of that crunch.
The homemade katsu sauce comes together in about a minute. It’s tangy, slightly sweet, and honestly makes the whole dish.
This is a great weeknight dinner that the whole family will enjoy, whether they eat gluten free or not.
Why You’ll Love This Recipe
Crispy Without the Gluten – Thanks to gluten free panko breadcrumbs, you get that satisfying golden crunch on every bite without worrying about gluten hiding in the coating.
The Homemade Katsu Sauce Is Incredible – The sweet, tangy, and savory sauce made with tamari, honey, and dijon mustard takes this chicken to the next level and it comes together in about one minute with a quick whisk.
Restaurant Quality at Home – Chicken katsu is one of those dishes people usually only order at Japanese restaurants, but this gluten free version lets you recreate that exact crispy, juicy experience right in your own kitchen.
Perfect for the Whole Family – Kids and adults alike love crispy breaded chicken strips with a dipping sauce, so even the pickiest eaters at your table will clean their plates without ever noticing it’s gluten free.
Ingredients
- 4 Boneless Skinless Chicken Breasts
- 1/2 cup Gluten Free All-Purpose Flour Blend
- 2 Eggs (beaten)
- 2 cups Gluten Free Panko Breadcrumbs
- 1 tsp Salt
- 1/2 tsp Black Pepper
- 1/2 tsp Garlic Powder
- Vegetable Oil (for frying)
For the Katsu Sauce
- 3 tbsp Ketchup
- 2 tbsp Tamari (gluten free soy sauce)
- 1 tbsp Oyster Sauce (gluten free)
- 2 tsp Honey
- 1 tsp Dijon Mustard
- 1/2 tsp Garlic Powder
How to Make
Step 1
Place each chicken breast between two sheets of plastic wrap and pound with a rolling pin to an even 1/2-inch thickness. Season both sides with the salt, black pepper, and garlic powder.
Step 2
Set up a breading station with three shallow dishes. Place the gluten free flour blend in the first, beaten eggs in the second, and gluten free panko breadcrumbs in the third. Dredge each chicken breast in the flour, dip in the egg, then press firmly into the panko to coat both sides evenly.
Step 3
Fill a large deep skillet with about 1/2 inch of vegetable oil and heat over medium-high heat to 350 degrees F.
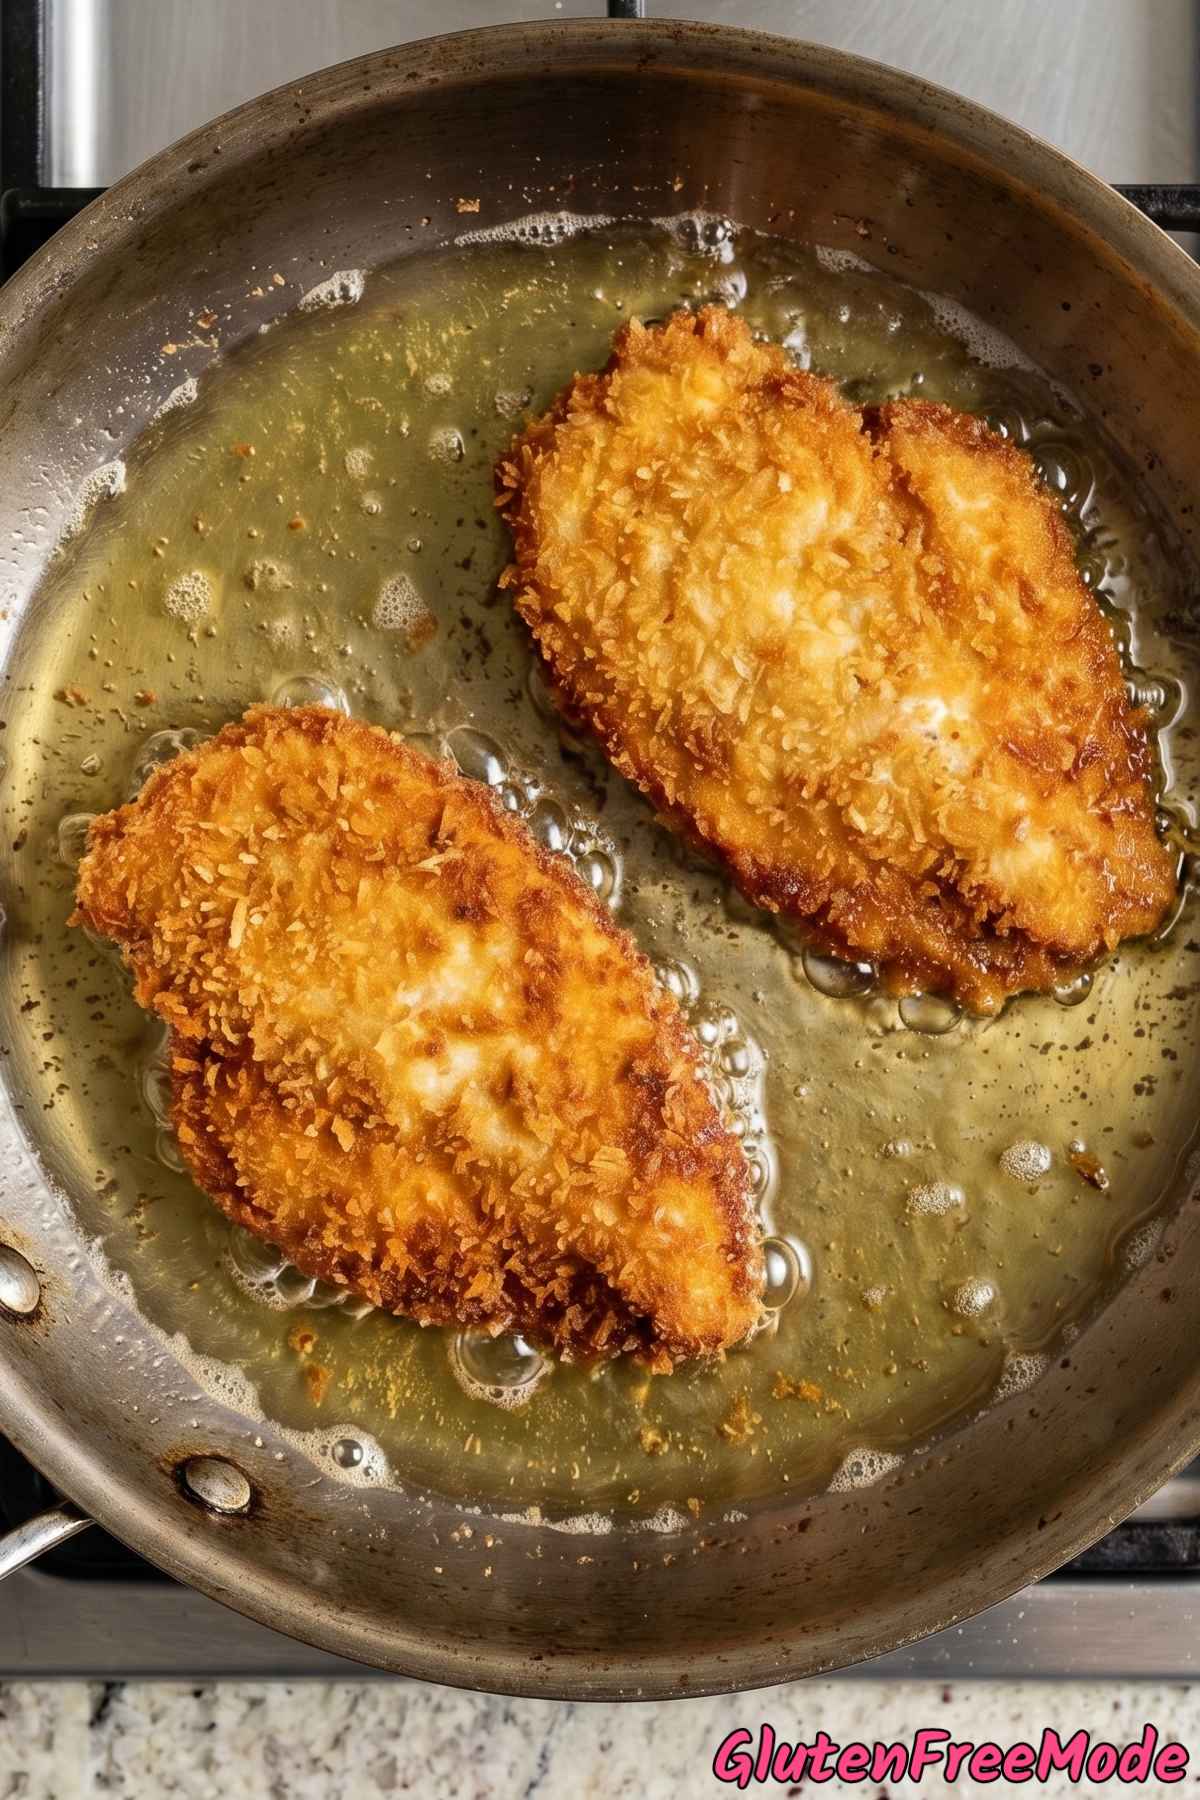
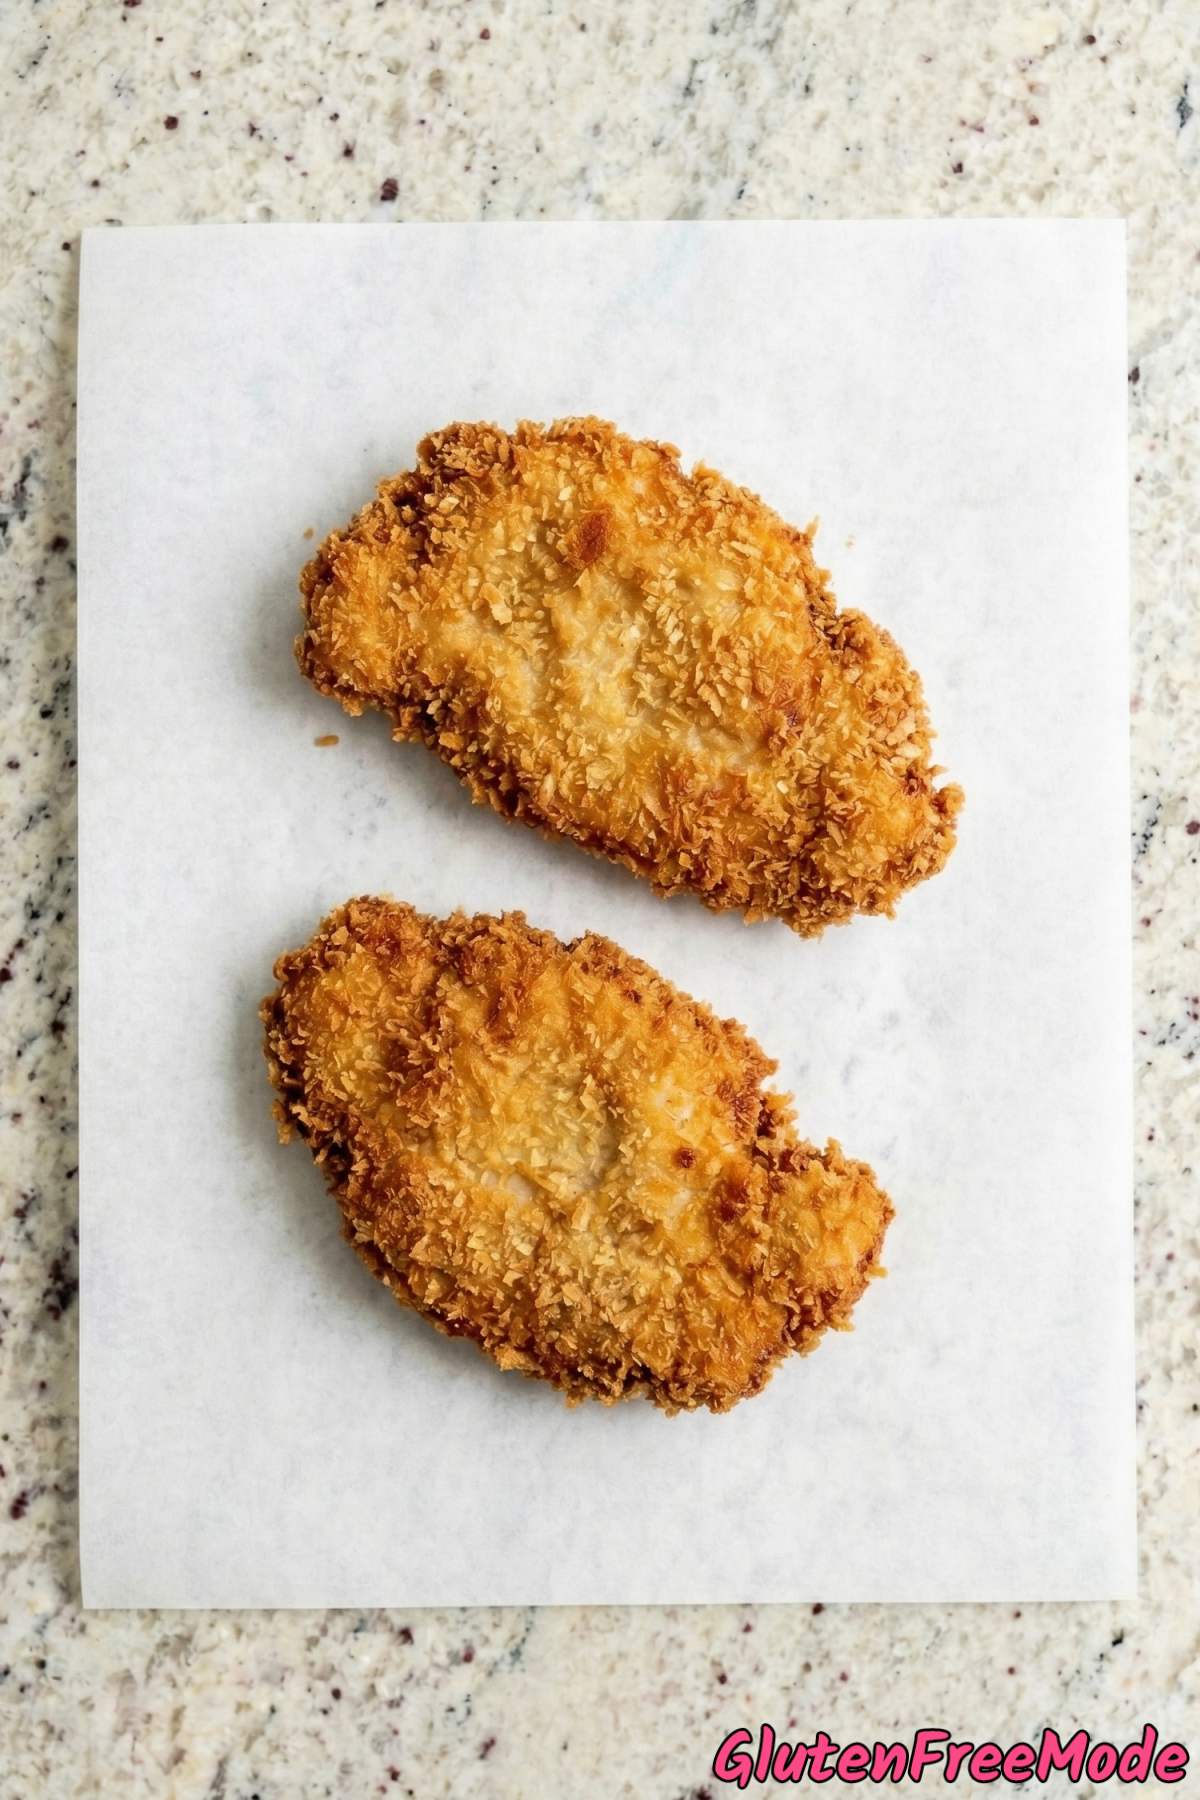
Step 4
Carefully place 2 chicken cutlets at a time into the oil. Fry for 3 to 4 minutes per side until the panko coating is deeply golden and crunchy and the chicken is cooked through to 165 degrees F. Transfer to a wire rack.
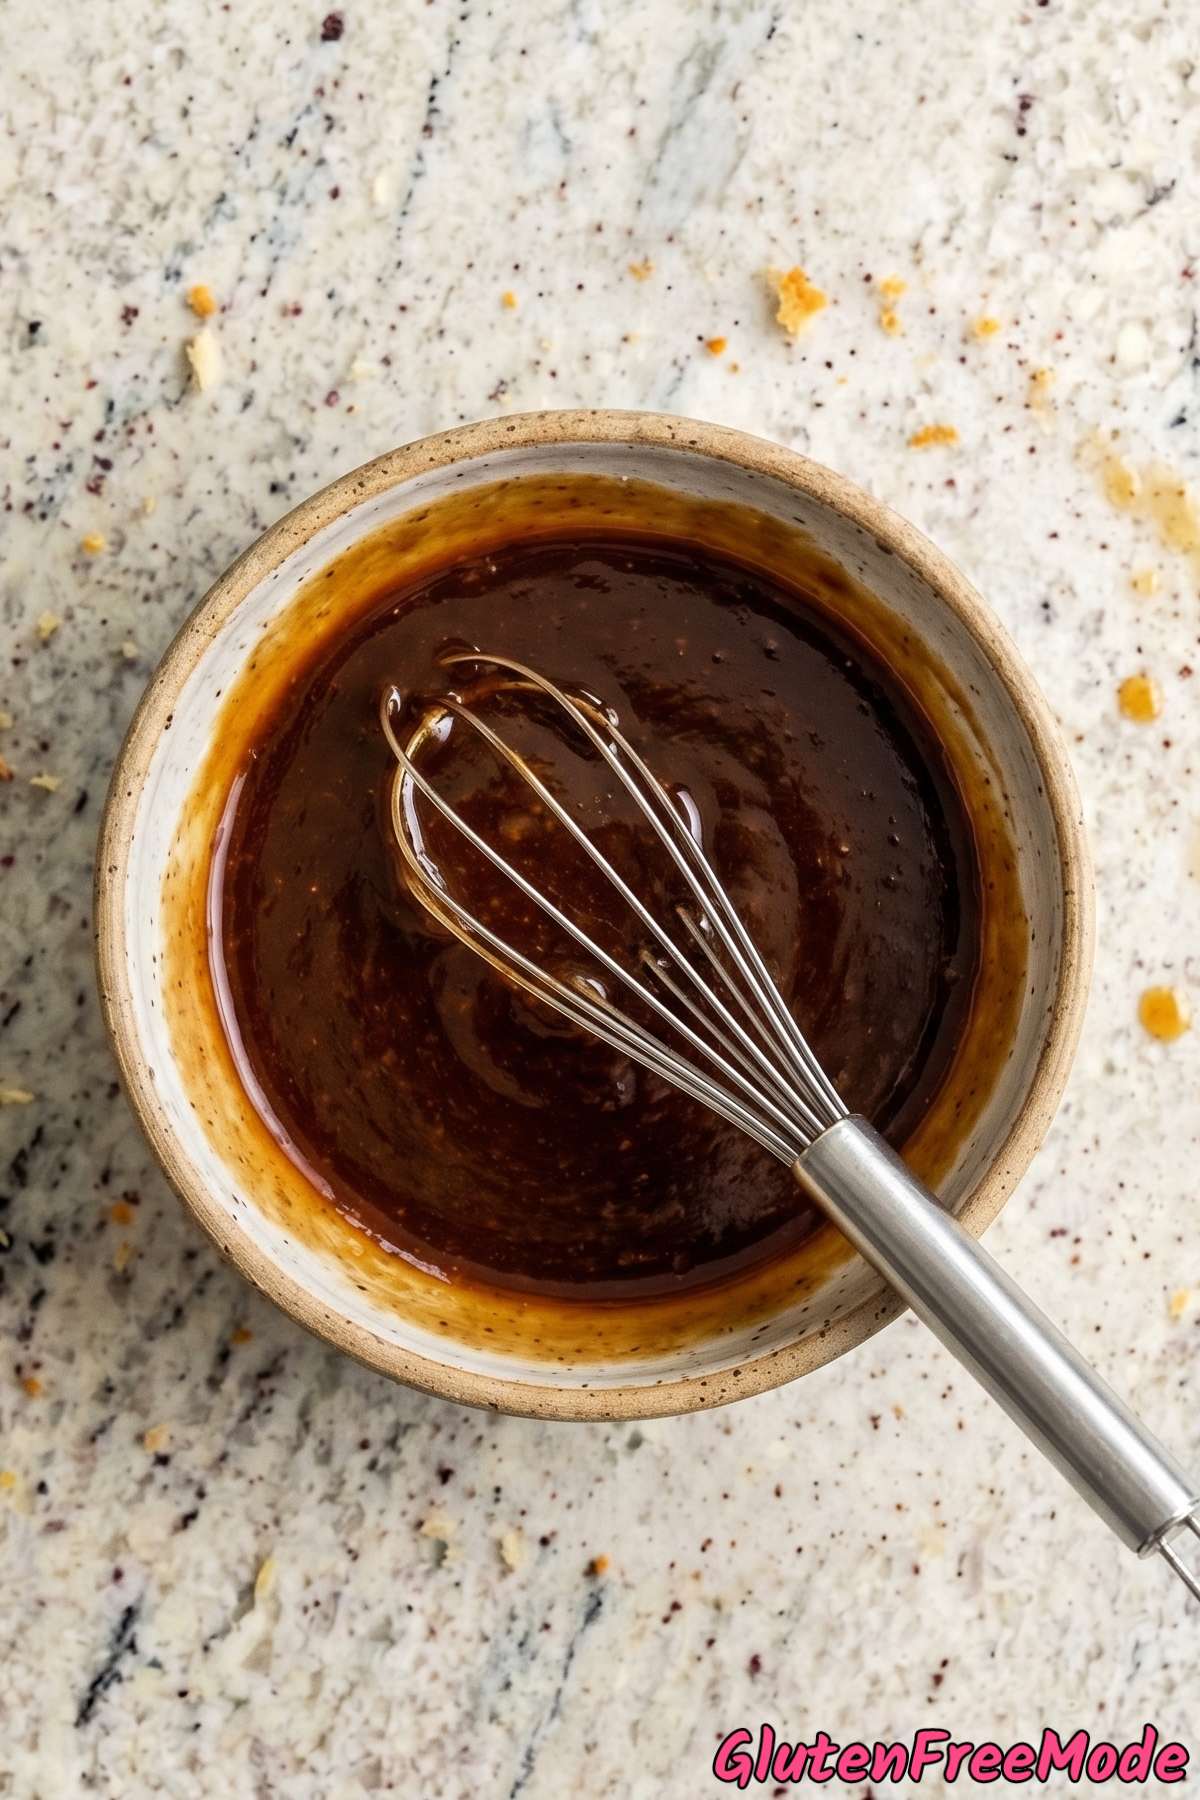
Step 5
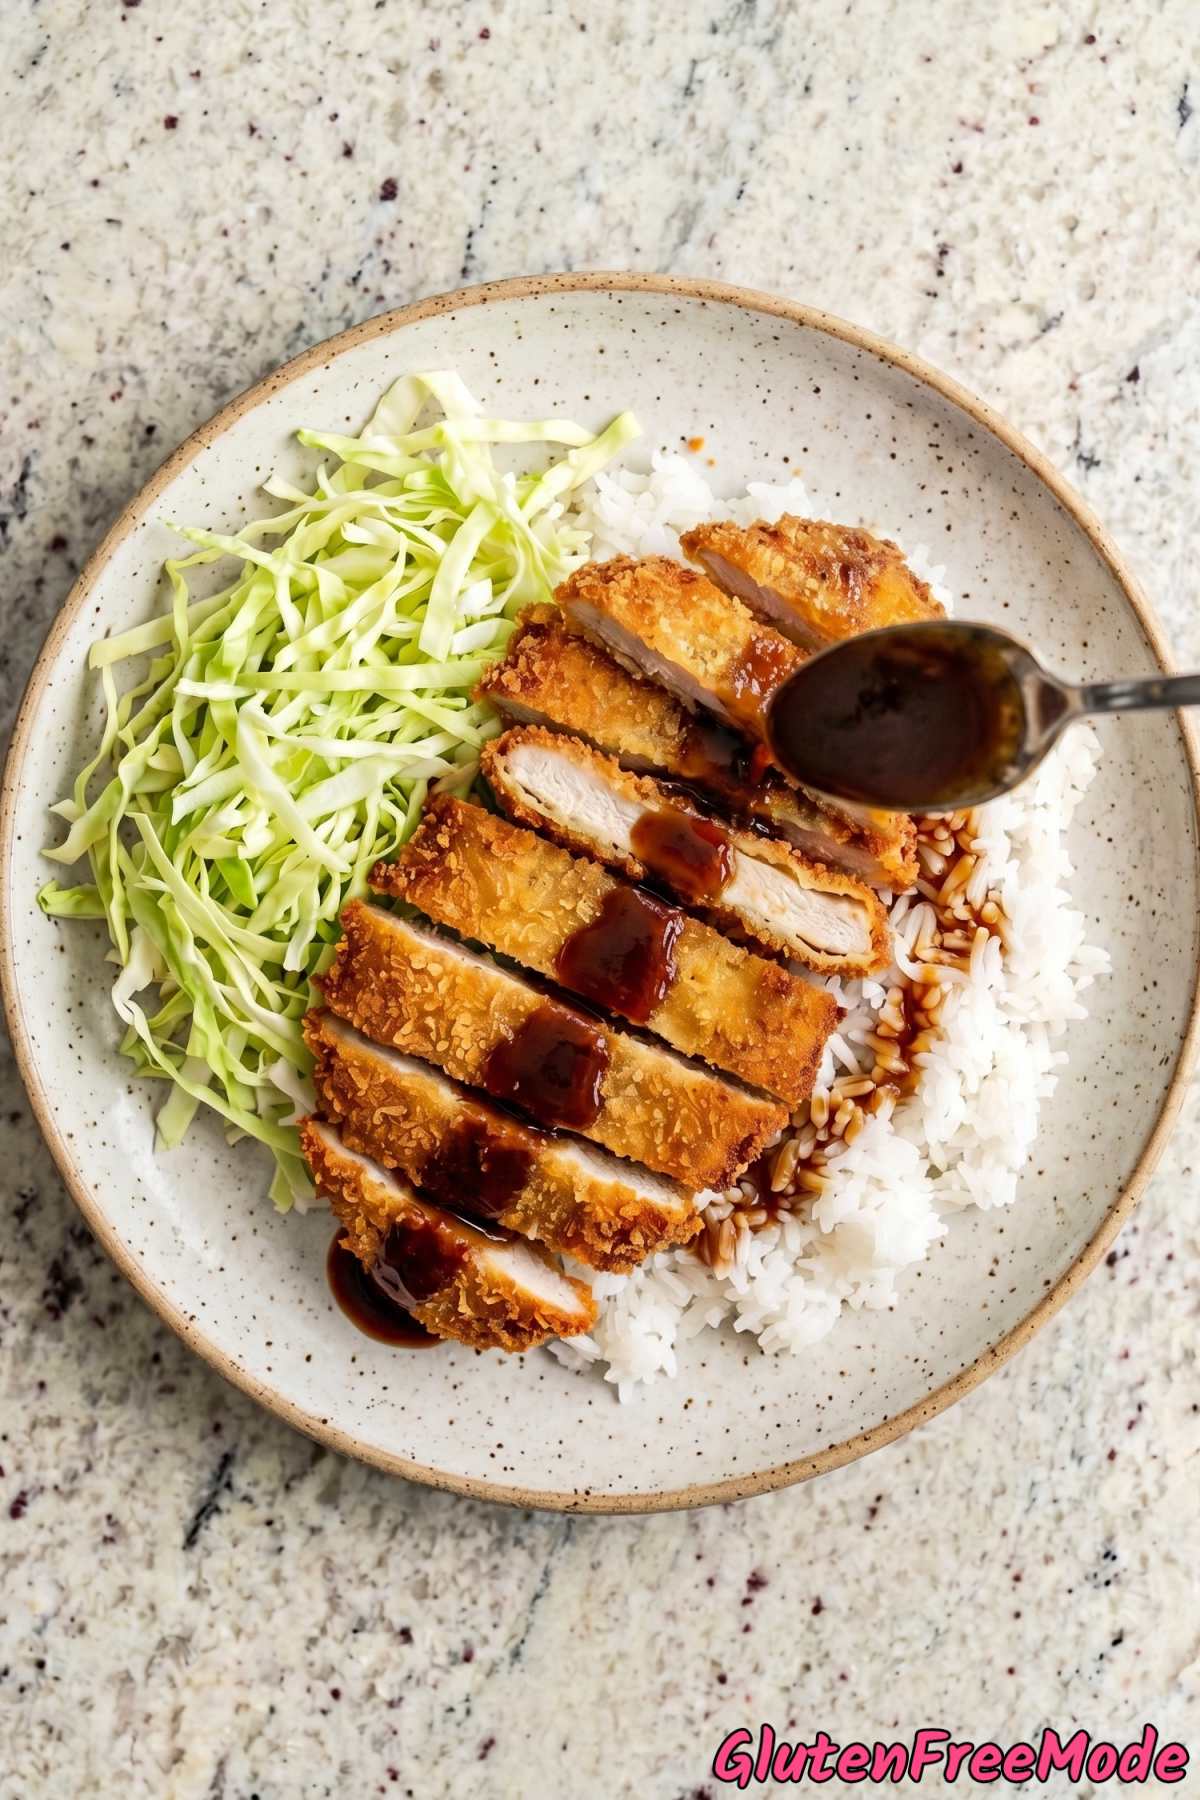
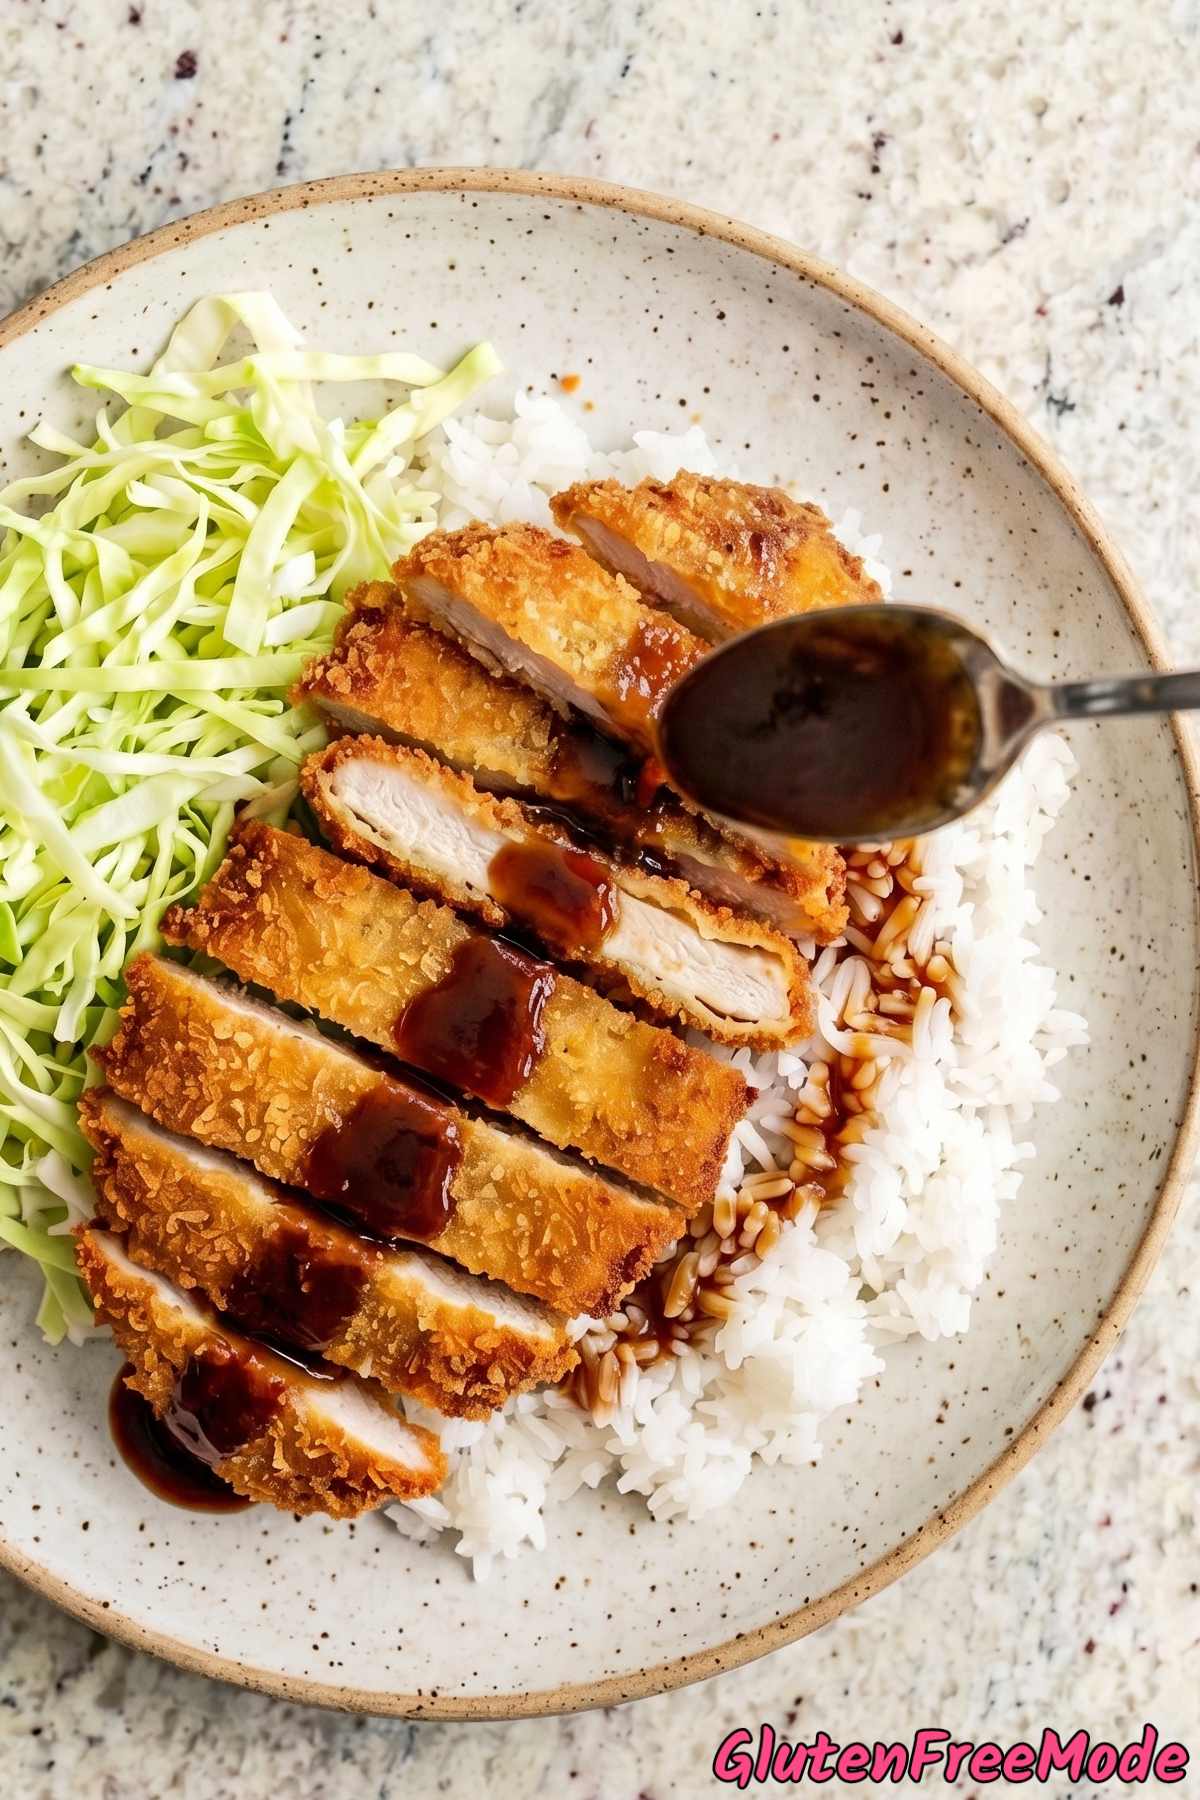
While the chicken rests, make the katsu sauce by whisking together the ketchup, tamari, oyster sauce, honey, dijon mustard, and garlic powder in a small bowl.
Step 6
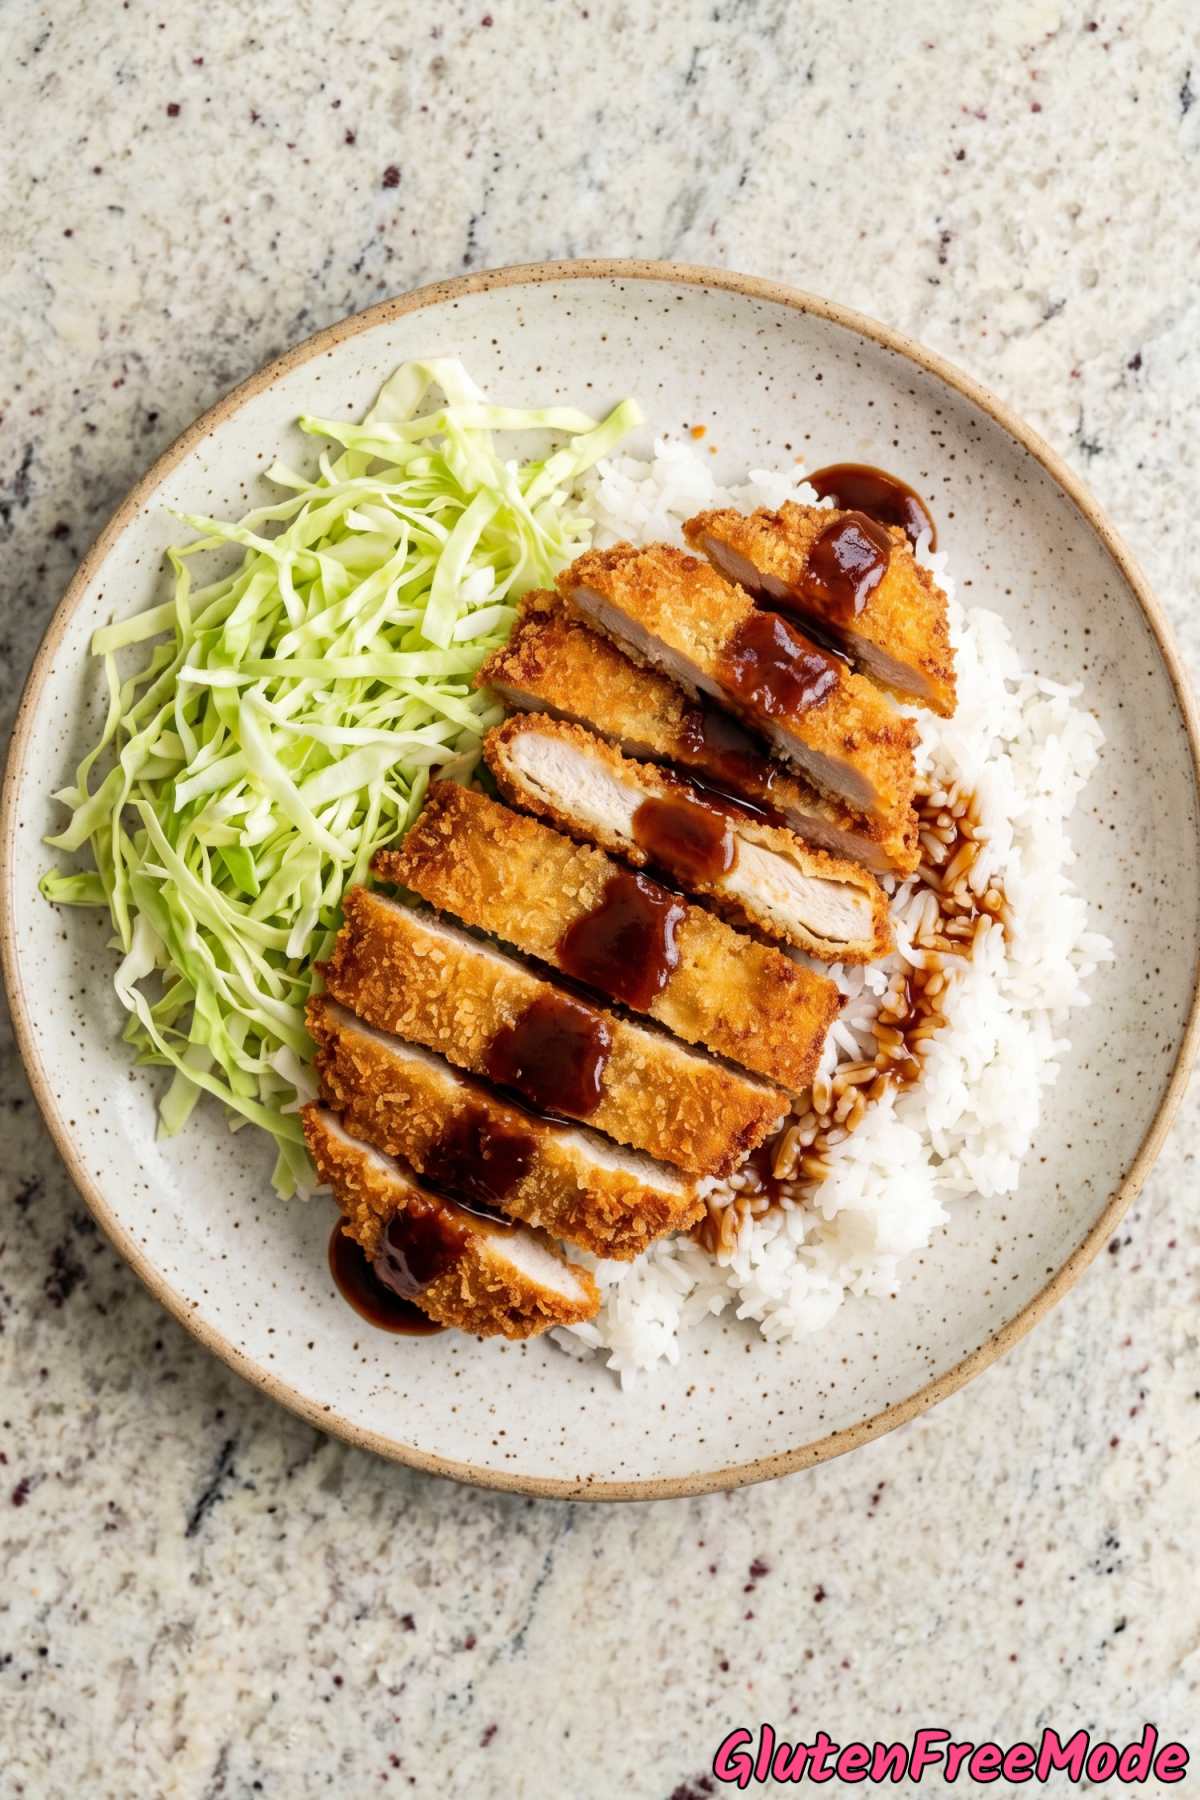
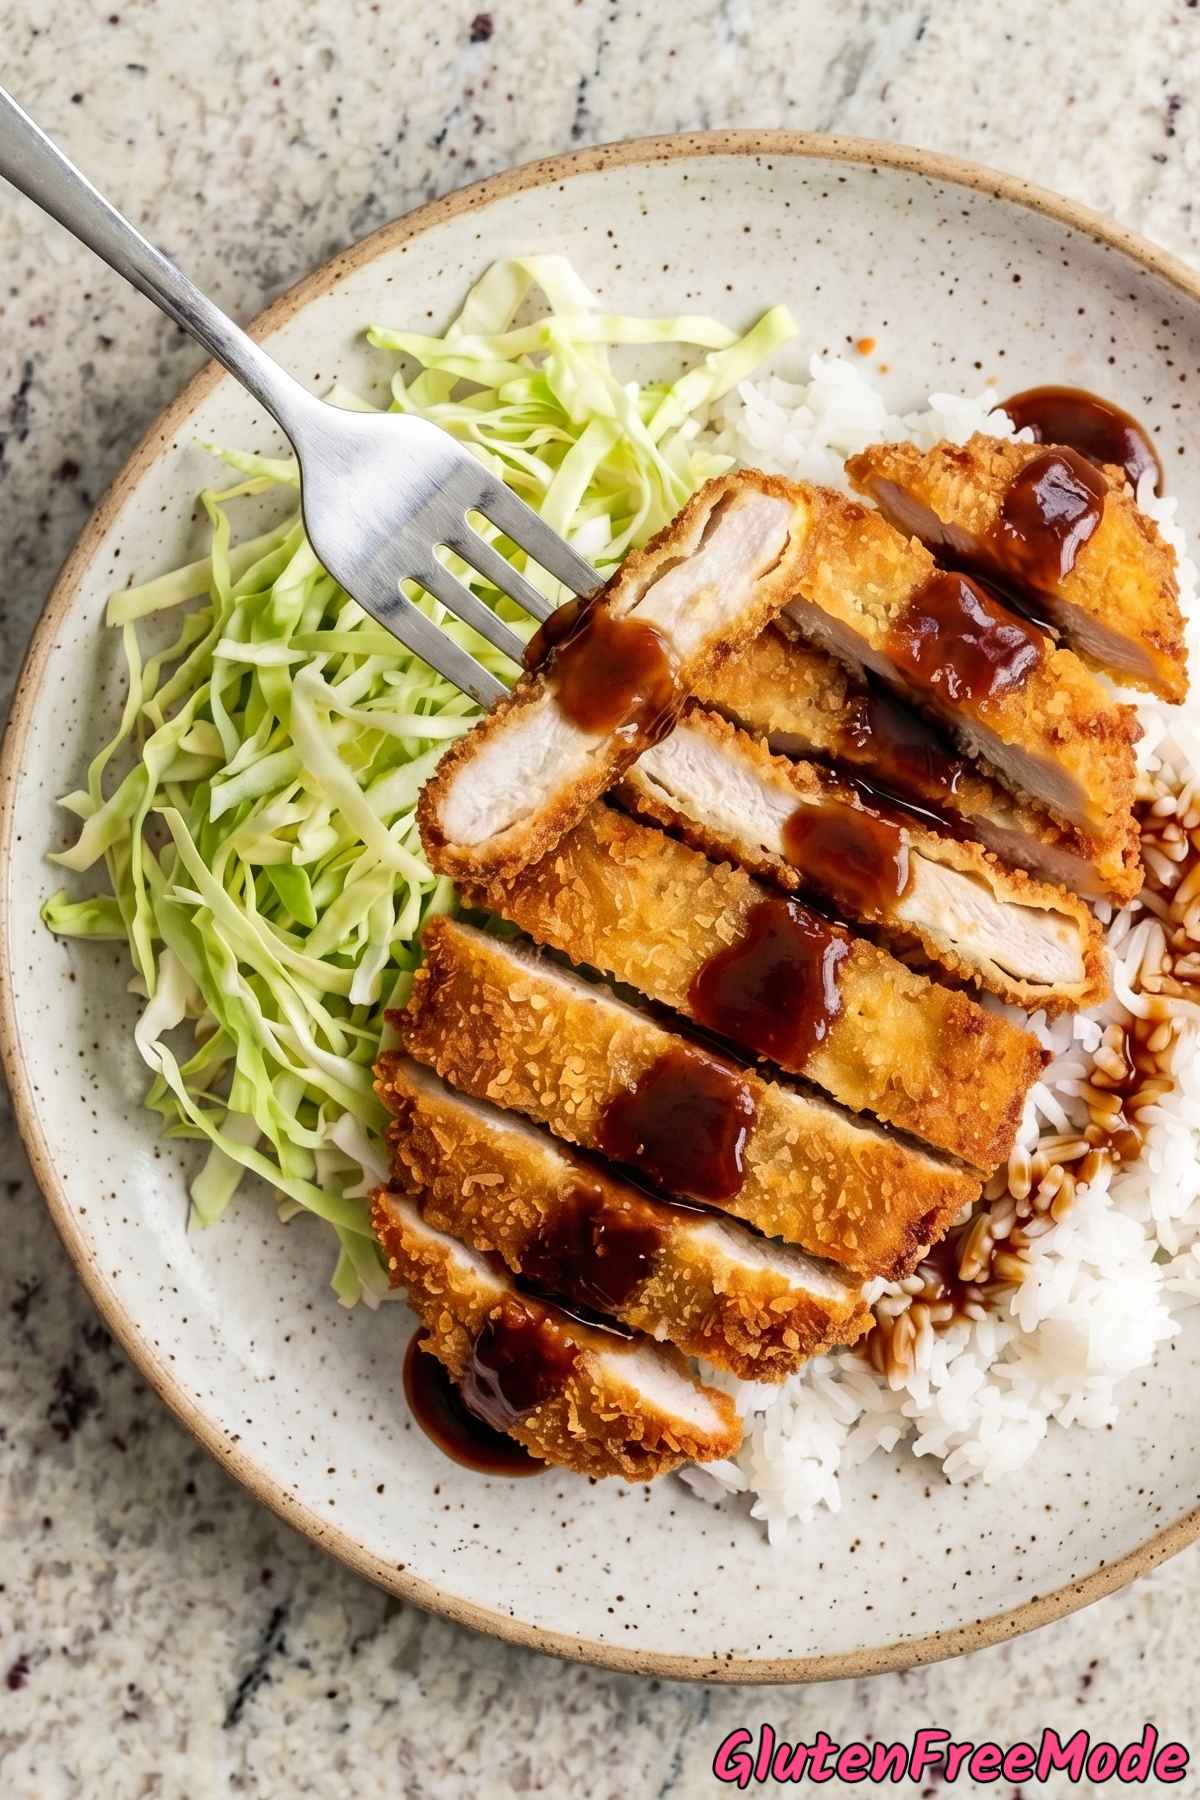
Slice each chicken cutlet into thick strips. Serve over steamed rice with shredded cabbage on the side, drizzled generously with the katsu sauce.
Helpful Tips
Pound the Chicken Evenly
When you pound the chicken to 1/2-inch thickness, start from the center and work your way out toward the edges. If some parts are thinner than others, those thin spots will overcook and dry out while the thick parts are still raw in the middle.
You want every piece to be as close to the same thickness as possible so they all cook at the same rate. This is honestly the most important step for getting juicy chicken katsu.
If you don’t have a meat mallet, a rolling pin works fine. Just make sure the plastic wrap is big enough so the chicken doesn’t slide around while you’re pounding it.
Press the Panko On Firmly
Gluten free panko doesn’t stick as easily as regular panko, so you really need to press it into the chicken with your hands. Don’t just lay the chicken on top of the crumbs and hope for the best. Use your palms to push the panko onto both sides so it actually adheres.
After you coat each piece, set it on a plate and let it sit for about 5 minutes before frying. This short rest helps the breading bond to the egg layer so it won’t fall off in the oil.
Also, use one hand for the dry steps (flour and panko) and the other hand for the egg. This keeps you from ending up with thick clumps of breading stuck to your fingers.
Get the Oil Temperature Right
Hitting 350 degrees F before you add the chicken is really important. If the oil is too cool, the breading soaks up grease and turns soggy instead of crispy. If it’s too hot, the outside burns before the inside cooks through.
If you don’t have a thermometer, drop a small pinch of panko into the oil. If it sizzles right away and floats to the top, you’re in the right range. If it just sinks and sits there, the oil needs more time.
Between batches, give the oil a minute or two to come back up to temperature. Adding cold chicken drops the heat, so waiting a bit keeps your second batch just as crispy as the first.
You Might Also Like
- Gluten Free Baked Chicken Nuggets
- Gluten Free Chicken Fried Steak
- Gluten Free Crispy Chicken Parmesan
- Gluten Free Crispy Chicken Tenders
- Gluten Free Crispy Coconut Shrimp
Frequently Asked Questions
Can I bake this instead of frying it?
Yes, you can bake the breaded chicken cutlets at 425 degrees F on a wire rack set over a baking sheet. Spray them generously with cooking oil spray before they go in, and flip them halfway through.
They will take about 20-25 minutes to get golden and crispy. The coating won’t be quite as crunchy as the fried version, but it still turns out really good and is a lighter option.