
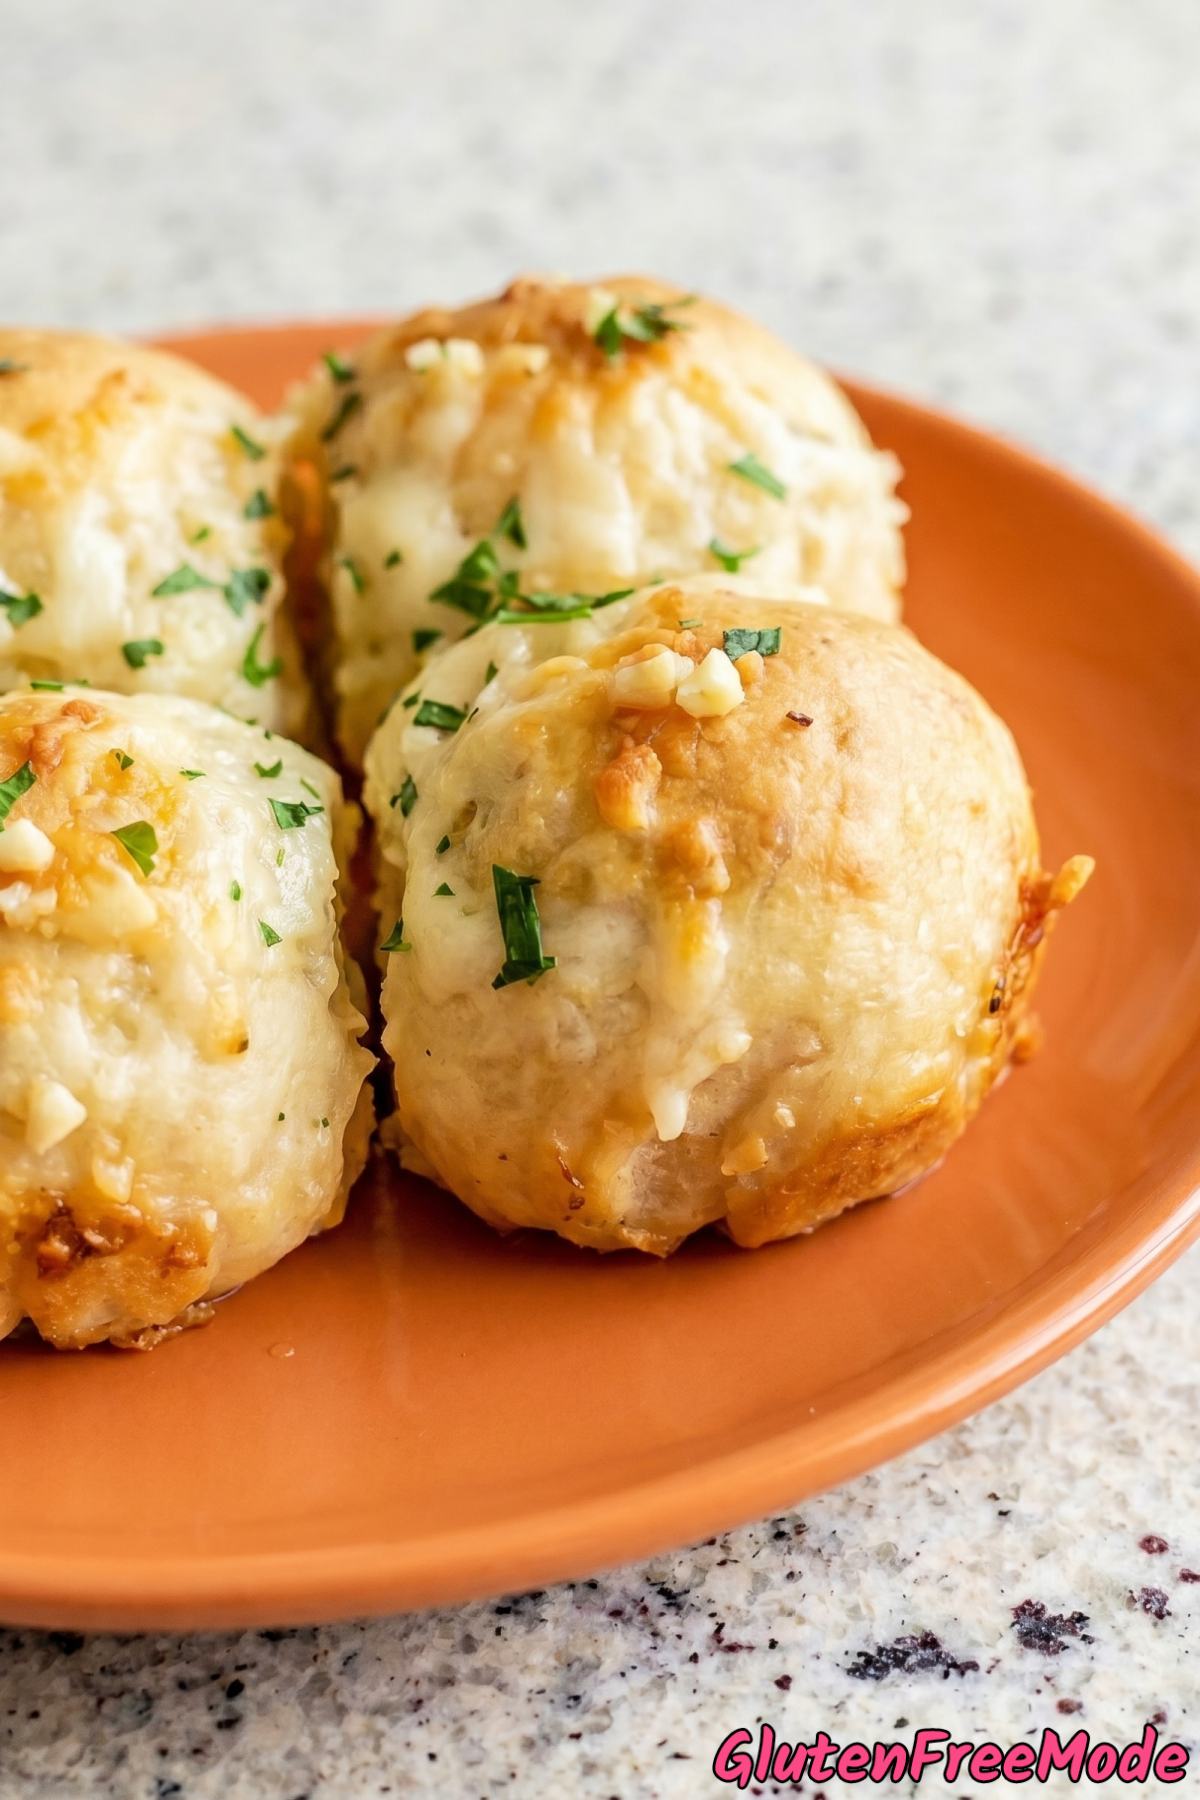
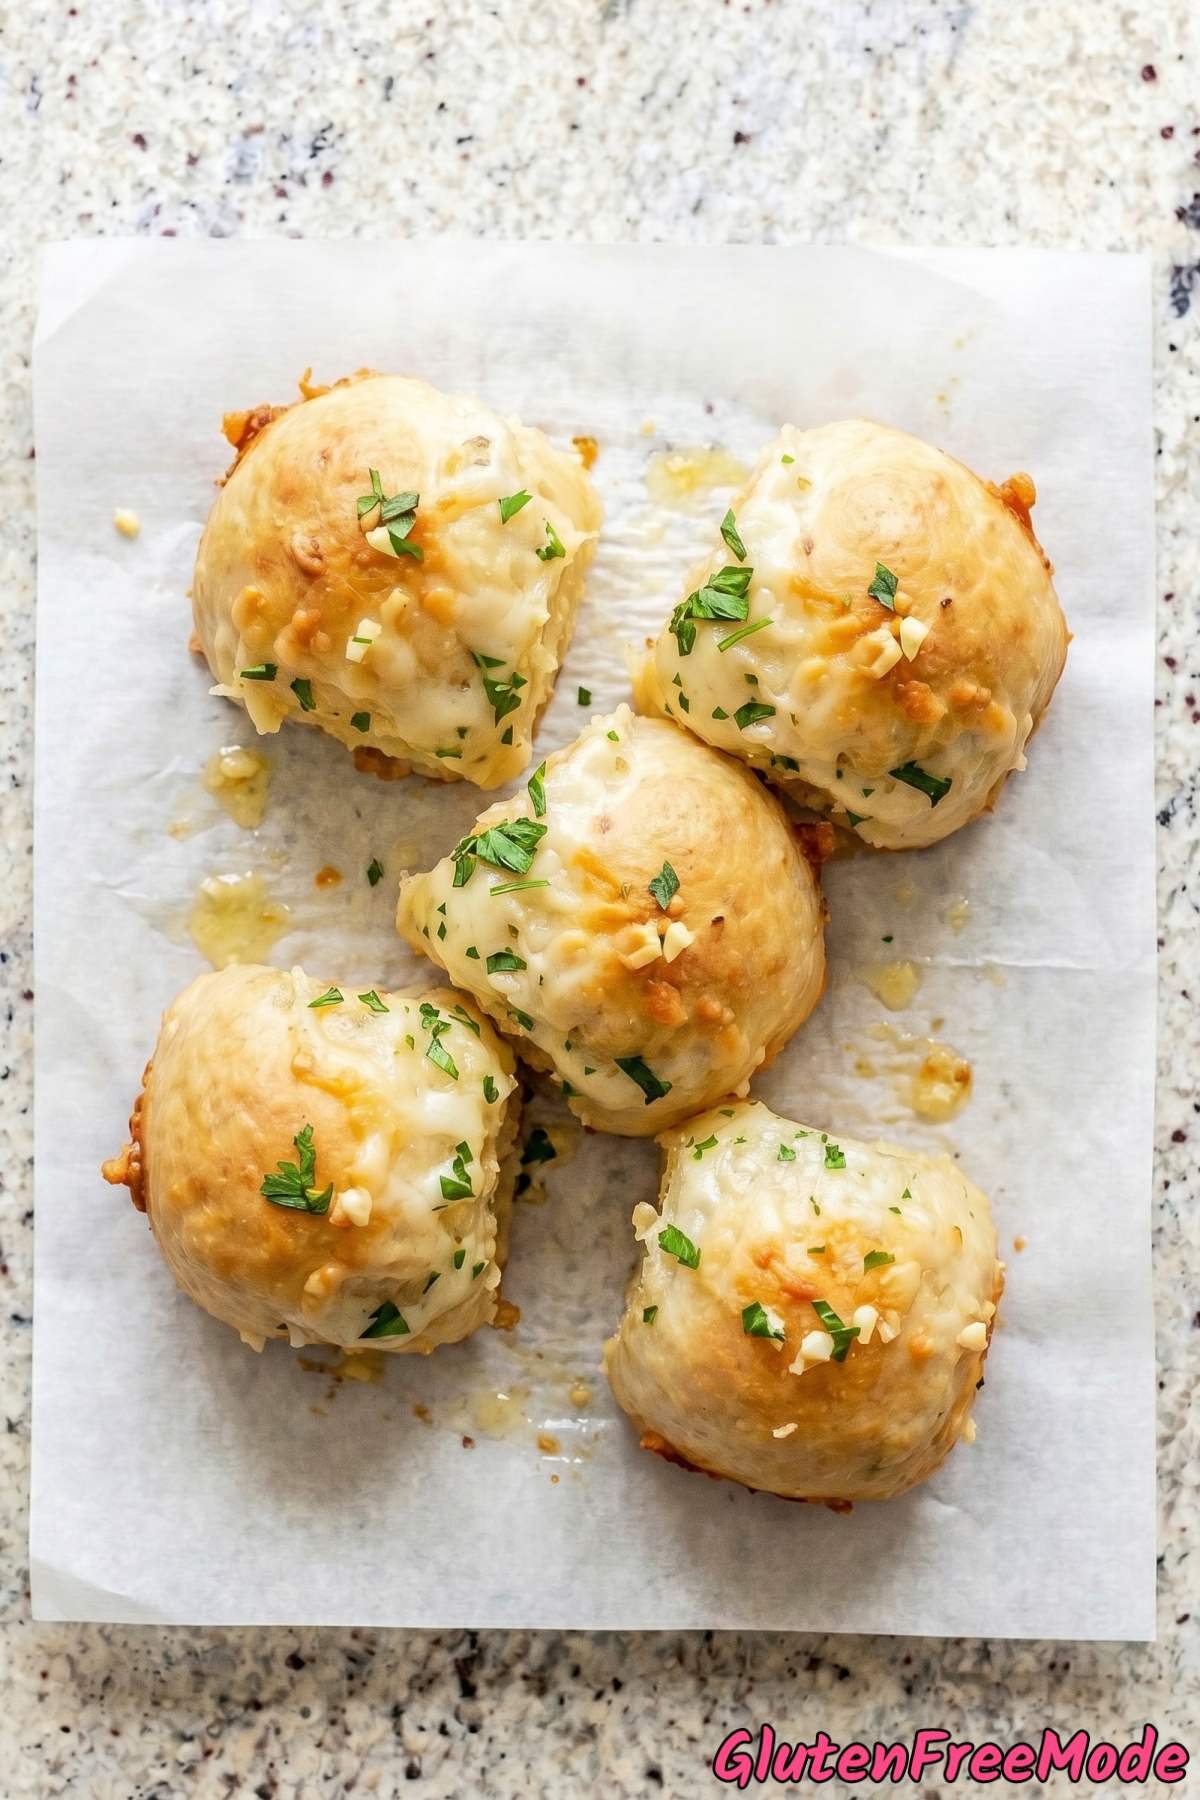
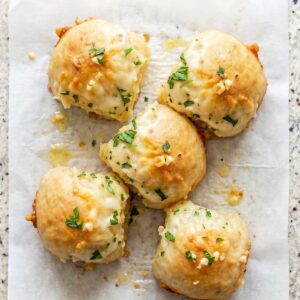
These gluten free garlic cheese pull-apart rolls are soft, cheesy, and loaded with garlic butter. They’re the kind of bread you can’t stop reaching for once you start pulling them apart.
If you’ve been missing good bread rolls since going gluten free, this recipe is going to make you really happy. They taste just as good as the ones made with regular flour.
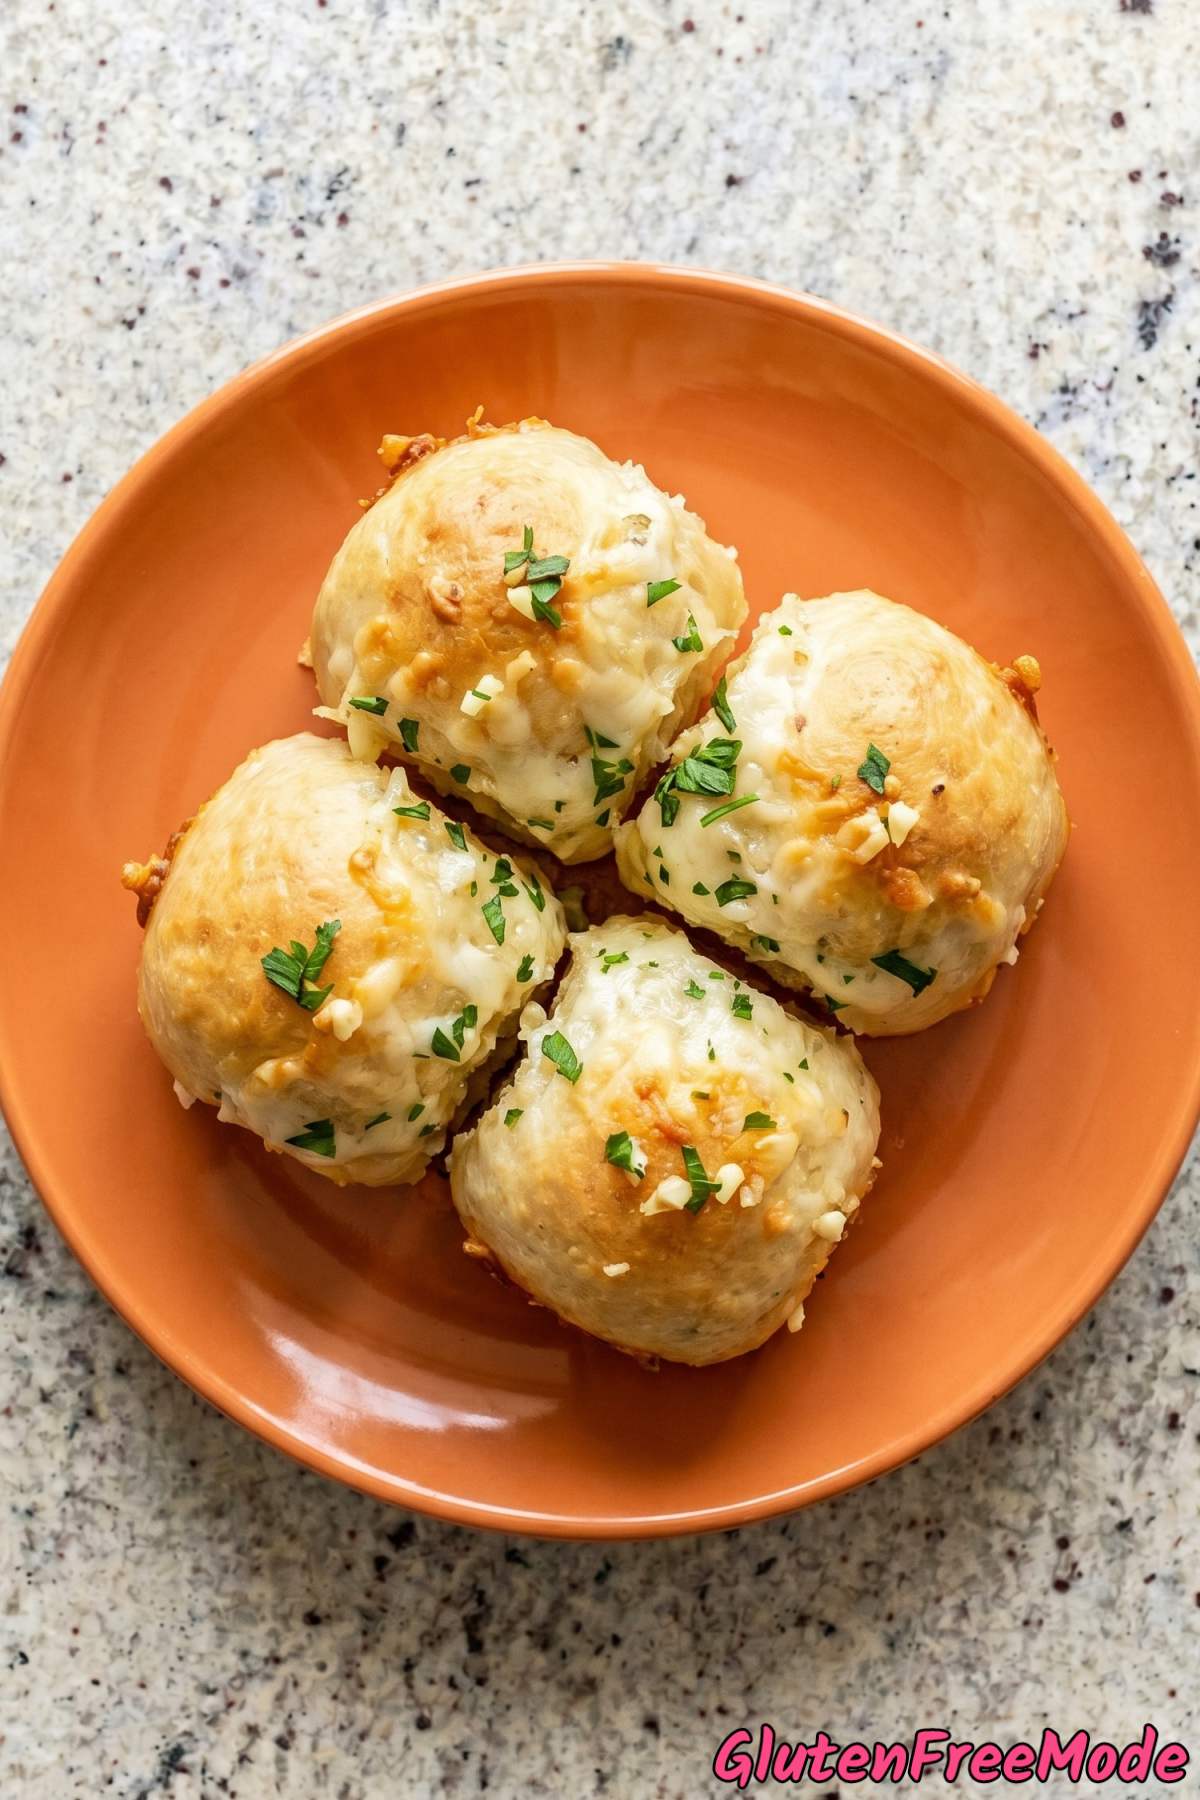
The dough comes together easily in one bowl. No fancy equipment needed, just a spoon and your hands.
Each roll gets dipped in garlic butter and coated in a mix of mozzarella and parmesan before baking. So every single bite is packed with flavor.
They come out of the oven golden, bubbly, and smelling incredible. Perfect as a side dish or honestly just on their own as a snack.
Why You’ll Love This Recipe
Irresistibly Cheesy and Garlicky – Every single roll is loaded with melted mozzarella and parmesan plus garlic butter in every layer.
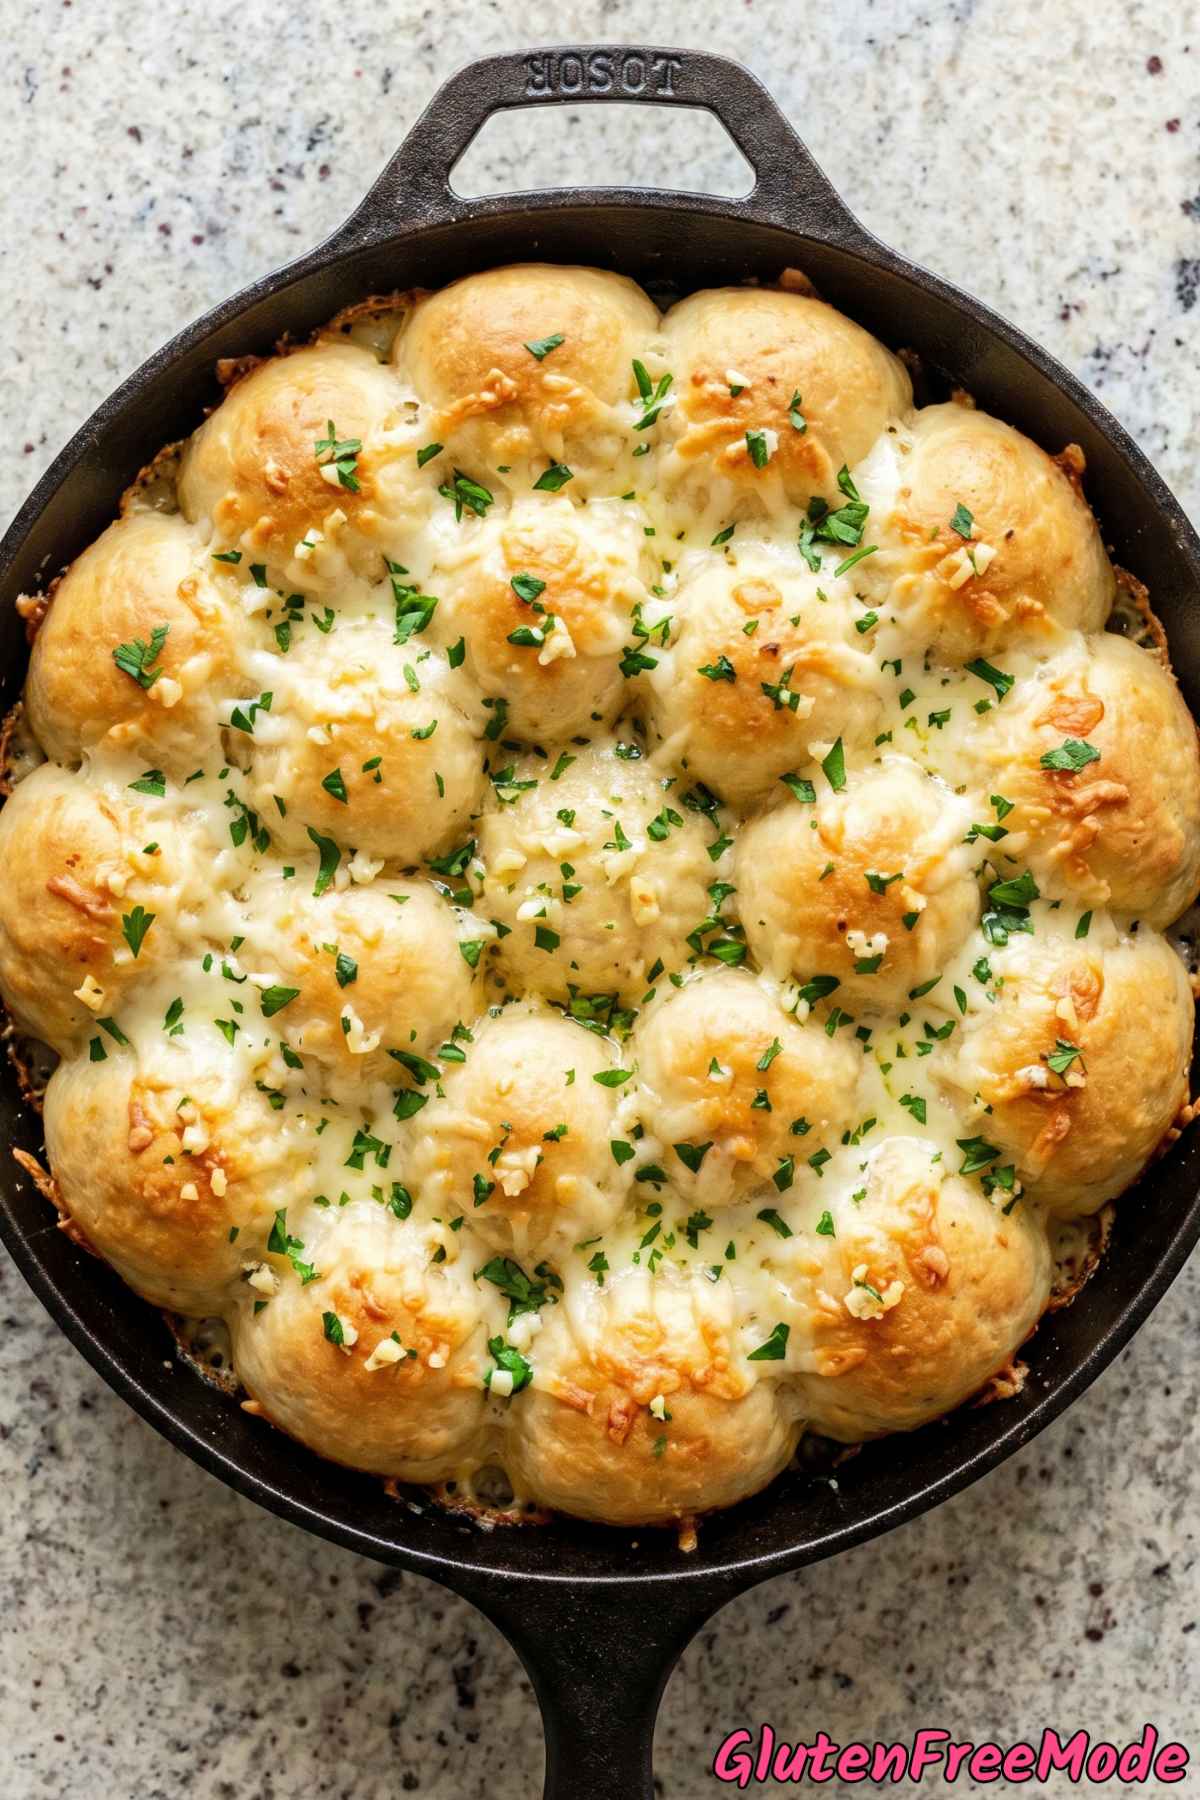
Soft and Fluffy Texture – These rolls bake up pillowy and light which is hard to find in gluten free bread recipes.
Fun to Eat – The pull-apart style makes these rolls super satisfying to tear into and share with family or friends.
Ingredients
For the Dough
- 2 1/2 cups Gluten Free 1-to-1 Baking Flour
- 2 tbsp Tapioca Starch
- 2 1/4 tsp Instant Yeast
- 2 tbsp Granulated Sugar
- 1 tsp Xanthan Gum
- 1 tsp Salt
- 3/4 cup Whole Milk, warm
- 2 Large Eggs
- 3 tbsp Unsalted Butter, melted
- 1 tsp Apple Cider Vinegar
For the Garlic Cheese Filling
- 1/4 cup Unsalted Butter, melted
- 4 Cloves Garlic, minced
- 1 cup Shredded Mozzarella Cheese
- 1/4 cup Grated Parmesan Cheese
- 2 tbsp Fresh Parsley, chopped
For the Garlic Butter Topping
- 2 tbsp Unsalted Butter, melted
- 1 Clove Garlic, minced
- 1 tbsp Fresh Parsley, chopped
How to Make
Step 1
In a large bowl, whisk together the gluten free flour, tapioca starch, instant yeast, sugar, xanthan gum, and salt. Add the warm milk, eggs, melted butter, and apple cider vinegar. Mix with a spatula or wooden spoon until a thick, sticky dough forms.
Cover the bowl and let the dough rise in a warm place for about 1 hour, until it has puffed up noticeably.
Step 2
While the dough rises, prepare the filling. Stir together the melted butter and minced garlic in a small bowl. In a separate bowl, toss together the mozzarella, parmesan, and parsley.
Step 3
Grease a 9-inch round cake pan or cast iron skillet. Using a spoon and wet hands, scoop out a golf ball-sized piece of dough. Dip the bottom of the dough ball into the garlic butter, then roll it lightly in the cheese mixture. Place it in the prepared pan.
Repeat with the remaining dough, nestling the balls close together. Sprinkle any leftover cheese mixture over the top and drizzle with any remaining garlic butter.
Step 4
Cover the pan loosely with a kitchen towel and let the rolls rise for 30 to 40 minutes, until they look puffy and are touching each other.
Step 5
Preheat the oven to 375 degrees F. Bake the rolls for 22 to 28 minutes, until the tops are golden brown and the cheese is melted and bubbly.
Step 6
While the rolls bake, stir together the melted butter, garlic, and parsley for the topping. As soon as the rolls come out of the oven, brush the garlic butter topping all over them. Let cool for 5 to 10 minutes in the pan, then serve warm so everyone can pull them apart.
My Tips
Keep Your Hands Wet the Entire Time
Gluten free dough is way stickier than regular dough. If your hands dry off even a little while you’re scooping and shaping, the dough will stick to your fingers and turn into a mess.
Keep a small bowl of water right next to you and re-wet your hands before you pick up each piece of dough. It makes shaping the balls so much easier and they’ll actually come out round instead of looking like blobs.
Don’t Skip the Apple Cider Vinegar
It might seem like an odd ingredient in bread dough, but the vinegar reacts with the baking flour and xanthan gum to help the dough rise better and hold its shape. Without it, your rolls can come out flat and dense.
You won’t taste it at all in the final rolls. It’s a small amount that makes a big difference in the texture, so don’t leave it out.
Make Sure Your Milk Is Warm, Not Hot
The milk should feel like warm bath water when you touch it, around 100-110 degrees F. If it’s too hot, it will kill the instant yeast and your dough won’t rise at all.
If you don’t have a thermometer, just heat the milk until it feels comfortably warm on the inside of your wrist. If it feels hot or makes you pull your hand away, let it cool down for a couple of minutes before adding it.
More Tasty Recipes
- Gluten Free Buttery Garlic Knots
- Gluten Free Cheesy Garlic Bread
- Gluten Free Cheesy Breadsticks
- Gluten Free Fluffy Dinner Rolls
- Gluten Free Monkey Bread
FAQ
Can I use a different gluten free flour blend instead of 1-to-1 baking flour?
You can try another gluten free all-purpose blend, but results may vary depending on the brand and what starches are included. 1-to-1 baking flour is specifically designed to replace regular flour at the same ratio, so it gives the most reliable results here.
If your blend already contains xanthan gum, you may want to reduce or skip the extra xanthan gum called for in the recipe, since too much can make the rolls gummy.
Gluten Free Garlic Cheese Pull-Apart Rolls
Equipment
- 9-inch round cake pan
Ingredients
For the Dough
- 2 1/2 cups Gluten Free 1-to-1 Baking Flour
- 2 tbsp Tapioca Starch
- 2 1/4 tsp Instant Yeast
- 2 tbsp Granulated Sugar
- 1 tsp Xanthan Gum
- 1 tsp Salt
- 3/4 cup Whole Milk, warm
- 2 Large Eggs
- 3 tbsp Unsalted Butter, melted
- 1 tsp Apple Cider Vinegar
For the Garlic Cheese Filling
- 1/4 cup Unsalted Butter, melted
- 4 Cloves Garlic, minced
- 1 cup Shredded Mozzarella Cheese
- 1/4 cup Grated Parmesan Cheese
- 2 tbsp Fresh Parsley, chopped
For the Garlic Butter Topping
- 2 tbsp Unsalted Butter, melted
- 1 Clove Garlic, minced
- 1 tbsp Fresh Parsley, chopped
Instructions
- In a large bowl, whisk together the gluten free flour, tapioca starch, instant yeast, sugar, xanthan gum, and salt. Add the warm milk, eggs, melted butter, and apple cider vinegar. Mix with a spatula or wooden spoon until a thick, sticky dough forms. Cover the bowl and let the dough rise in a warm place for about 1 hour, until it has puffed up noticeably.
- While the dough rises, prepare the filling. Stir together the melted butter and minced garlic in a small bowl. In a separate bowl, toss together the mozzarella, parmesan, and parsley.
- Grease a 9-inch round cake pan or cast iron skillet. Using a spoon and wet hands, scoop out a golf ball-sized piece of dough. Dip the bottom of the dough ball into the garlic butter, then roll it lightly in the cheese mixture. Place it in the prepared pan. Repeat with the remaining dough, nestling the balls close together. Sprinkle any leftover cheese mixture over the top and drizzle with any remaining garlic butter.
- Cover the pan loosely with a kitchen towel and let the rolls rise for 30 to 40 minutes, until they look puffy and are touching each other.
- Preheat the oven to 375 degrees F. Bake the rolls for 22 to 28 minutes, until the tops are golden brown and the cheese is melted and bubbly.
- While the rolls bake, stir together the melted butter, garlic, and parsley for the topping. As soon as the rolls come out of the oven, brush the garlic butter topping all over them. Let cool for 5 to 10 minutes in the pan, then serve warm so everyone can pull them apart.