
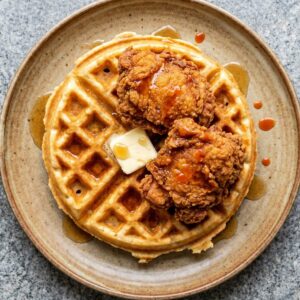
Chicken and waffles is one of those meals that just hits different. The crispy, savory chicken with a warm, fluffy waffle and maple syrup is honestly hard to beat.
And yes, this version is completely gluten free. Every single part of it, from the waffles to the crispy coating on the chicken.
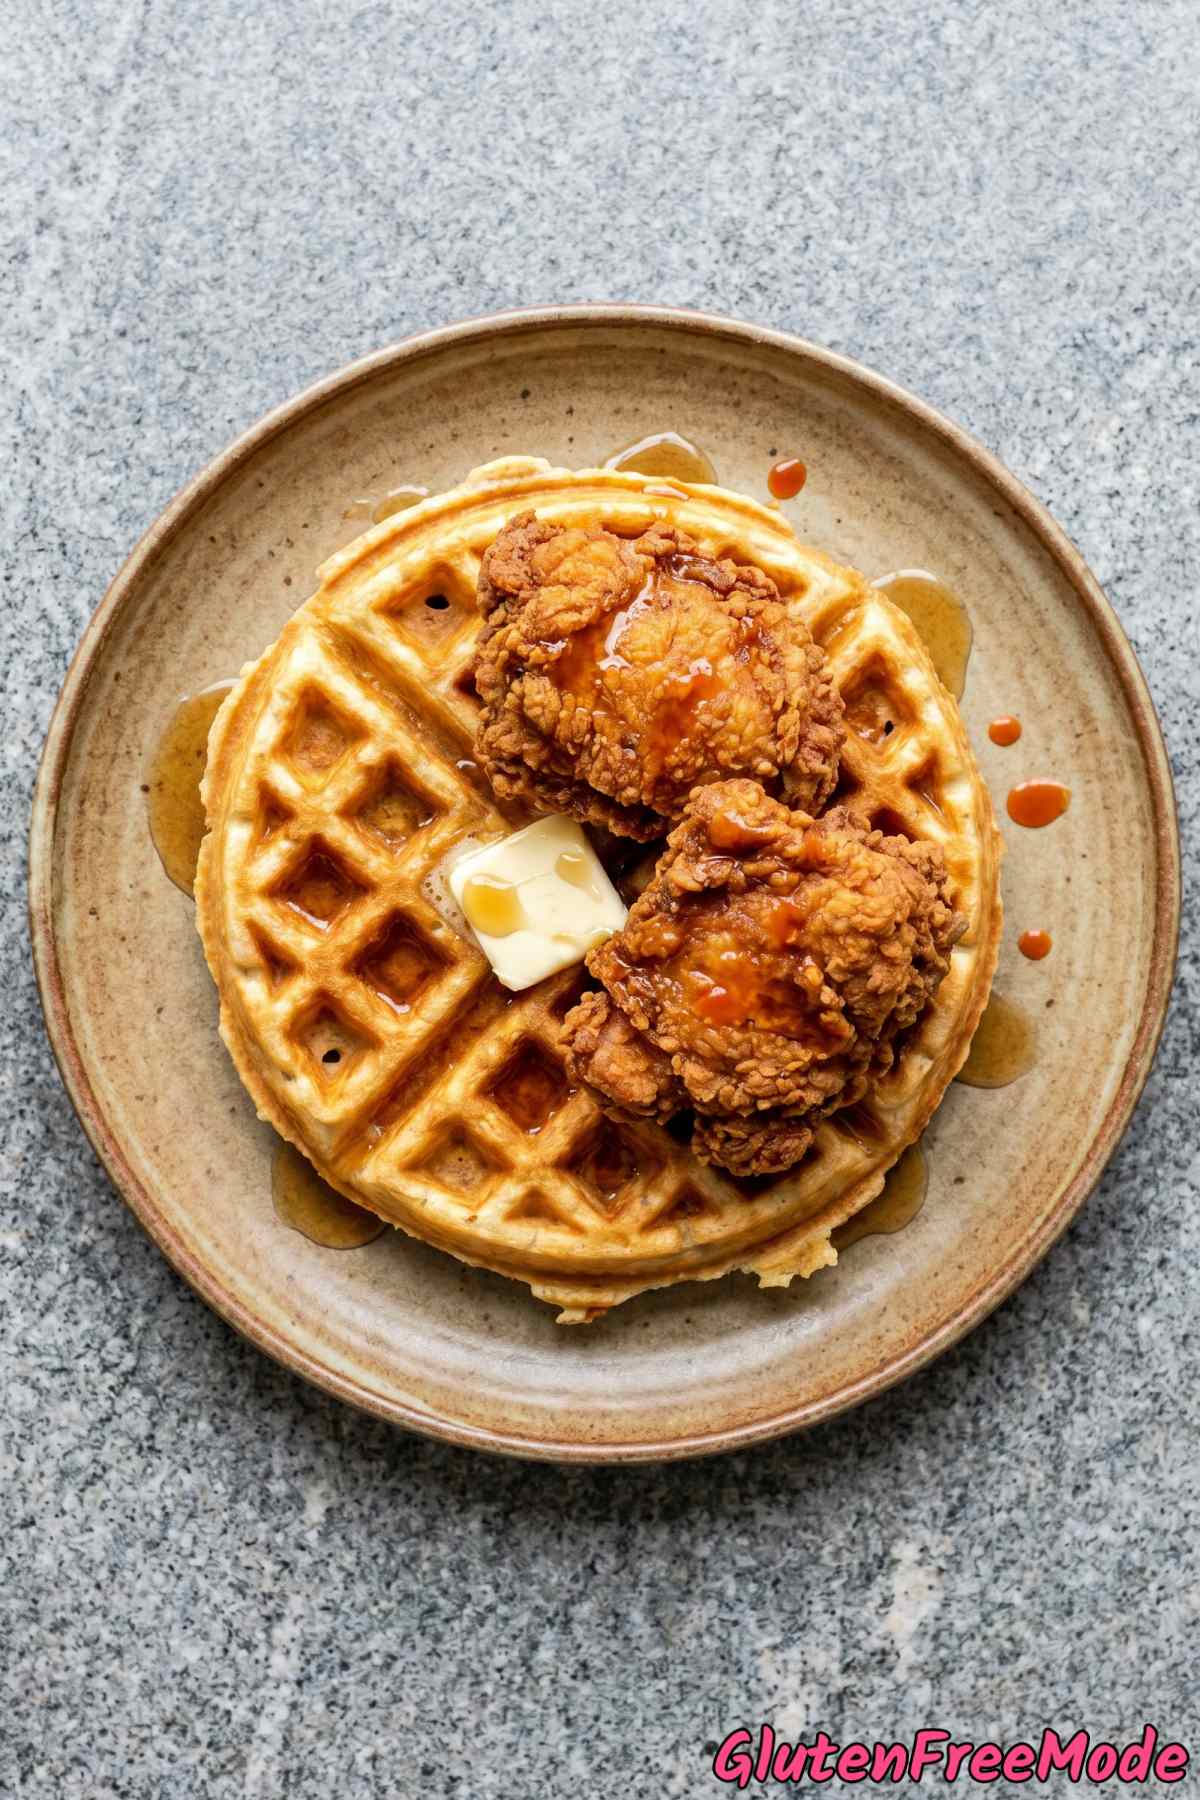
The waffles are made with a gluten free 1-to-1 baking flour, and they come out golden and crispy just like the regular kind. No weird texture, no gummy middle.
For the chicken, I use rice flour and cornstarch for the coating. It fries up super crispy and you really wouldn’t know the difference.
If you’ve been missing out on chicken and waffles because of gluten, this recipe is going to make your day. It’s easy to follow and the results are seriously good.
Why You’ll Love This Recipe
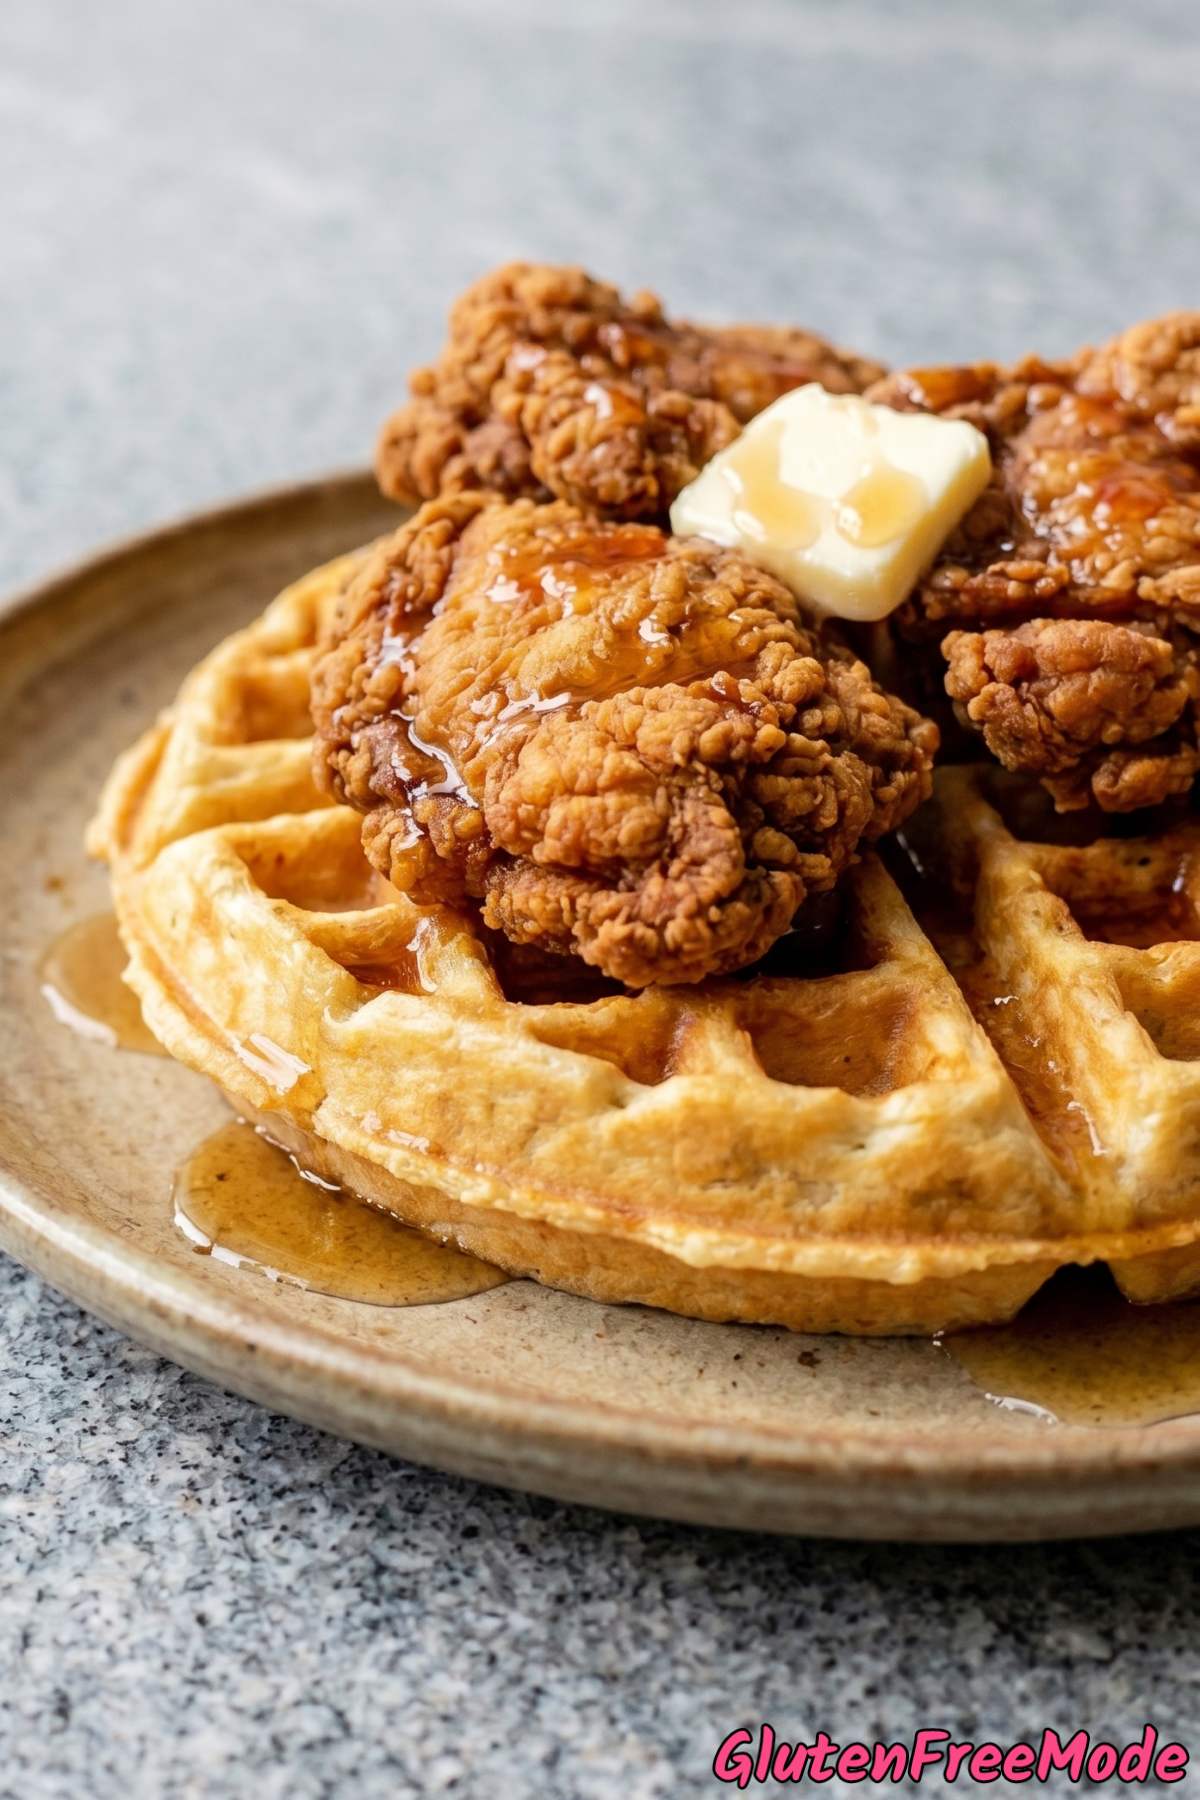
Crispy Coating Without the Gluten – The rice flour and cornstarch combo creates an incredibly crispy and crunchy coating that rivals any traditional fried chicken.
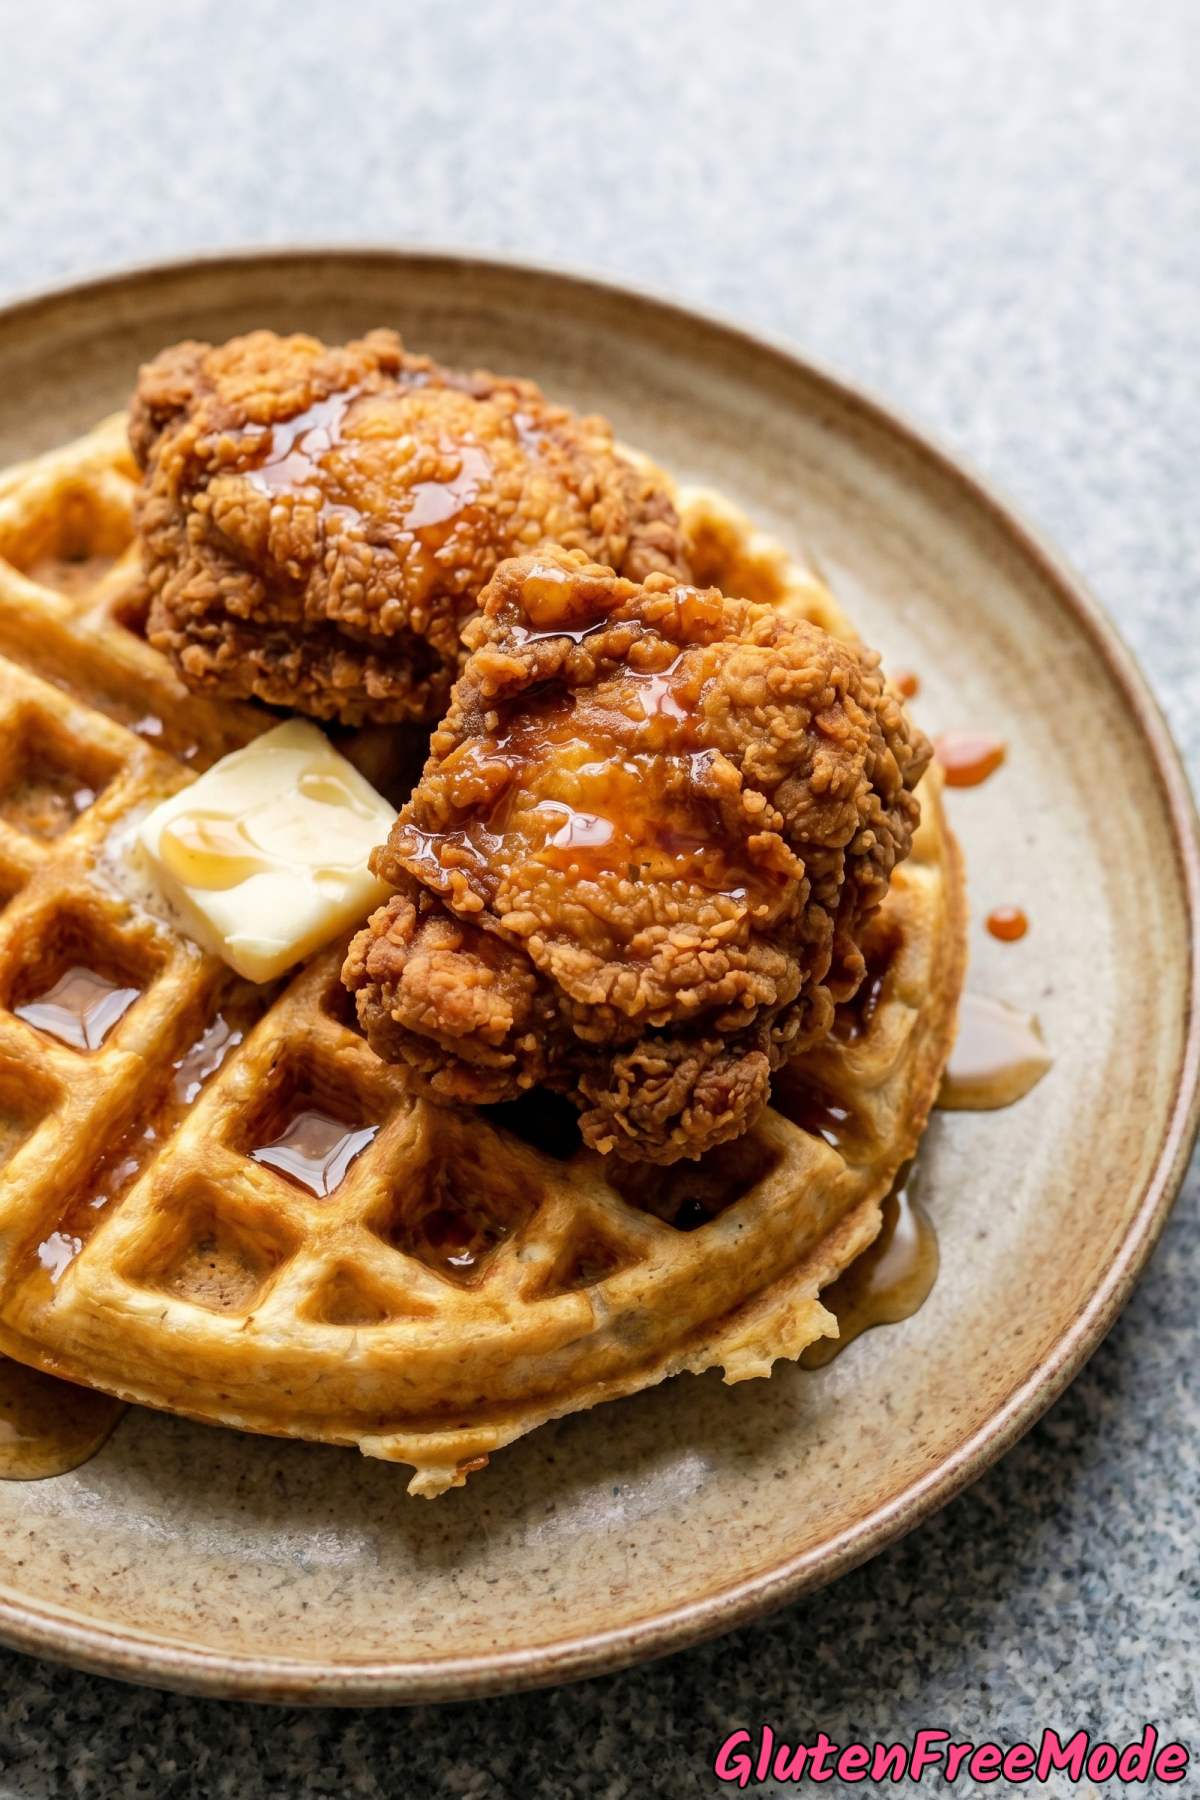
Sweet and Savory Perfection – The warm maple syrup over smoky spiced chicken and buttery waffles hits every flavor note in one single bite.
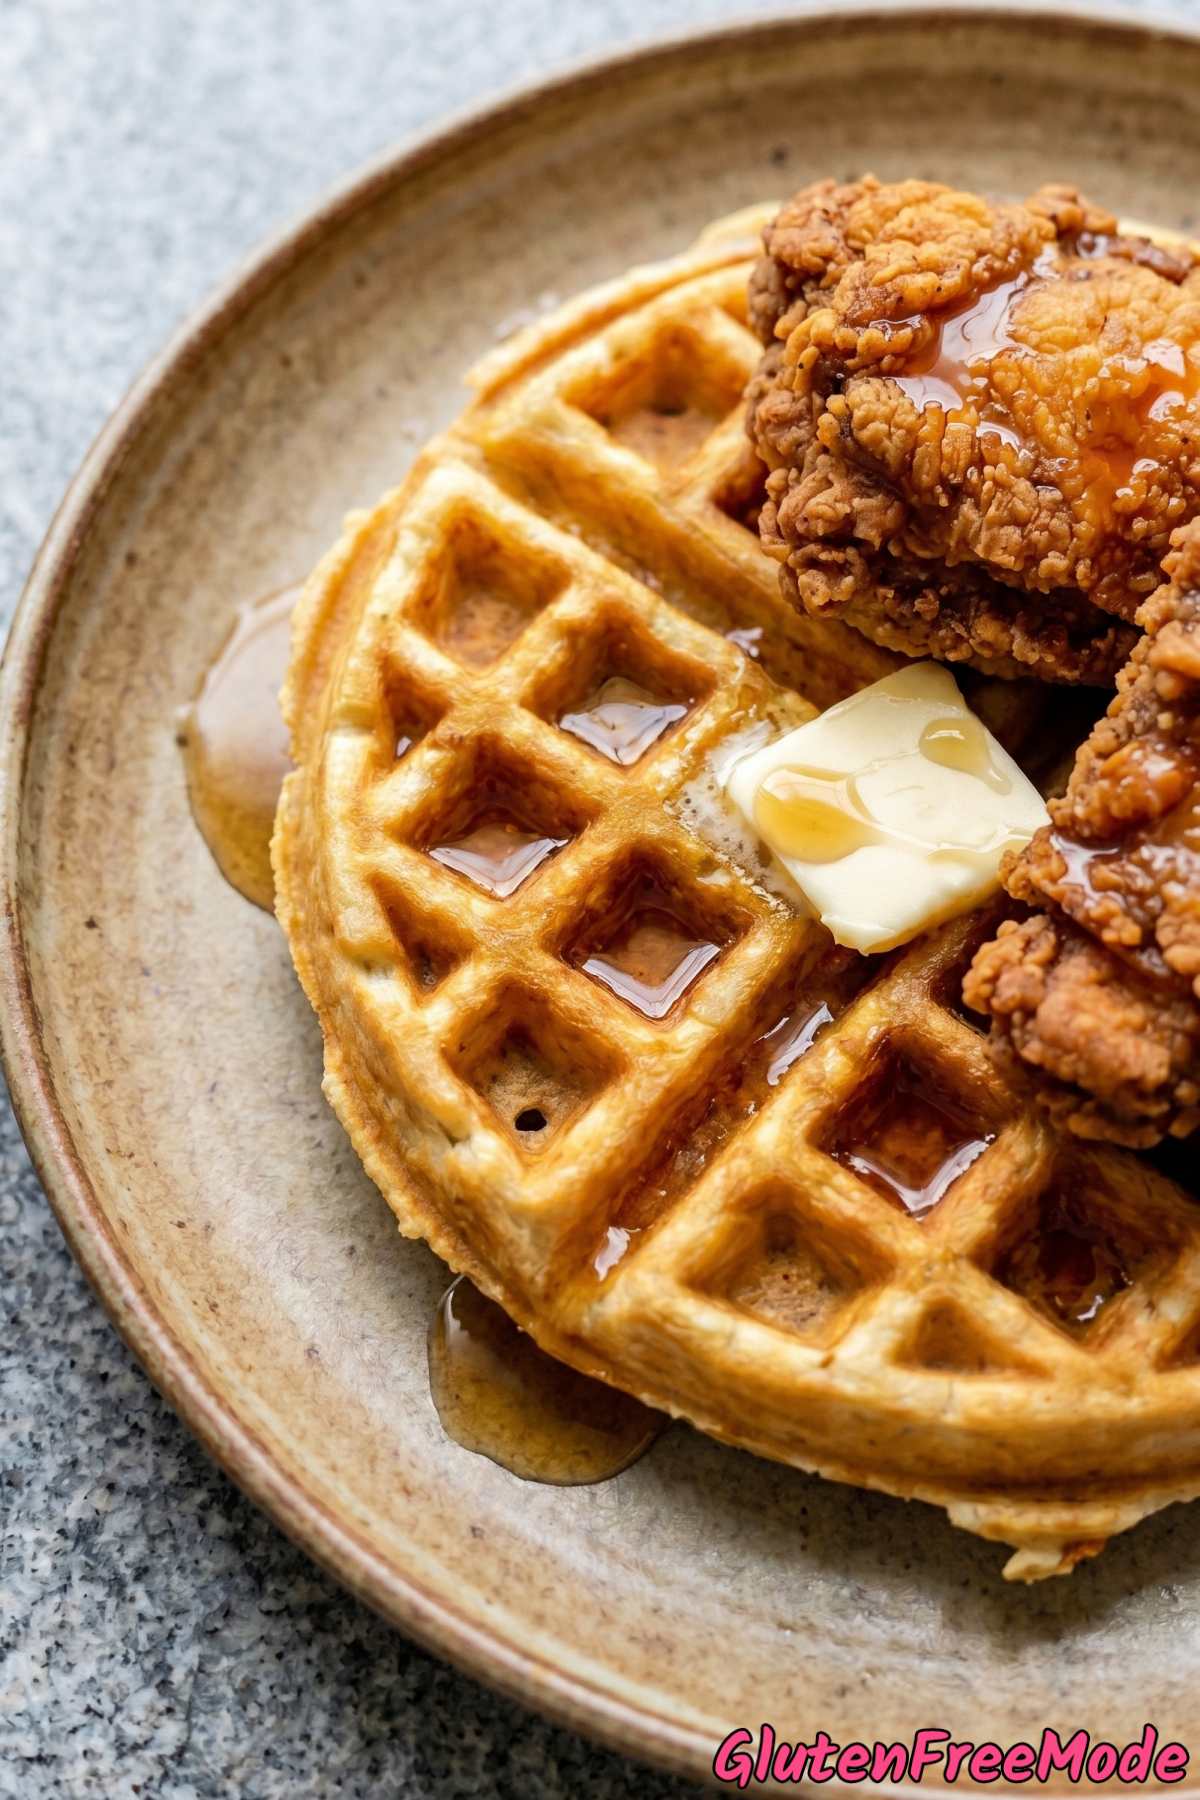
Waffles That Actually Taste Amazing – These golden waffles are light and fluffy on the inside with crispy edges that hold up beautifully under the chicken.
Ingredients
For the Waffles
- 1.5 cups Gluten Free 1-to-1 Baking Flour
- 2 tbsp Sugar
- 1 tbsp Baking Powder
- 1/4 tsp Salt
- 2 Large Eggs
- 1.25 cups Buttermilk
- 1/3 cup Butter, melted
- 1 tsp Vanilla Extract
For the Chicken
- 1.5 lb Boneless Skinless Chicken Thighs
- 1 cup Buttermilk
- 1 cup Rice Flour
- 1/2 cup Cornstarch
- 1 tsp Garlic Powder
- 1 tsp Smoked Paprika
- 1/2 tsp Cayenne Pepper
- 1 tsp Salt
- Oil for frying (vegetable or peanut)
For Serving
- Maple Syrup
- Hot Sauce (optional)
- Butter
How to Make
Step 1
Soak the chicken thighs in 1 cup of buttermilk in a bowl. Cover and refrigerate for at least 30 minutes while you prepare the waffles.
Step 2
Preheat your waffle iron. In a large bowl, whisk together the gluten free flour, sugar, baking powder, and salt. In a separate bowl, whisk the eggs, buttermilk, melted butter, and vanilla extract.
Pour the wet ingredients into the dry and stir until just combined. Do not overmix. Let the batter rest for 5 minutes.
Step 3
Cook the waffles according to your waffle iron’s instructions, using about 1/2 cup of batter per waffle. Cook until golden and crispy. Keep the finished waffles warm in a 200 degree F oven on a wire rack.
Step 4
While the waffles cook, prepare the chicken. In a large bowl, whisk together the rice flour, cornstarch, garlic powder, smoked paprika, cayenne pepper, and salt. Remove the chicken from the buttermilk, letting the excess drip off, then dredge each piece in the flour mixture, pressing firmly so the coating adheres well.
Step 5
Heat about 2 inches of oil in a large heavy-bottomed pot or Dutch oven to 350 degrees F. Fry the chicken in batches for 6 to 7 minutes, turning once halfway through, until deeply golden brown and the internal temperature reaches 165 degrees F. Transfer to a wire rack.
Step 6
Serve each waffle topped with fried chicken, a pat of butter, and a generous drizzle of maple syrup. Add a dash of hot sauce if desired.
My Tips
Soak the Chicken Longer if You Can
The recipe says at least 30 minutes in buttermilk, but if you have time, let it soak for a few hours or even overnight. The buttermilk tenderizes the chicken and helps the coating stick way better.
Chicken thighs are already juicier than breasts, and a longer soak makes them even more tender and flavorful on the inside.
Just make sure to keep it covered in the fridge the entire time.
Double Dredge for a Crunchier Coating
After you dredge the chicken in the rice flour mixture the first time, dip it back into the buttermilk and then into the flour mixture again. This double layer is what gives you that thick, crunchy crust that stays crispy even after you drizzle syrup on it.
When you’re pressing the flour onto the chicken, really pack it on. Gluten free coatings don’t cling as easily as regular flour, so you need to be a little more aggressive with pressing it in.
Keep Your Oil Temperature Steady
Use a thermometer and keep the oil right at 350 degrees F. If it drops too low, the coating absorbs oil and gets greasy instead of crispy. If it’s too hot, the outside burns before the inside cooks through.
Every time you add a new batch of chicken, the oil temperature drops. Wait for it to come back up to 350 before adding the next batch. And don’t crowd the pot – fry 2 or 3 pieces at a time so the temperature stays consistent.
More Tasty Recipes
- Gluten Free Crispy Belgian Waffles
- Gluten Free Crispy Fried Chicken
- Gluten Free Crispy Chicken Tenders
- Gluten Free Pancakes
- Gluten Free Biscuits & Sausage Gravy
FAQ
Can I use chicken breasts instead of thighs?
You can, but chicken thighs work better here because they stay juicier after frying. Breast meat tends to dry out more quickly, especially with the high heat of frying.
If you do go with breasts, try slicing them into thinner cutlets so they cook evenly and stay tender on the inside.
Gluten Free Chicken & Waffles
Equipment
- waffle iron
- Dutch oven
- deep-fry thermometer
- wire rack
Ingredients
For the Waffles
- 1.5 cups Gluten Free 1-to-1 Baking Flour
- 2 tbsp Sugar
- 1 tbsp Baking Powder
- 1/4 tsp Salt
- 2 Large Eggs
- 1.25 cups Buttermilk
- 1/3 cup Butter, melted
- 1 tsp Vanilla Extract
For the Chicken
- 1.5 lb Boneless Skinless Chicken Thighs
- 1 cup Buttermilk
- 1 cup Rice Flour
- 1/2 cup Cornstarch
- 1 tsp Garlic Powder
- 1 tsp Smoked Paprika
- 1/2 tsp Cayenne Pepper
- 1 tsp Salt
- Oil for frying (vegetable or peanut)
For Serving
- Maple Syrup
- Hot Sauce (optional)
- Butter
Instructions
- Soak the chicken thighs in 1 cup of buttermilk in a bowl. Cover and refrigerate for at least 30 minutes while you prepare the waffles.
- Preheat your waffle iron. In a large bowl, whisk together the gluten free flour, sugar, baking powder, and salt. In a separate bowl, whisk the eggs, buttermilk, melted butter, and vanilla extract. Pour the wet ingredients into the dry and stir until just combined. Do not overmix. Let the batter rest for 5 minutes.
- Cook the waffles according to your waffle iron's instructions, using about 1/2 cup of batter per waffle. Cook until golden and crispy. Keep the finished waffles warm in a 200 degree F oven on a wire rack.
- While the waffles cook, prepare the chicken. In a large bowl, whisk together the rice flour, cornstarch, garlic powder, smoked paprika, cayenne pepper, and salt. Remove the chicken from the buttermilk, letting the excess drip off, then dredge each piece in the flour mixture, pressing firmly so the coating adheres well.
- Heat about 2 inches of oil in a large heavy-bottomed pot or Dutch oven to 350 degrees F. Fry the chicken in batches for 6 to 7 minutes, turning once halfway through, until deeply golden brown and the internal temperature reaches 165 degrees F. Transfer to a wire rack.
- Serve each waffle topped with fried chicken, a pat of butter, and a generous drizzle of maple syrup. Add a dash of hot sauce if desired.