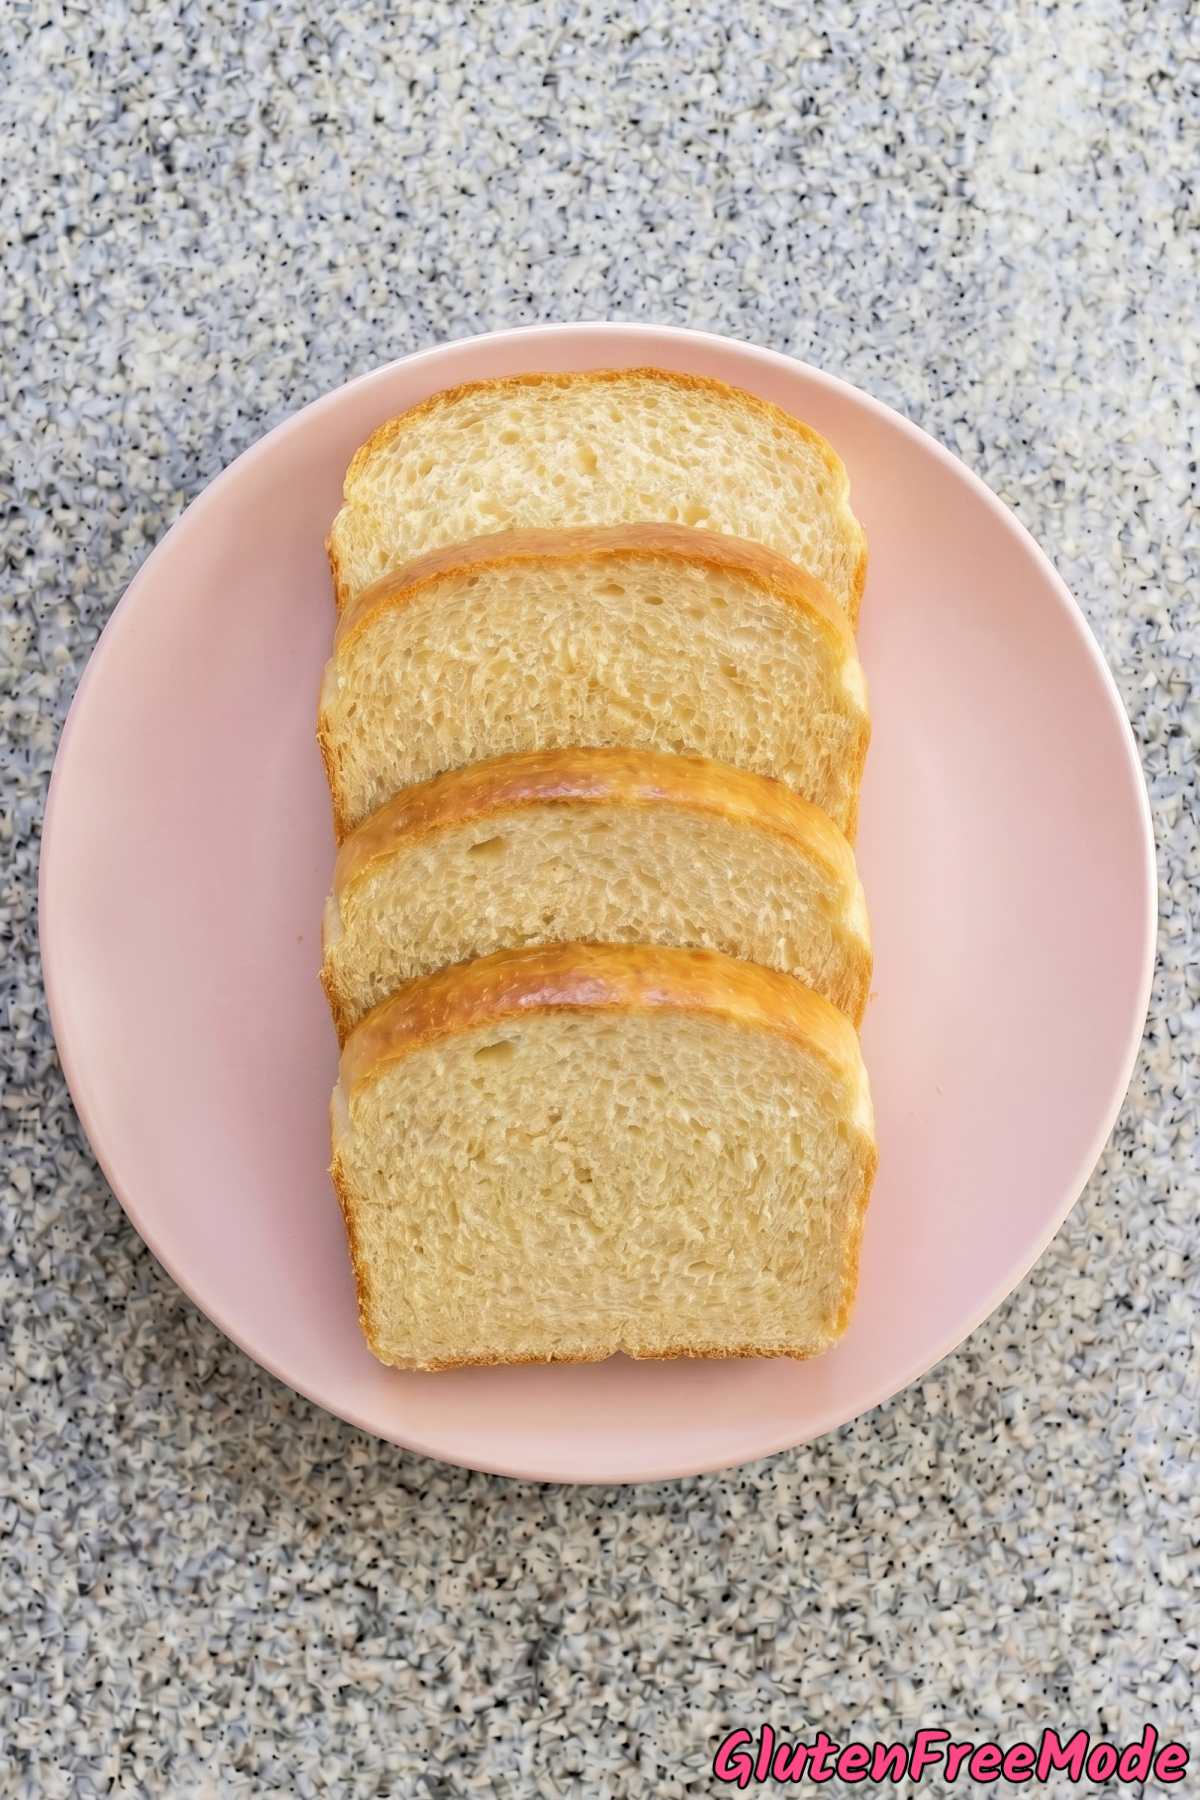
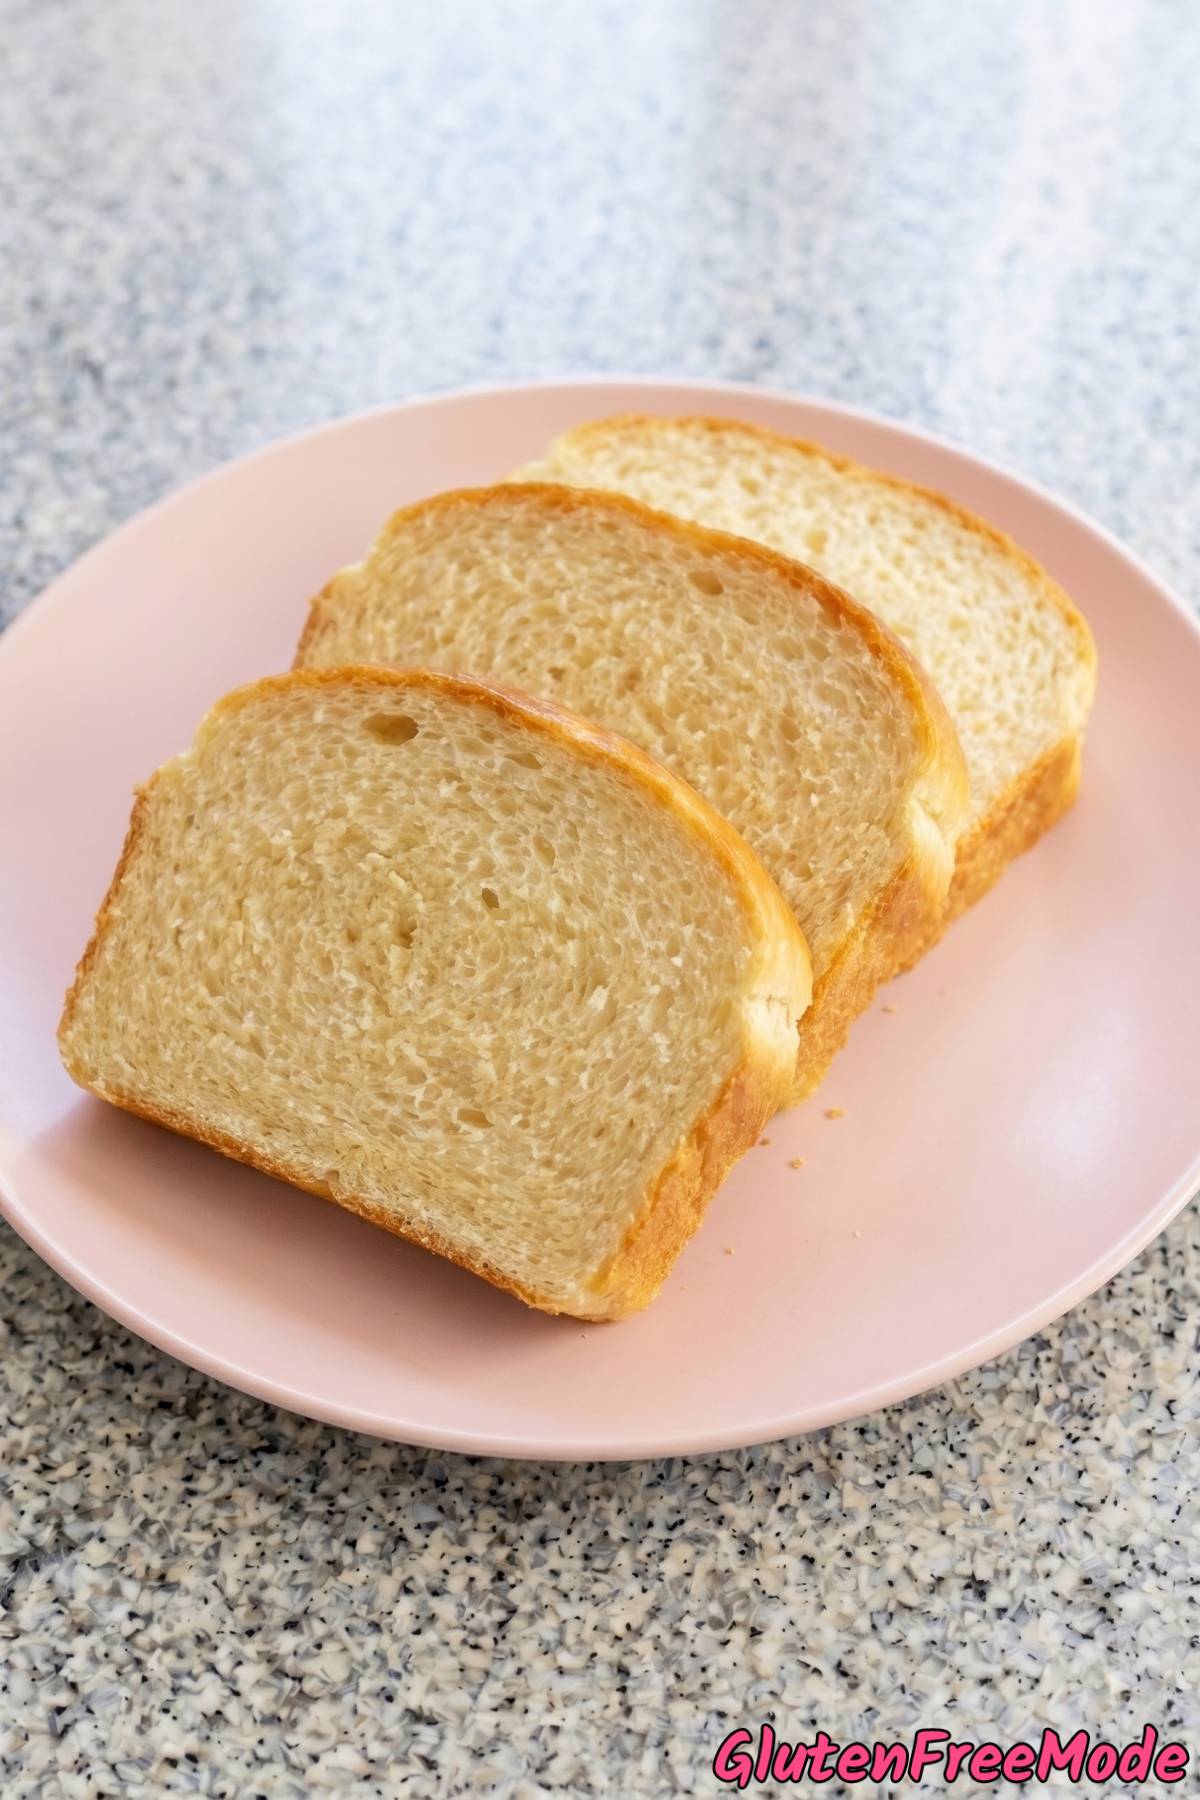
If you’ve been missing soft, fluffy white bread since going gluten free, this recipe is going to make your day. This gluten free milk bread is pillowy, slightly sweet, and pulls apart in the most satisfying way.
Milk bread is known for its incredibly tender crumb and light texture. It’s the kind of bread that makes you want to eat slice after slice, and this version delivers all of that without any gluten.
The dough comes together easily in one bowl. No kneading, no fancy equipment. Just mix, shape into balls, and let them rise in the pan.
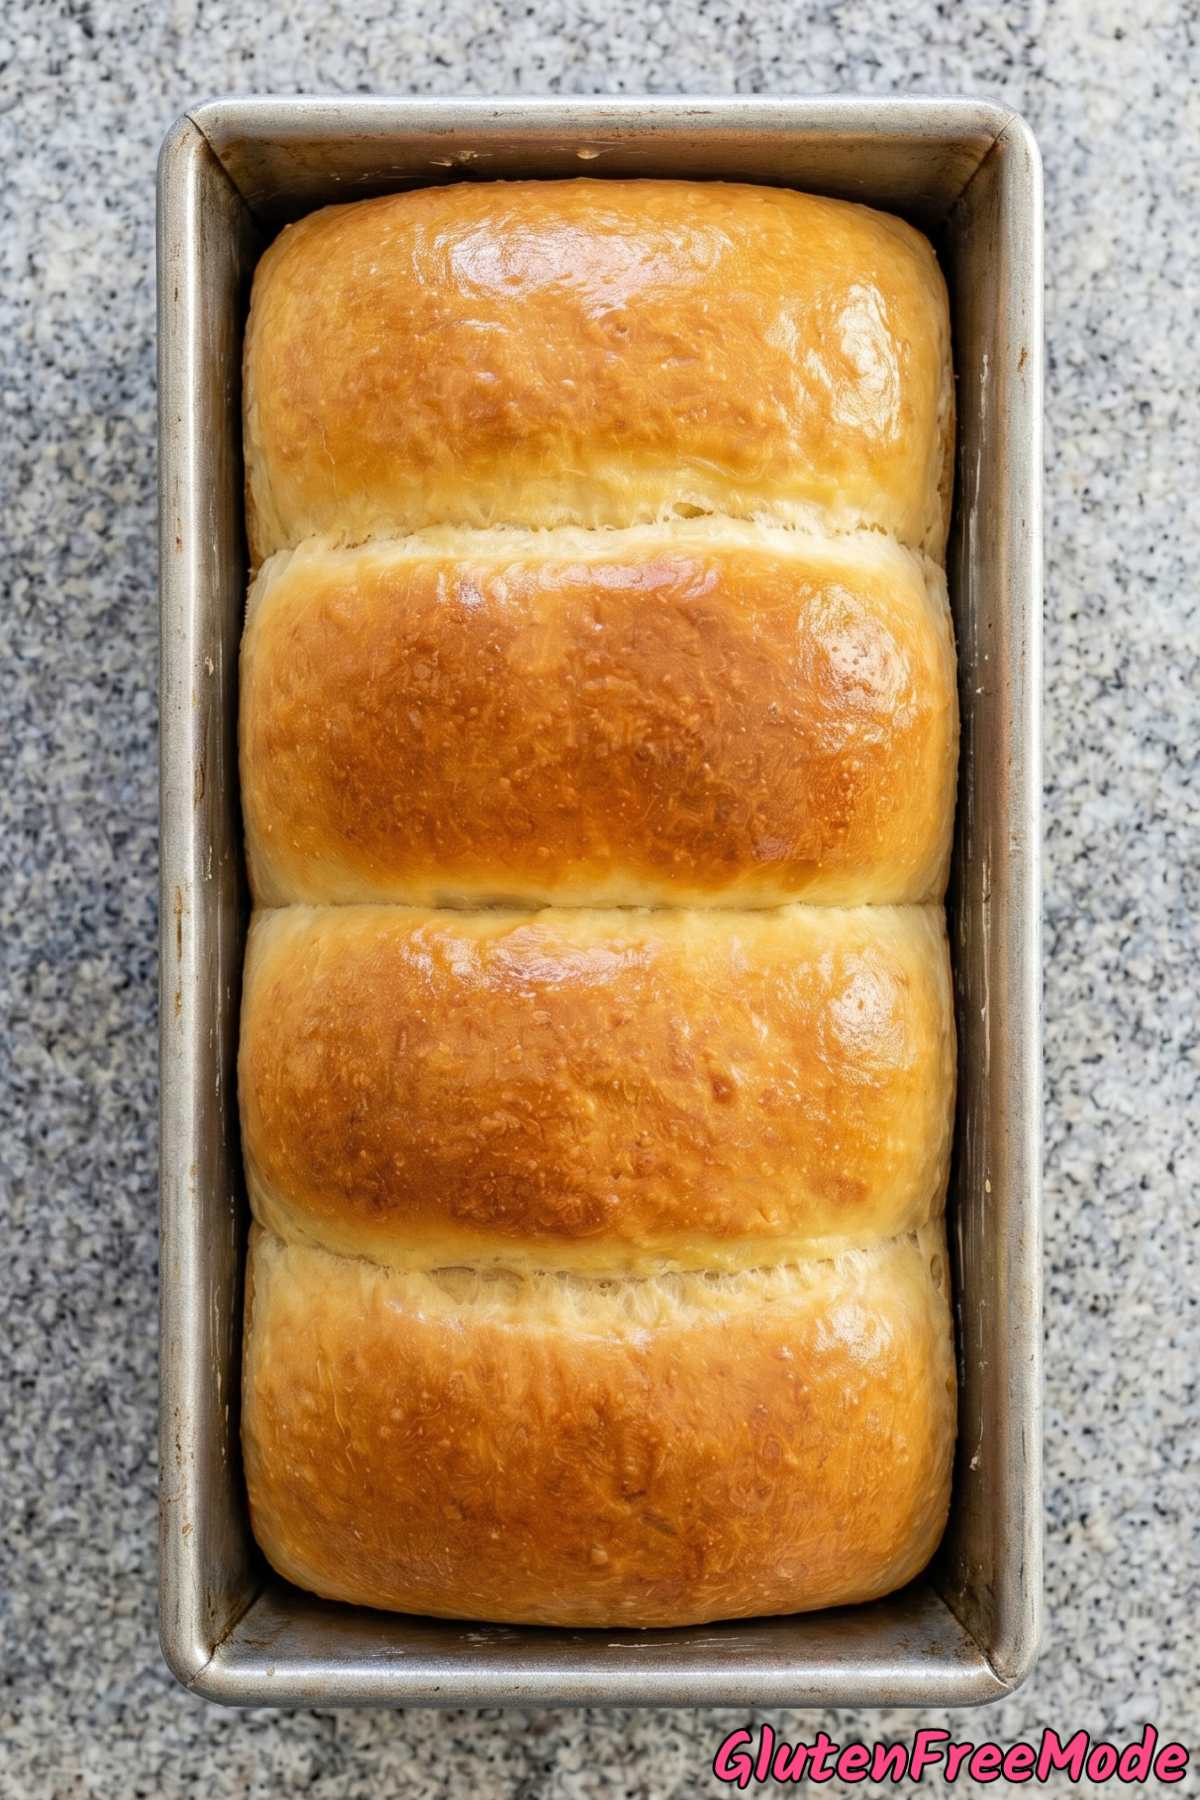
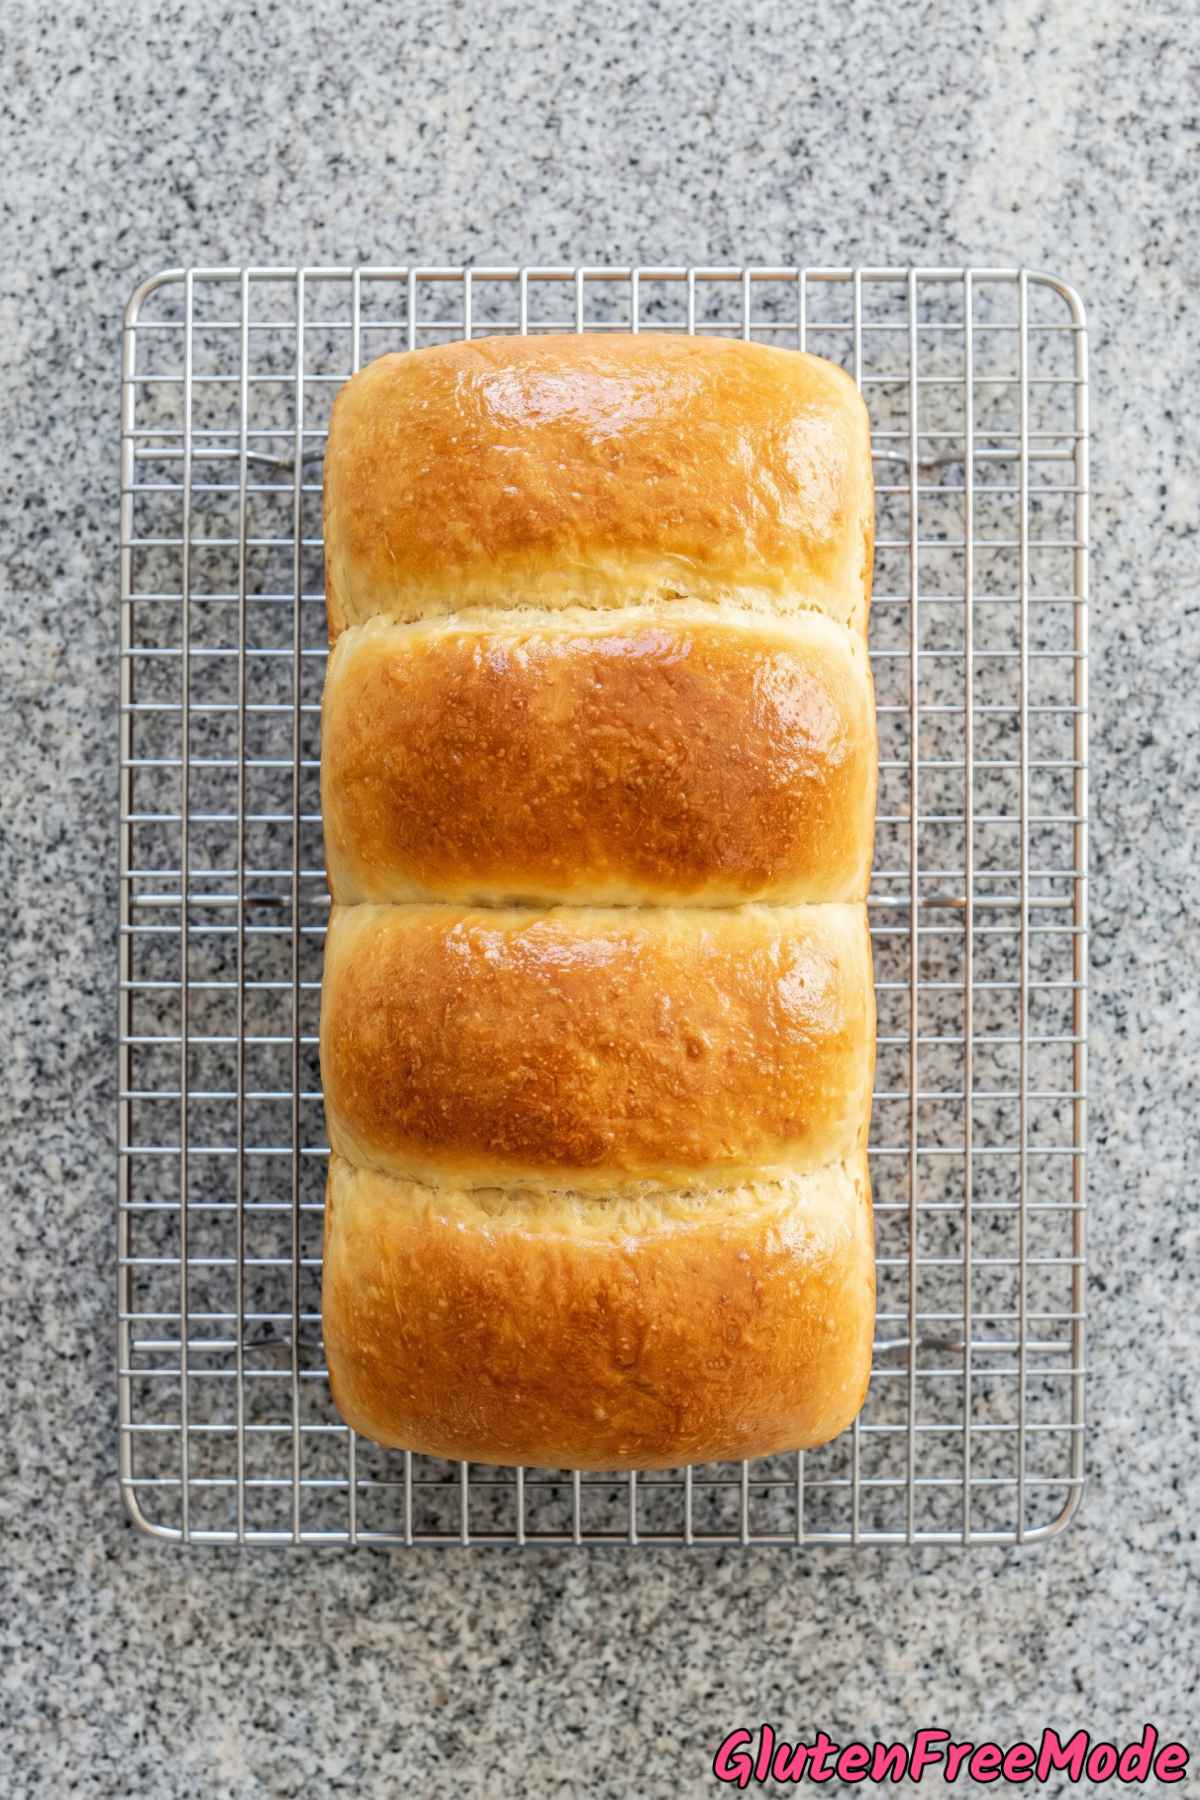
Once baked, the top gets golden brown and buttery while the inside stays soft and cloud-like. It’s honestly hard to believe it’s gluten free.
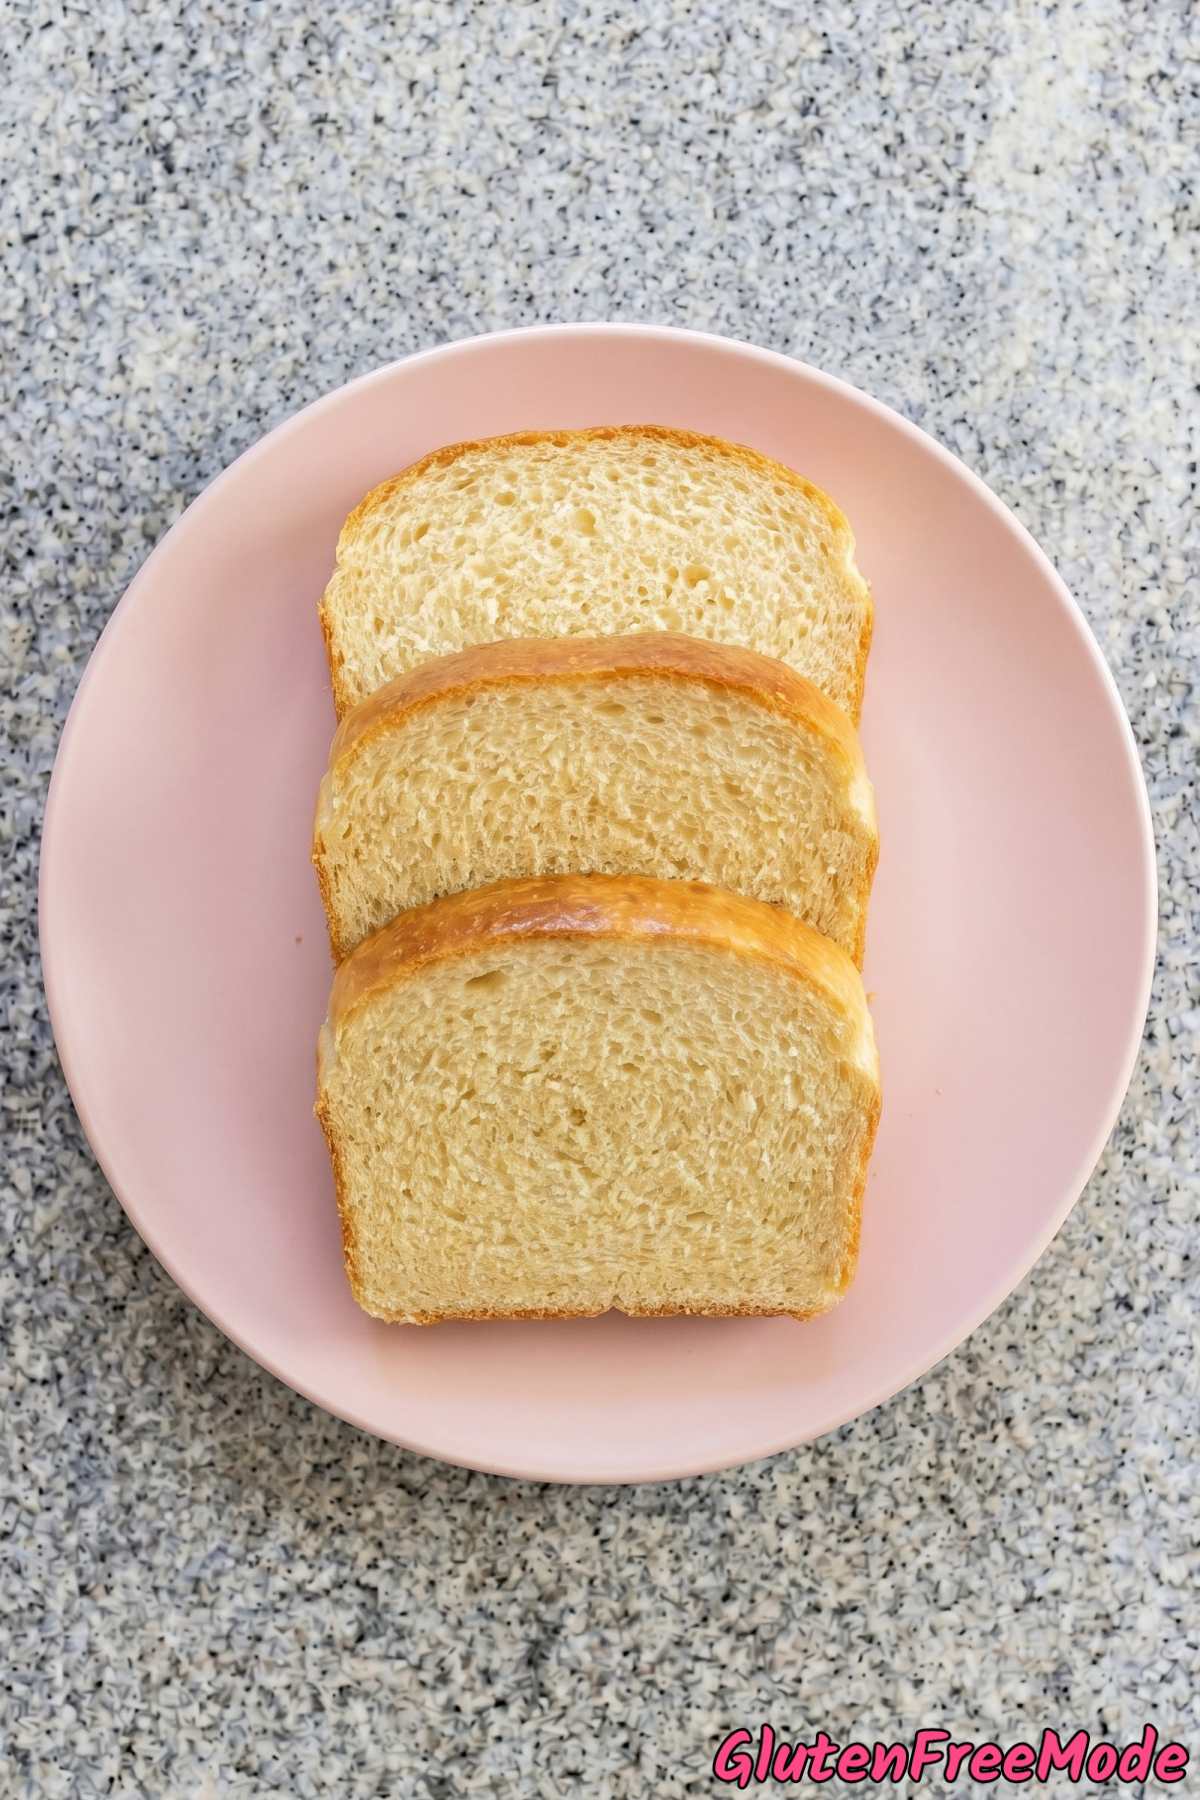
This bread is great on its own, perfect for sandwiches, and amazing as toast with a little butter and jam. It’s one of those recipes you’ll keep coming back to.
Why You’ll Love This Recipe
Incredibly Soft and Fluffy – This bread has a pillowy tender crumb that rivals any traditional milk bread you have ever tasted.
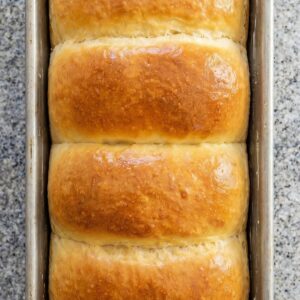
Beautiful Pull-Apart Sections – The four shaped dough balls bake together into gorgeous pull-apart rolls that look absolutely bakery-worthy.
No Gummy Texture – The combination of tapioca starch and psyllium husk gives this loaf a light airy structure without that dense gummy feel.
Ingredients
- 2 1/2 cups Gluten Free 1-to-1 Baking Flour
- 1/4 cup Tapioca Starch
- 2 tsp Psyllium Husk Powder
- 1 1/4 tsp Salt
- 1 packet (2 1/4 tsp) Active Dry Yeast
- 3 tbsp Granulated Sugar
- 3/4 cup Whole Milk (warmed to 110 F)
- 2 Large Eggs (room temperature)
- 3 tbsp Unsalted Butter (melted and cooled)
- 1/4 cup Heavy Cream
- 1 tsp Apple Cider Vinegar
For the Topping
- 1 tbsp Unsalted Butter (melted)
How to Make
Step 1
In a small bowl, combine the warm milk, 1 teaspoon of the sugar, and yeast. Stir gently and let sit for 8 to 10 minutes until foamy and bubbly.
Step 2
In a large bowl, whisk together the gluten free flour, tapioca starch, psyllium husk powder, remaining sugar, and salt.
Step 3
Add the eggs, melted butter, heavy cream, and apple cider vinegar to the yeast mixture. Whisk until smooth, then pour into the dry ingredients. Stir vigorously with a wooden spoon for 2 to 3 minutes until a smooth, thick, sticky dough forms.
Step 4
Grease a 9×5 inch loaf pan. Divide the dough into 4 equal portions. With oiled hands, gently shape each portion into a smooth ball and place them side by side in the pan. This creates the signature pull-apart sections of milk bread.
Cover loosely with greased plastic wrap and let rise in a warm spot for 50 to 65 minutes, until the dough has risen above the rim of the pan.
Step 5
Preheat the oven to 350 F. Bake for 32 to 38 minutes, until the top is golden brown and the internal temperature reaches 200 F. Tent with foil during the last 10 minutes if the top is browning too quickly.
Step 6
Remove from the oven and immediately brush the top with the melted butter. Let the bread cool in the pan for 10 minutes, then turn out onto a wire rack. Allow it to cool for at least 20 minutes before slicing. The crumb will be incredibly soft, fluffy, and slightly sweet.
My Tips
Get the Milk Temperature Right
The warm milk needs to be around 110 F to activate the yeast properly. If it’s too hot, it will kill the yeast and your bread won’t rise at all. If it’s too cool, the yeast will barely wake up.
If you don’t have a thermometer, test it on the inside of your wrist. It should feel warm but comfortable, like bath water for a baby. If it stings or feels hot, let it cool down a bit before adding the yeast.
Once you add the yeast and that teaspoon of sugar, give it the full 8 to 10 minutes. You want to see a nice foamy layer on top before moving on. If nothing happens after 10 minutes, your yeast is dead and you’ll need to start over with a fresh packet.
Oil Your Hands When Shaping the Dough
Gluten free dough is way stickier than regular dough. If you try to shape the balls with dry or floured hands, the dough will stick to everything and you’ll end up with a mess.
Use a neutral oil like vegetable or canola oil and coat your hands generously. Re-oil them between each ball if they start getting sticky again. This makes shaping so much easier and gives you smooth, even portions.
Don’t worry about getting them perfectly round. As long as they’re roughly the same size and sitting snugly next to each other in the pan, they’ll even out as they rise.
Find a Warm Spot for Rising
Gluten free dough can be slow to rise, so where you put it matters. A warm, draft-free spot makes a big difference. A good trick is to turn your oven on to its lowest setting for about 2 minutes, then turn it off and place the covered pan inside.
You want the dough to rise above the rim of the pan. If your kitchen is cold, it might take closer to 65 minutes or even a little longer. Don’t rush it by putting it somewhere too hot because that can cause the dough to rise unevenly and then collapse in the oven.
More Tasty Recipes
- Gluten Free Everyday Sandwich Loaf
- Gluten Free Fluffy Dinner Rolls
- Gluten Free Brioche Style Burger Buns
- Gluten Free Honey Oat Sandwich Bread
- Gluten Free Banana Bread
FAQ
Can I use a different gluten free flour blend instead of 1-to-1 baking flour?
You can try another gluten free all-purpose blend, but results will vary depending on the brand and whether it contains xanthan gum. A 1-to-1 blend is ideal here because it already includes a binding agent, which helps give the bread its soft, fluffy structure.
If your blend doesn’t contain xanthan gum, you may need to add about 1 teaspoon to prevent the bread from being too crumbly. Avoid using single-ingredient flours like almond or coconut flour, as they behave very differently and won’t give you a proper bread texture.
Gluten Free Milk Bread
Equipment
- 9x5 inch loaf pan
- wire rack
Ingredients
- 2 1/2 cups Gluten Free 1-to-1 Baking Flour
- 1/4 cup Tapioca Starch
- 2 tsp Psyllium Husk Powder
- 1 1/4 tsp Salt
- 1 packet (2 1/4 tsp) Active Dry Yeast
- 3 tbsp Granulated Sugar
- 3/4 cup Whole Milk (warmed to 110 F)
- 2 Large Eggs (room temperature)
- 3 tbsp Unsalted Butter (melted and cooled)
- 1/4 cup Heavy Cream
- 1 tsp Apple Cider Vinegar
For the Topping
- 1 tbsp Unsalted Butter (melted)
Instructions
- In a small bowl, combine the warm milk, 1 teaspoon of the sugar, and yeast. Stir gently and let sit for 8 to 10 minutes until foamy and bubbly.
- In a large bowl, whisk together the gluten free flour, tapioca starch, psyllium husk powder, remaining sugar, and salt.
- Add the eggs, melted butter, heavy cream, and apple cider vinegar to the yeast mixture. Whisk until smooth, then pour into the dry ingredients. Stir vigorously with a wooden spoon for 2 to 3 minutes until a smooth, thick, sticky dough forms.
- Grease a 9x5 inch loaf pan. Divide the dough into 4 equal portions. With oiled hands, gently shape each portion into a smooth ball and place them side by side in the pan. This creates the signature pull-apart sections of milk bread. Cover loosely with greased plastic wrap and let rise in a warm spot for 50 to 65 minutes, until the dough has risen above the rim of the pan.
- Preheat the oven to 350 F. Bake for 32 to 38 minutes, until the top is golden brown and the internal temperature reaches 200 F. Tent with foil during the last 10 minutes if the top is browning too quickly.
- Remove from the oven and immediately brush the top with the melted butter. Let the bread cool in the pan for 10 minutes, then turn out onto a wire rack. Allow it to cool for at least 20 minutes before slicing. The crumb will be incredibly soft, fluffy, and slightly sweet.