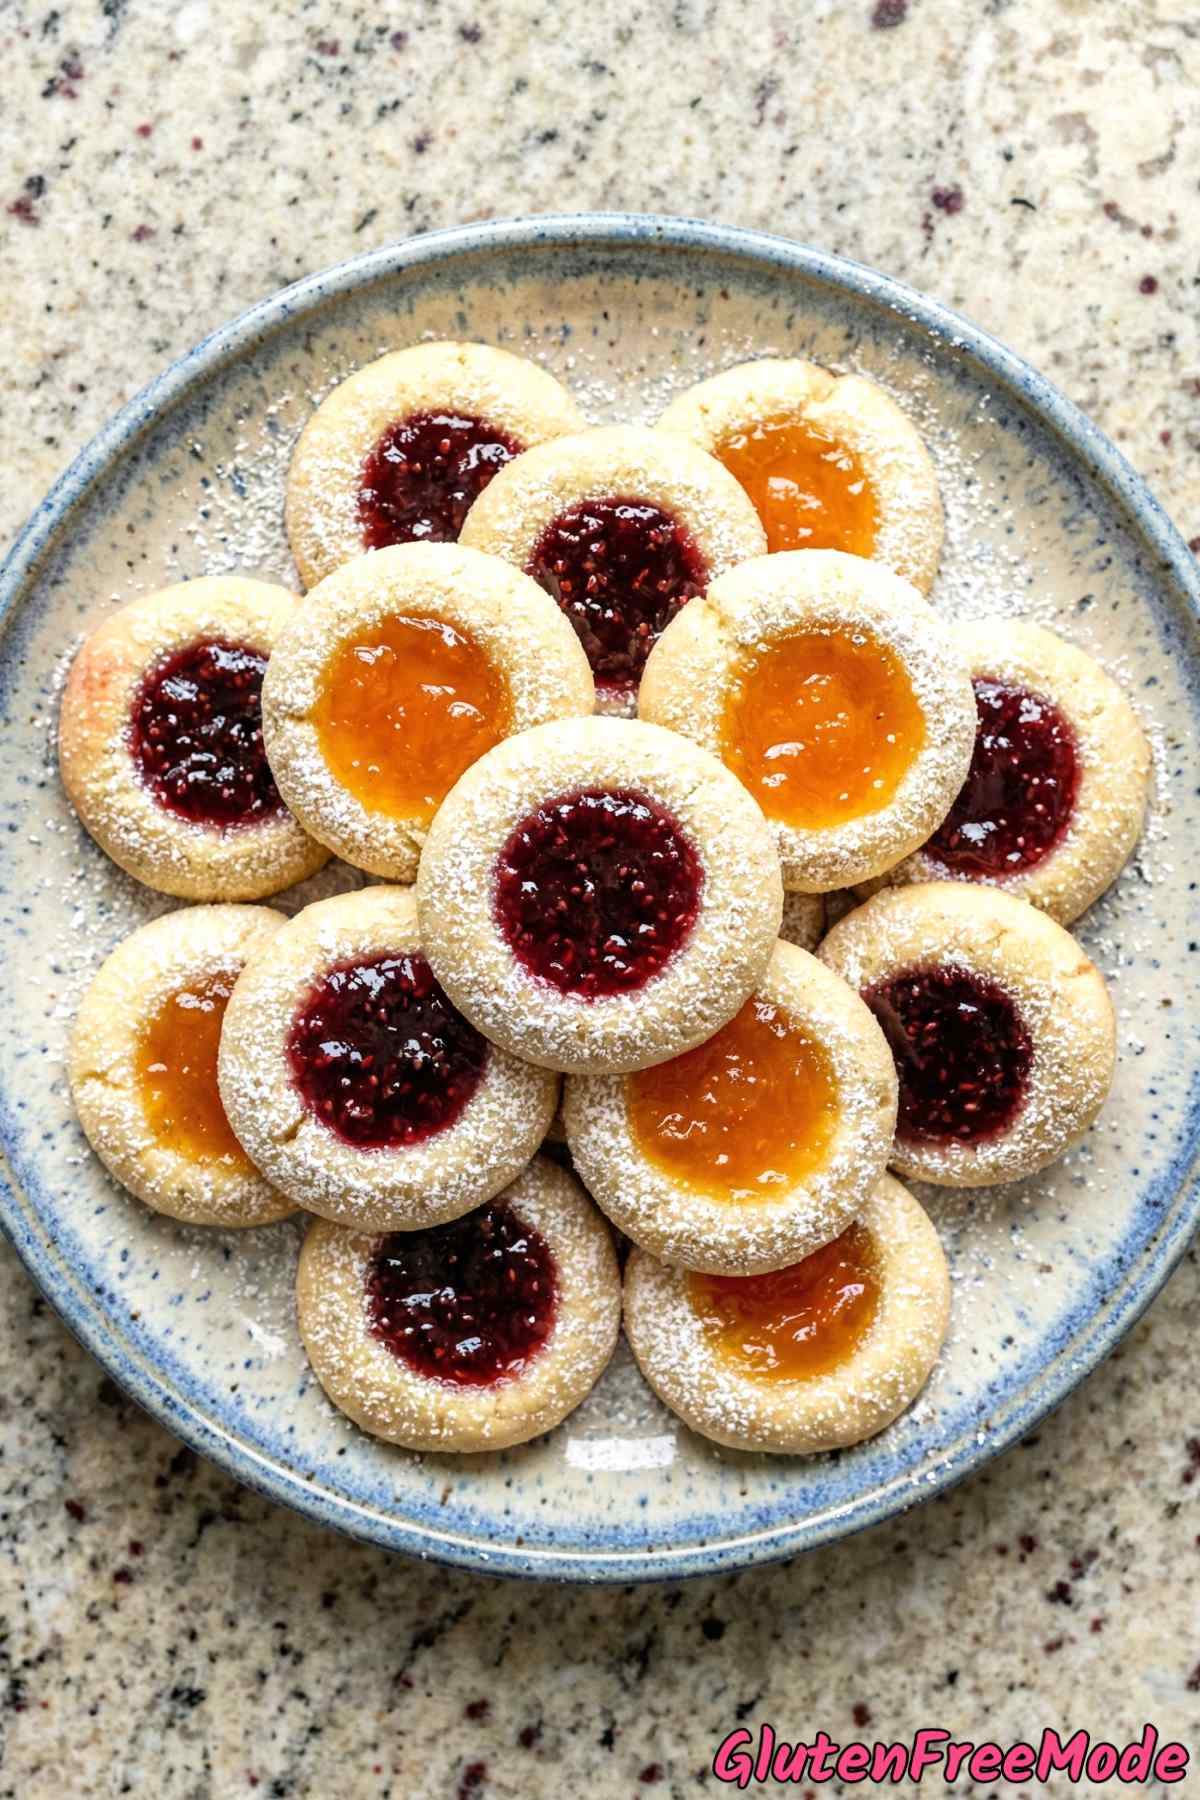
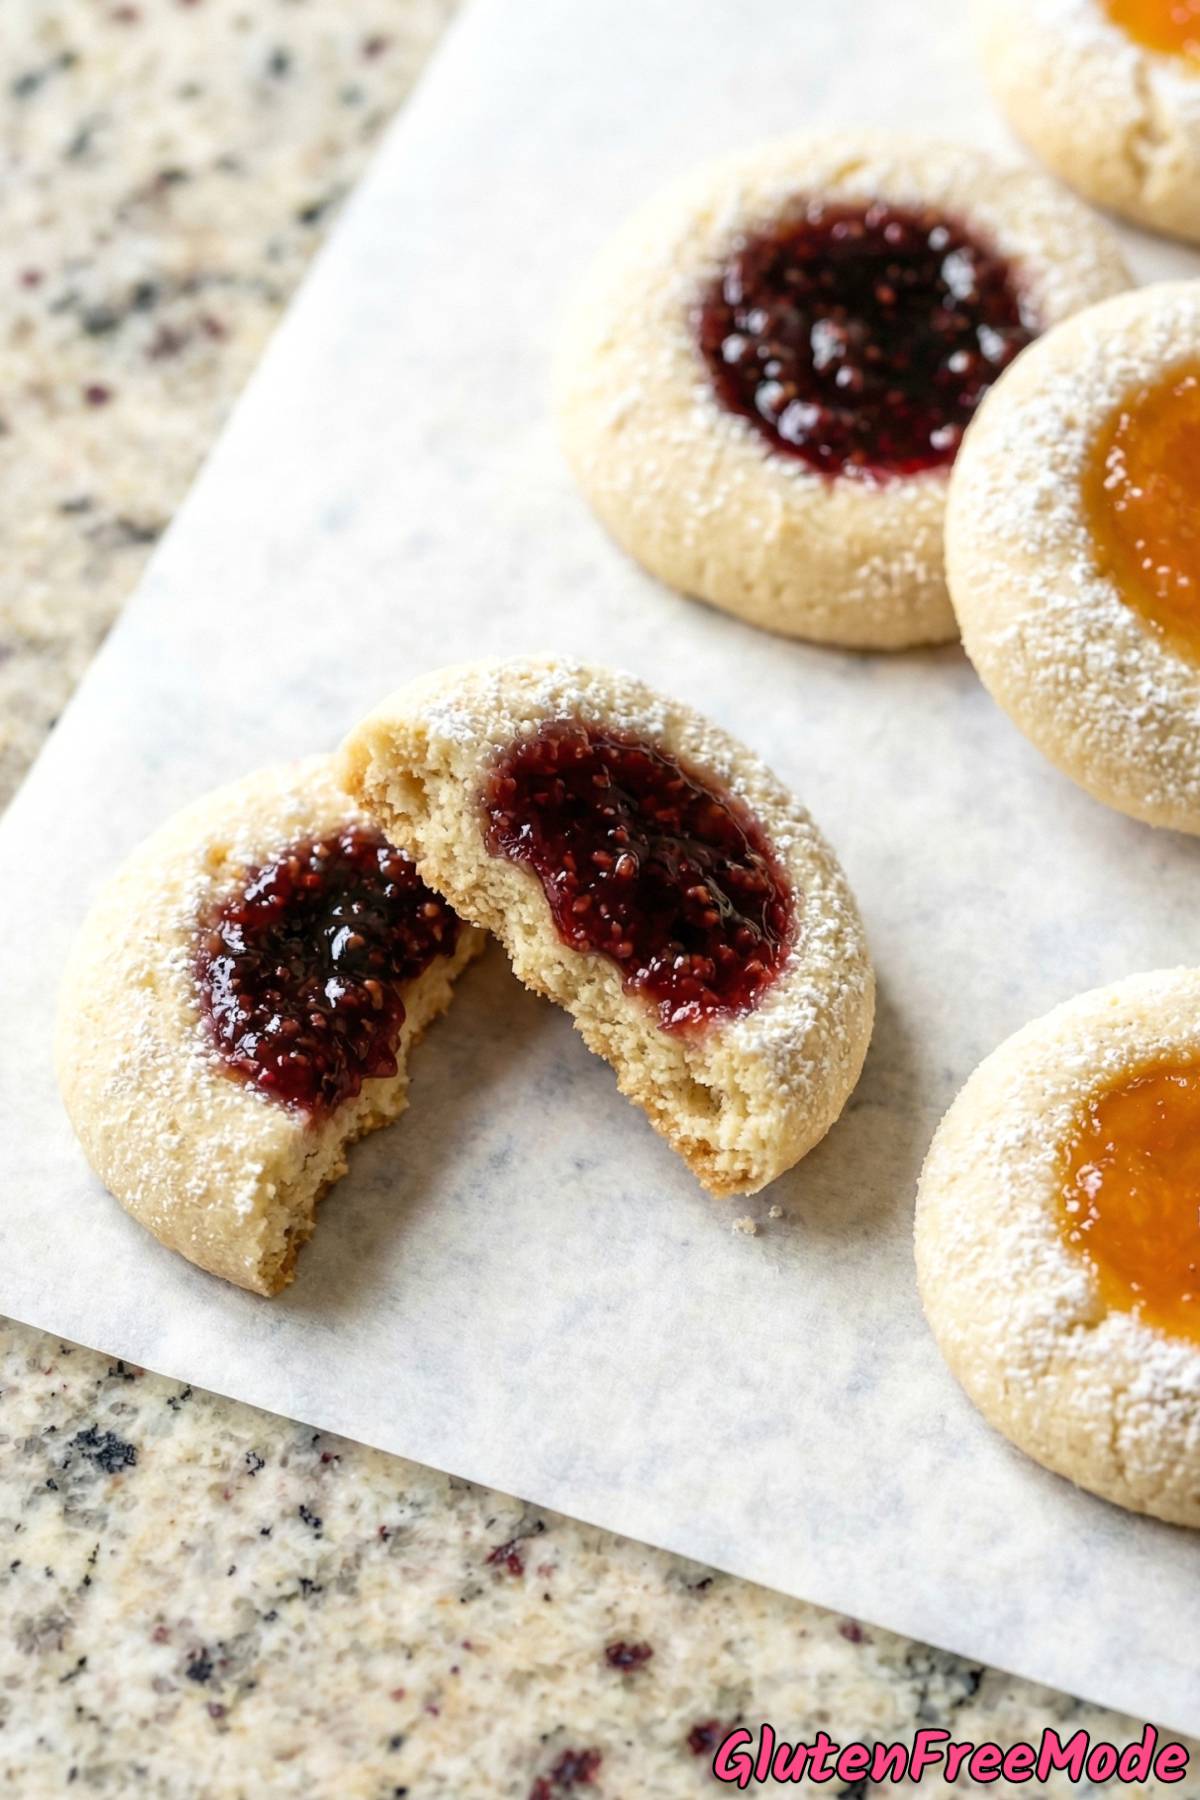
These gluten free thumbprint jam cookies are one of my favorite treats to make. They are buttery, soft, and filled with fruity jam right in the center.
If you have never made thumbprint cookies before, don’t worry. They are really simple. You roll the dough into small balls, press your thumb into each one, and fill it with jam. That’s basically it.
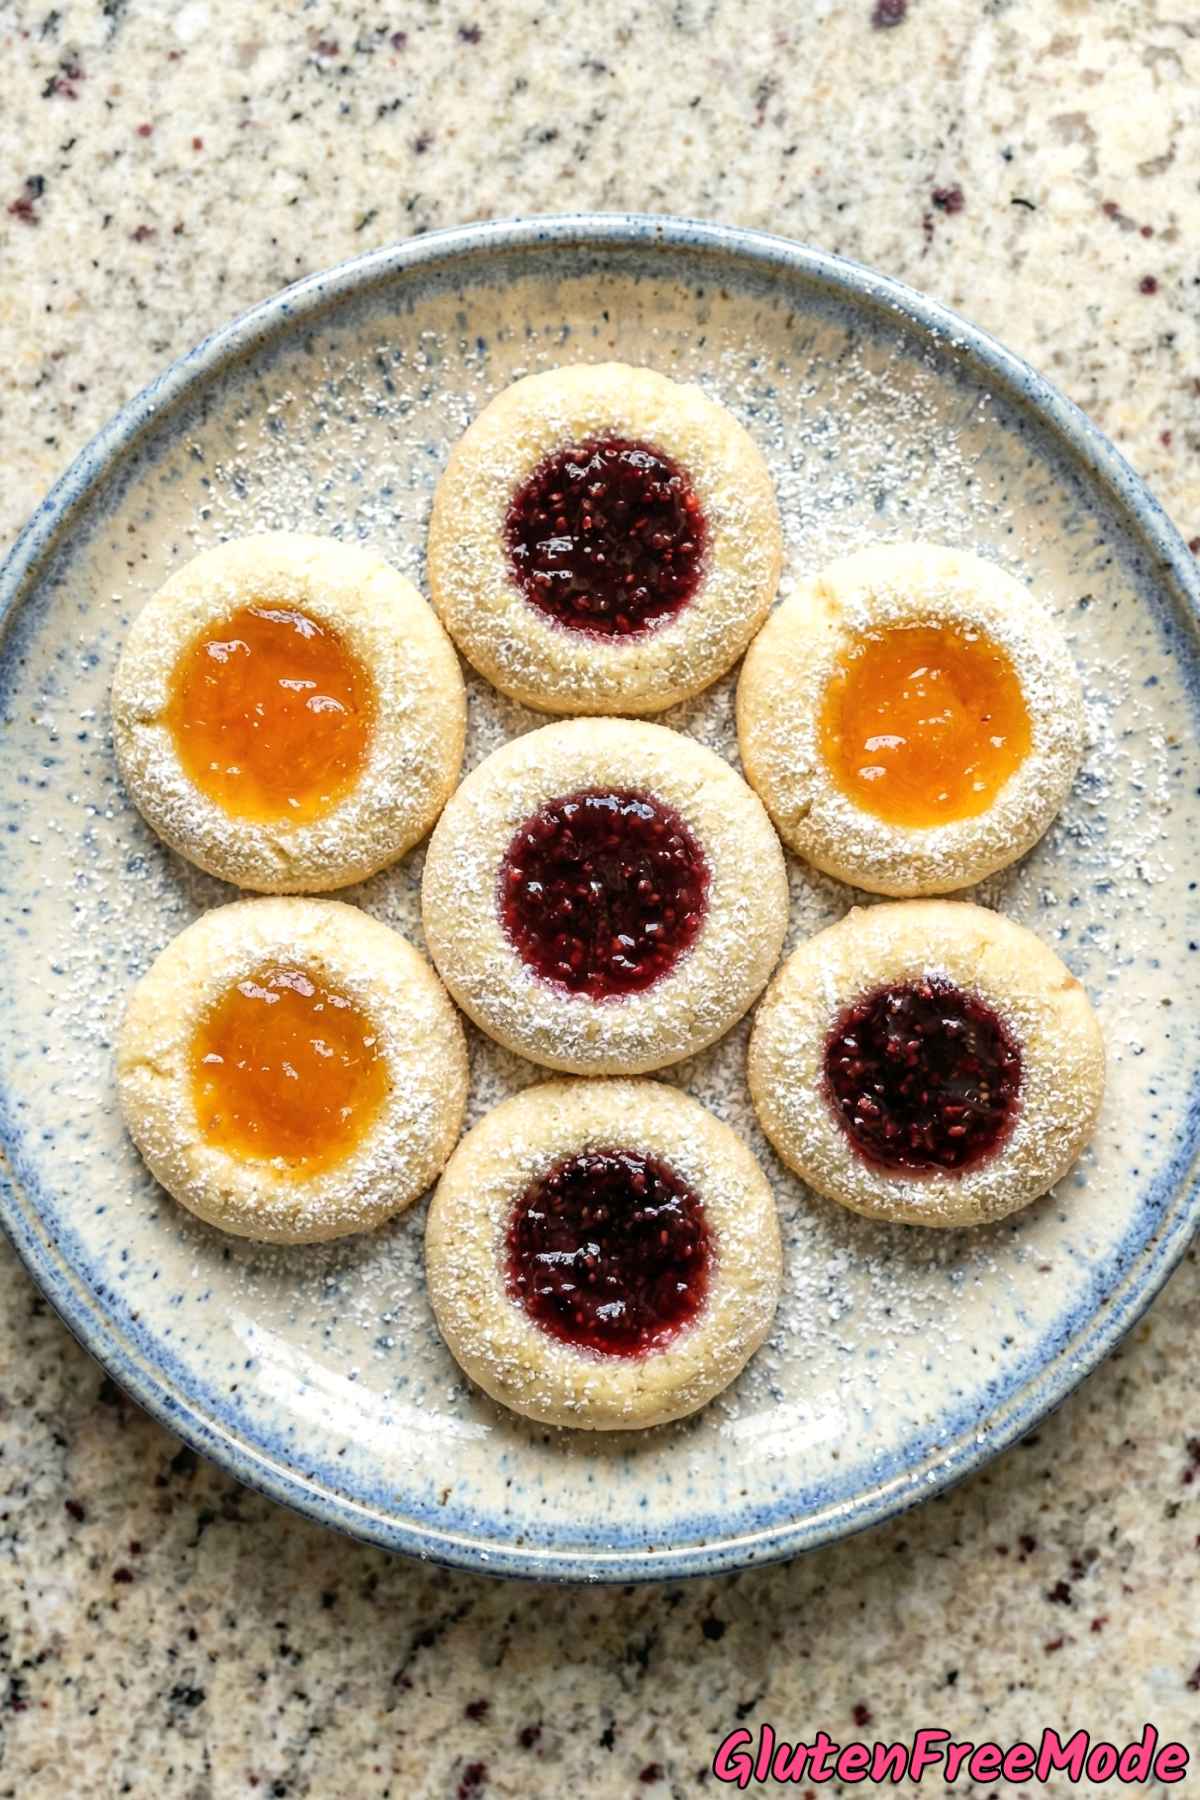
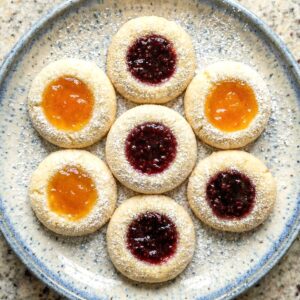
I use both raspberry and apricot jam for some variety, and the mix of colors looks so nice on a plate. You can use any jam you like though.
The best part is that these are completely gluten free, and nobody can tell the difference. They taste just as good as the classic version, if not better.
They are perfect for holidays, weekends, or anytime you want something sweet without spending hours in the kitchen. Let me show you how to make them.
Why You’ll Love This Recipe
They’re Gluten Free and Actually Delicious – These thumbprint cookies are made with gluten free 1-to-1 baking flour, so they taste just as buttery and tender as the classic version. Nobody will ever guess they’re gluten free.
Perfect Buttery Texture – A full cup of real unsalted butter gives these cookies an incredibly rich, melt-in-your-mouth texture. They’re soft, tender, and just the right amount of crumbly.
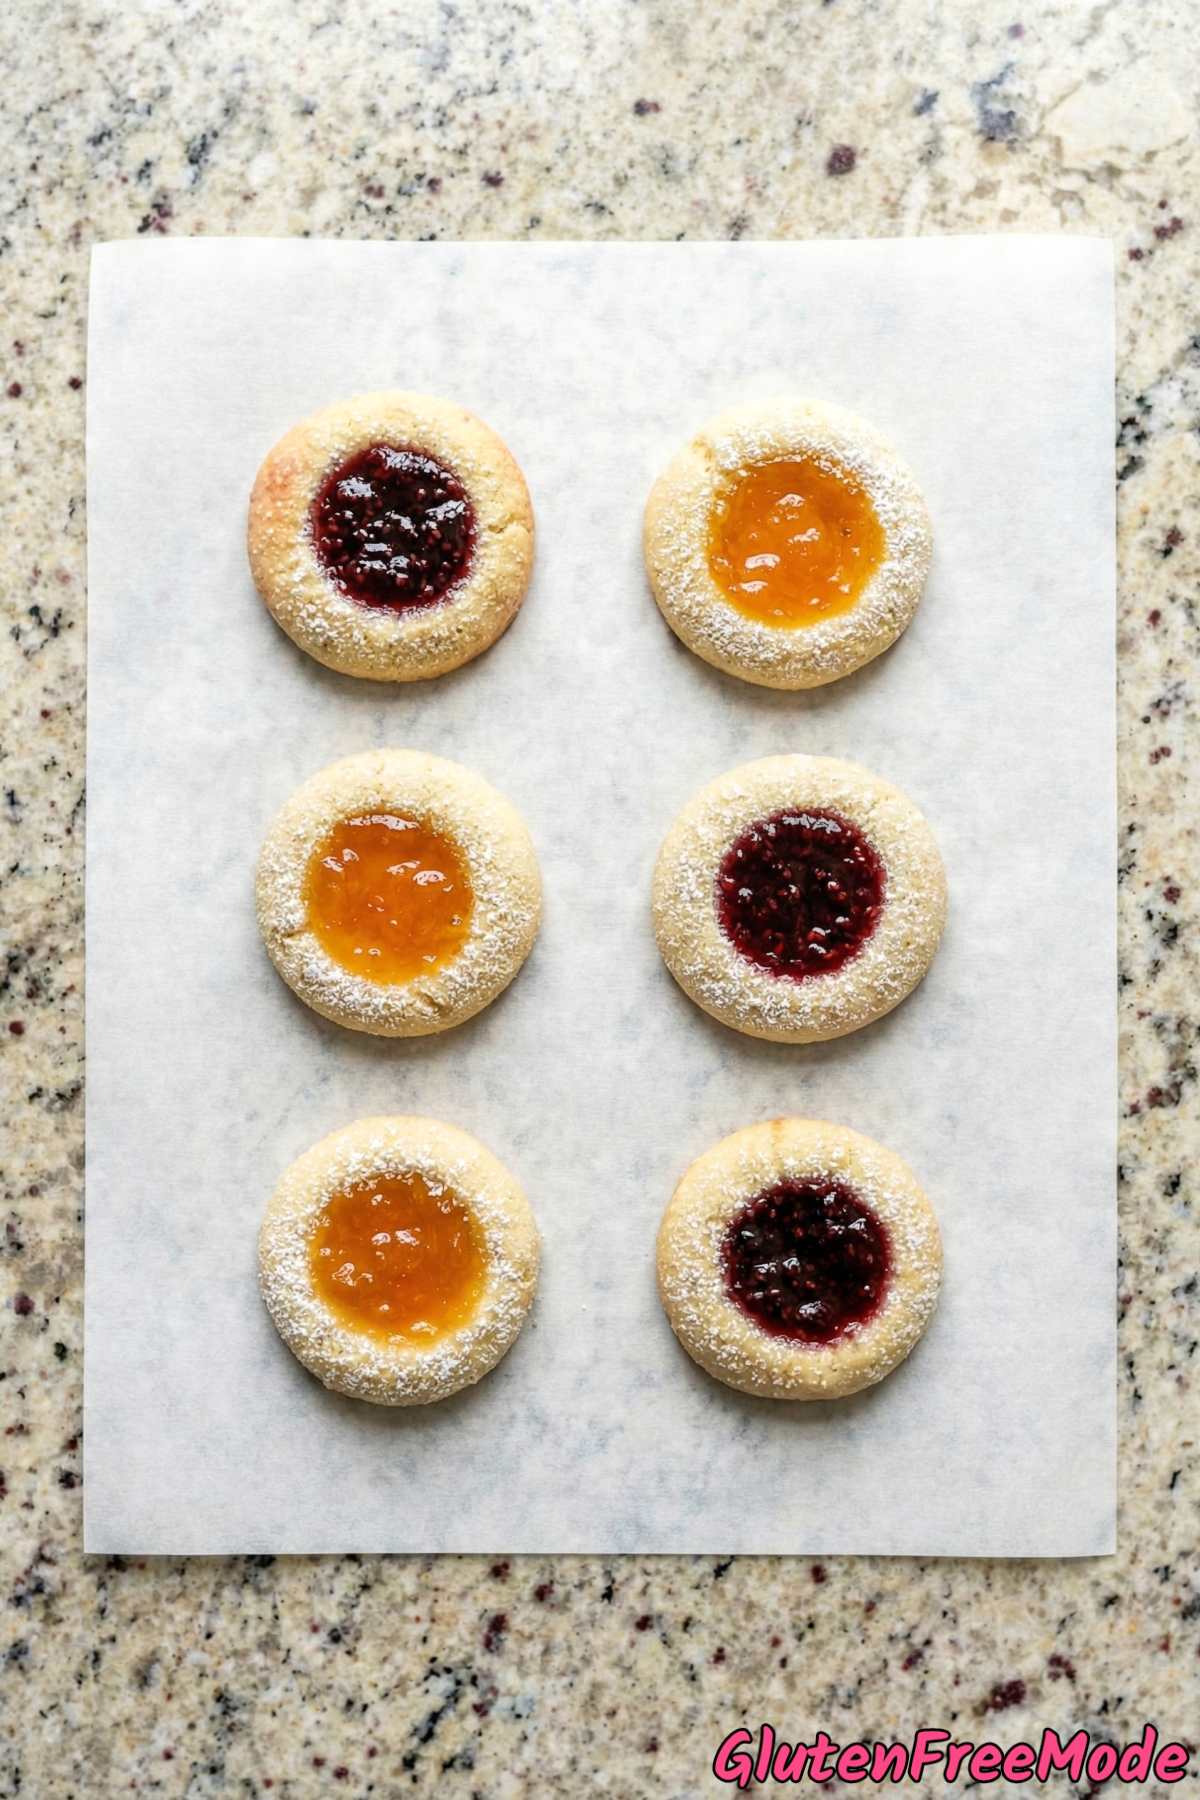
Two Jam Flavors in One Batch – Using both raspberry and apricot jam means you get a beautiful variety on your cookie tray without making two separate recipes. It also means everyone can pick their favorite flavor.
They Look Impressive With Almost No Effort – Between the golden edges, colorful jam centers, and a light dusting of powdered sugar, these cookies look like they came from a fancy bakery. But honestly, they’re super simple to put together.
Ingredients
- 1 cup Unsalted Butter, softened
- 1/2 cup Granulated Sugar
- 2 large Egg Yolks
- 1 tsp Vanilla Extract
- 2 cups Gluten Free 1-to-1 Baking Flour
- 1/4 tsp Salt
- 1/3 cup Raspberry Jam
- 1/3 cup Apricot Jam
- 1/2 cup Powdered Sugar for dusting
How to Make
Step 1
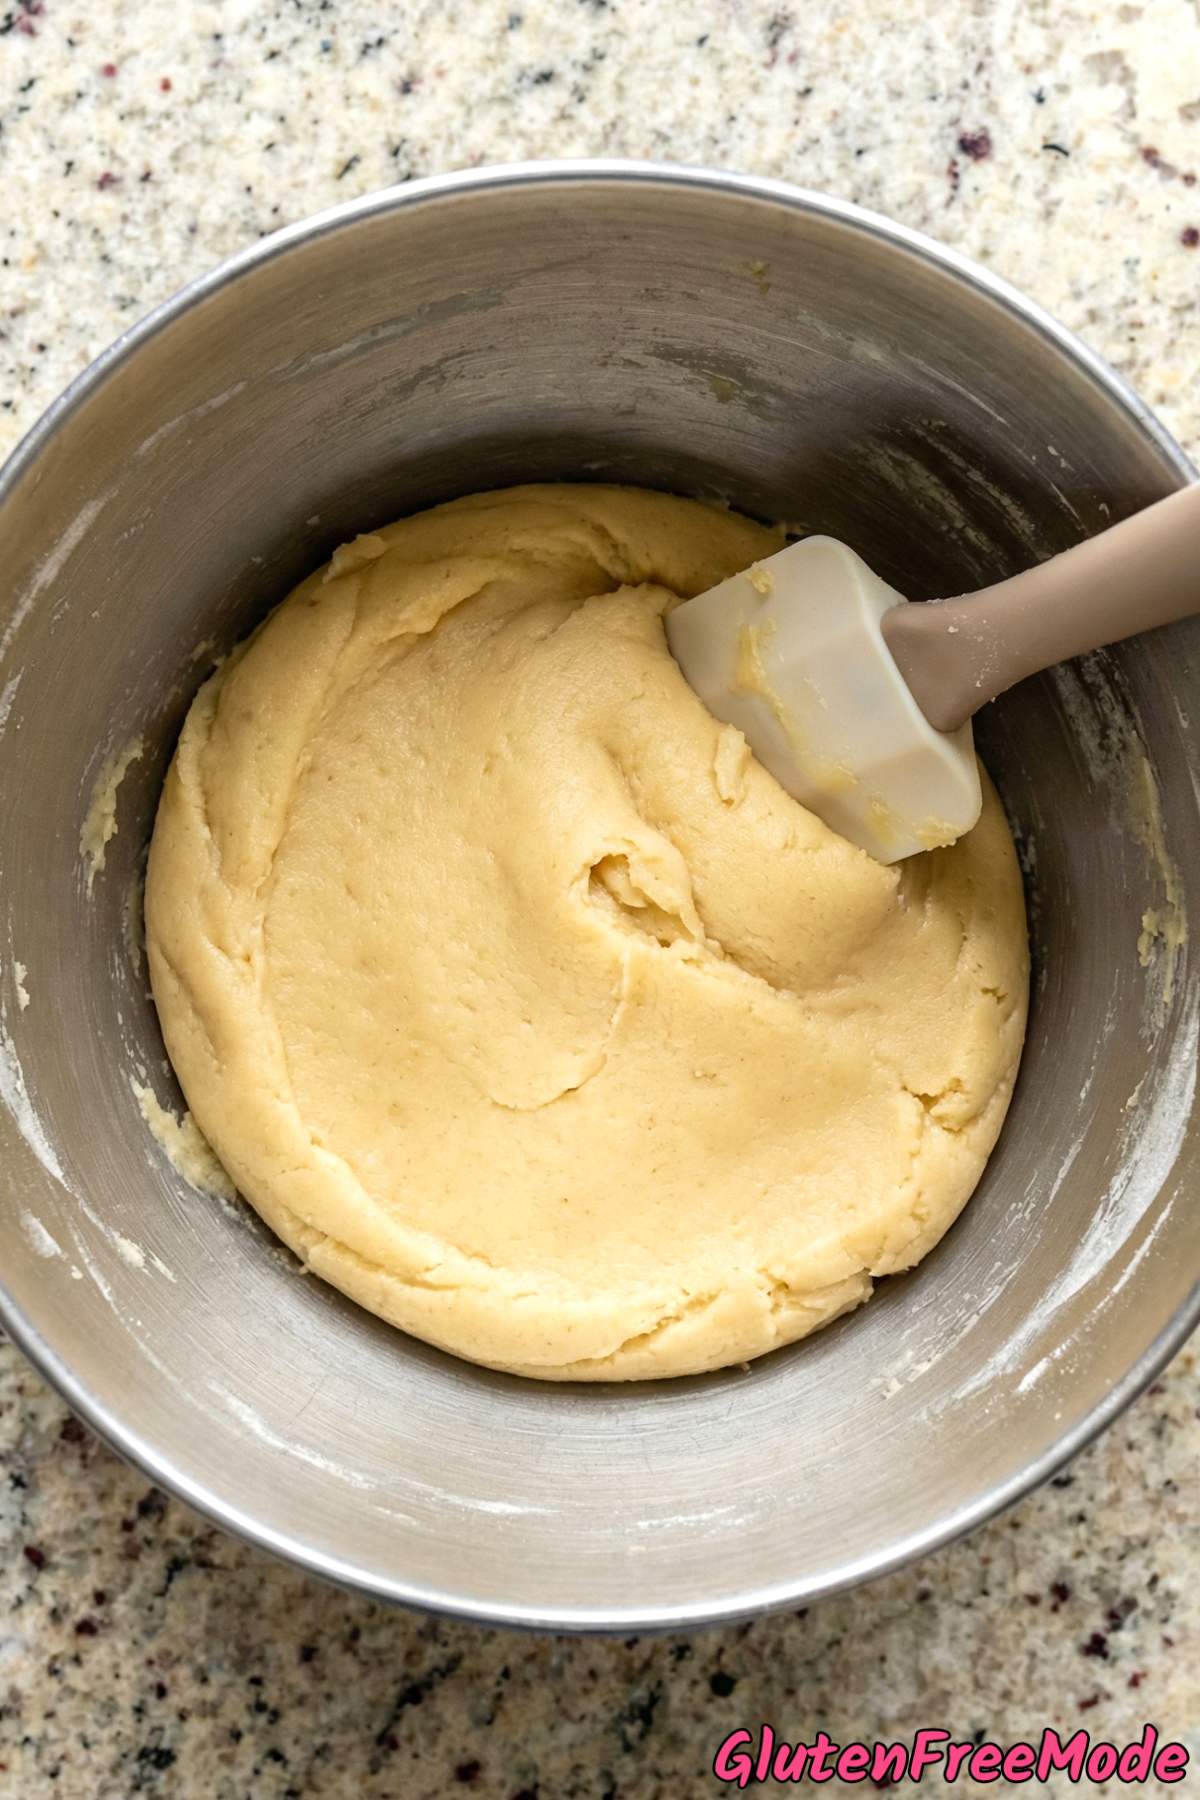
Preheat oven to 350F and line two baking sheets with parchment paper. Beat softened butter and granulated sugar together until light and fluffy, about 3 minutes. Beat in egg yolks and vanilla extract until combined.
Step 2
Add gluten free flour and salt to the butter mixture and stir until a smooth dough forms. If the dough feels too soft, refrigerate for 15 minutes.
Step 3
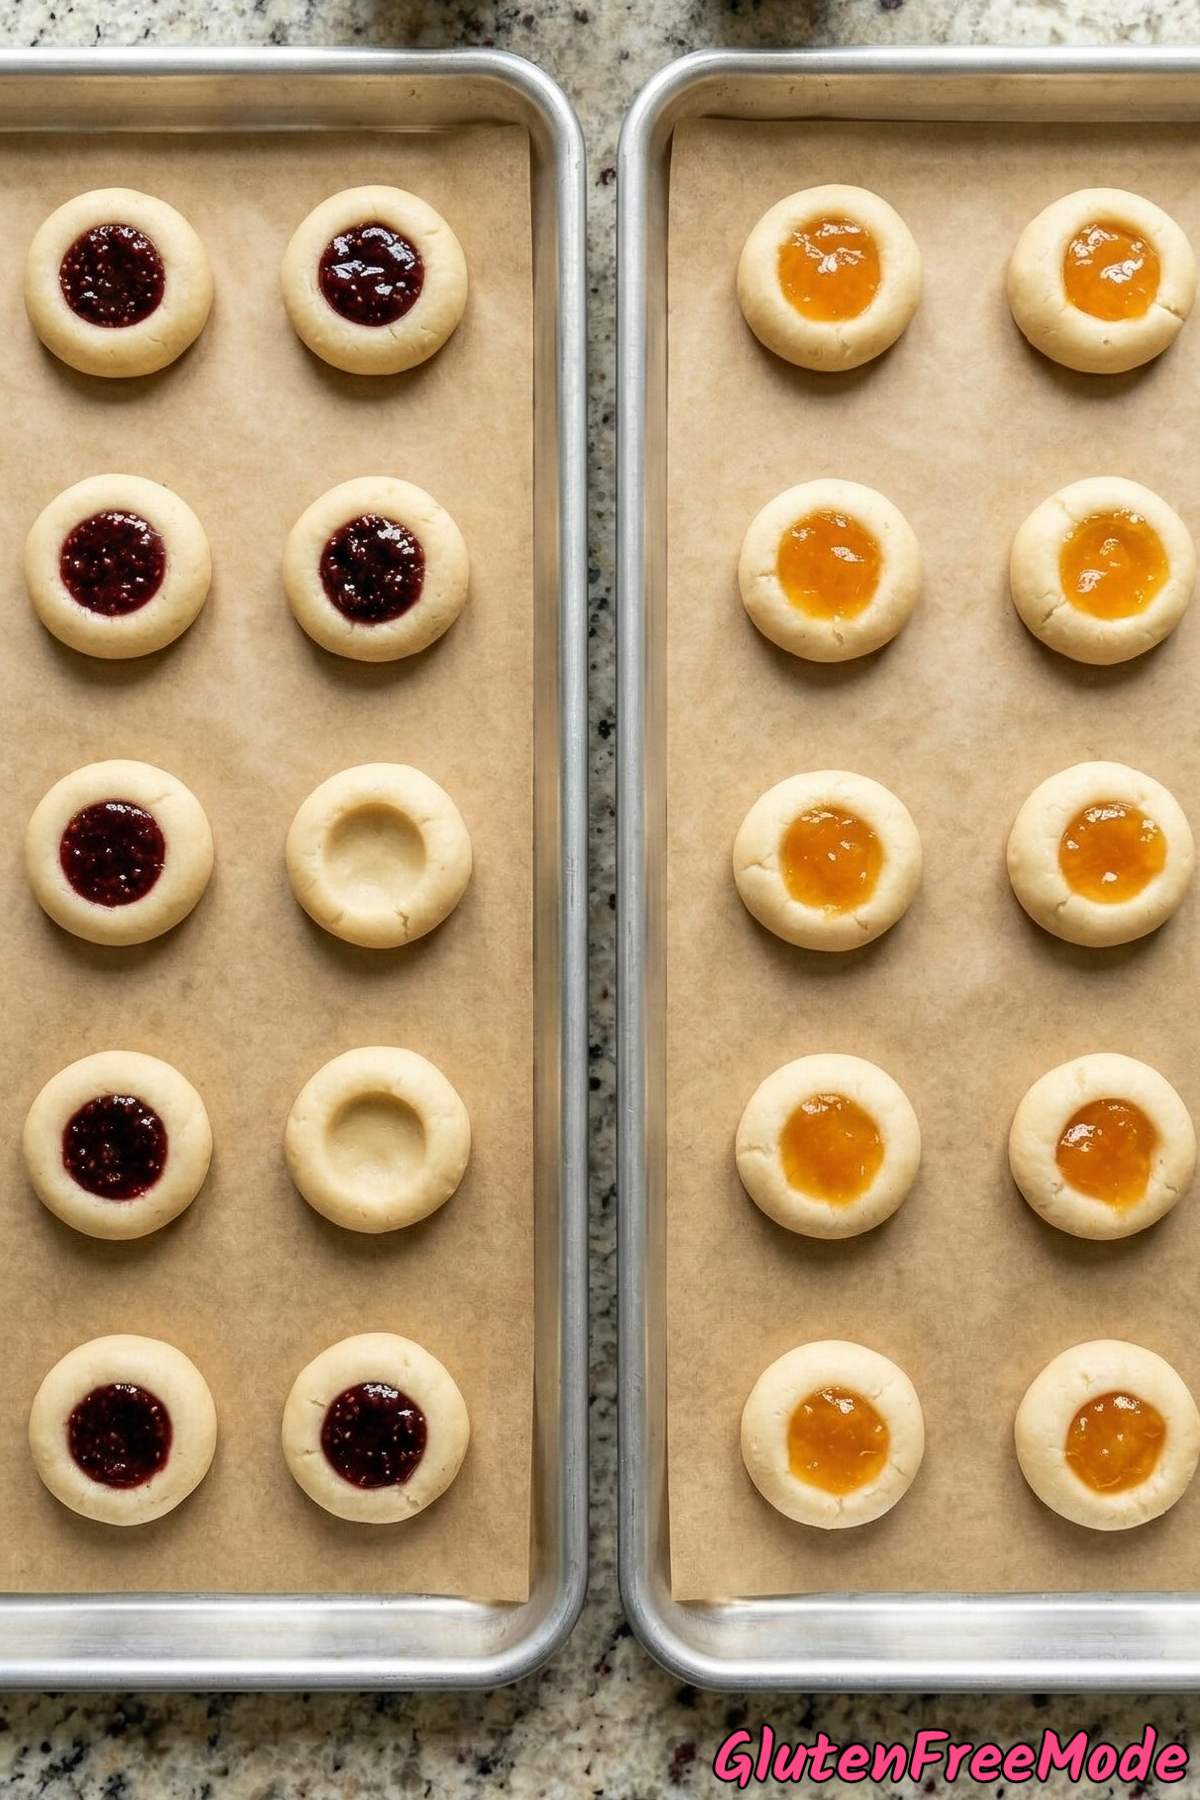
Roll tablespoon-sized portions of dough into balls and place them 2 inches apart on the prepared baking sheets. Use your thumb or the back of a rounded measuring spoon to create a deep indent in the center of each ball.
Step 4
Fill each indent with about 1/2 teaspoon of jam, alternating between raspberry and apricot for variety.
Step 5
Bake for 12 to 14 minutes until the edges are lightly golden and the cookies are set. Let cool on the baking sheets for 5 minutes, then transfer to wire racks. Dust lightly with powdered sugar once completely cooled.
Helpful Tips
Soften Your Butter the Right Way
Take the butter out of the fridge about 30 to 45 minutes before you start baking. It should be soft enough that you can press your finger into it and leave a dent, but it should still hold its shape and not look greasy or melted.
If the butter is too cold, it won’t cream properly with the sugar and you’ll end up with a lumpy mixture. If it’s too warm or melty, the dough will be too soft and your cookies will spread flat in the oven.
If you forgot to take it out in time, cut the butter into small cubes and leave them on the counter for about 15 minutes. Smaller pieces soften faster.
Cream the Butter and Sugar Long Enough
When the recipe says beat the butter and sugar until light and fluffy for about 3 minutes, that timing actually matters here. You want the mixture to turn a pale, almost white color and look noticeably airy.
This step is what gives the cookies their tender, slightly crumbly texture. If you rush through it and only mix for a minute, the cookies will come out denser and heavier than they should be.
Use medium speed on your mixer and scrape down the sides of the bowl once or twice so everything gets evenly mixed.
Chill the Dough If It Feels Soft
After you mix the dough, pick up a small piece and try to roll it into a ball. If it sticks to your hands or feels too squishy to hold its shape, pop the whole bowl in the fridge for 15 minutes.
Gluten free doughs can sometimes be a bit softer than regular doughs, especially if your kitchen is warm. Chilling firms up the butter so the dough is easier to roll and the cookies hold their shape in the oven.
Don’t over-chill it though. If the dough gets too hard, it’ll crack when you try to make the thumbprint indent.
You Might Also Like
- Gluten Free Soft Snickerdoodle Cookies
- Gluten Free Chocolate Chip Cookies
- Gluten Free Millionaire Shortbread Bars
Frequently Asked Questions
Why did my thumbprint indents puff up during baking?
This usually happens when the indents aren’t pressed deep enough before baking. The dough naturally puffs a little in the oven, so you want to make a fairly deep well in each cookie.
A helpful trick is to pull the cookies out halfway through baking and gently press the centers down again with the back of a rounded measuring spoon. Then return them to the oven to finish.
Gluten Free Thumbprint Jam Cookies
Equipment
- wire rack
Ingredients
- 1 cup Unsalted Butter, softened
- 1/2 cup Granulated Sugar
- 2 large Egg Yolks
- 1 tsp Vanilla Extract
- 2 cups Gluten Free 1-to-1 Baking Flour
- 1/4 tsp Salt
- 1/3 cup Raspberry Jam
- 1/3 cup Apricot Jam
- 1/2 cup Powdered Sugar for dusting
Instructions
- Preheat oven to 350F and line two baking sheets with parchment paper. Beat softened butter and granulated sugar together until light and fluffy, about 3 minutes. Beat in egg yolks and vanilla extract until combined.
- Add gluten free flour and salt to the butter mixture and stir until a smooth dough forms. If the dough feels too soft, refrigerate for 15 minutes.
- Roll tablespoon-sized portions of dough into balls and place them 2 inches apart on the prepared baking sheets. Use your thumb or the back of a rounded measuring spoon to create a deep indent in the center of each ball.
- Fill each indent with about 1/2 teaspoon of jam, alternating between raspberry and apricot for variety.
- Bake for 12 to 14 minutes until the edges are lightly golden and the cookies are set. Let cool on the baking sheets for 5 minutes, then transfer to wire racks. Dust lightly with powdered sugar once completely cooled.